Thanks to tools like Photoshop, Lightroom, and some amazing plug-ins, we’ve got a whole toolbox to fix blown out skies in our equine photography. Today, I want to zero in on one of the most common issues we run into—those flat, lifeless white skies that show up when we expose for the subject.
There are a few solid ways to bring those skies back to life, and they’ll all get you pretty close to the result you imagined when you hit the shutter. It really just comes down to what fits best with your workflow and editing style.
Now, if you’re looking to pull the best possible quality from your shots, shooting in RAW is non-negotiable. One of the biggest advantages? You’re capturing all the data your sensor sees—which opens up my go-to method for recovering those blown-out skies.
If you meter somewhere between the highlights and shadows in-camera, you’ll give yourself a lot more flexibility when it comes to editing. This balanced exposure makes it easier to fine-tune things in Lightroom or Adobe Camera Raw.
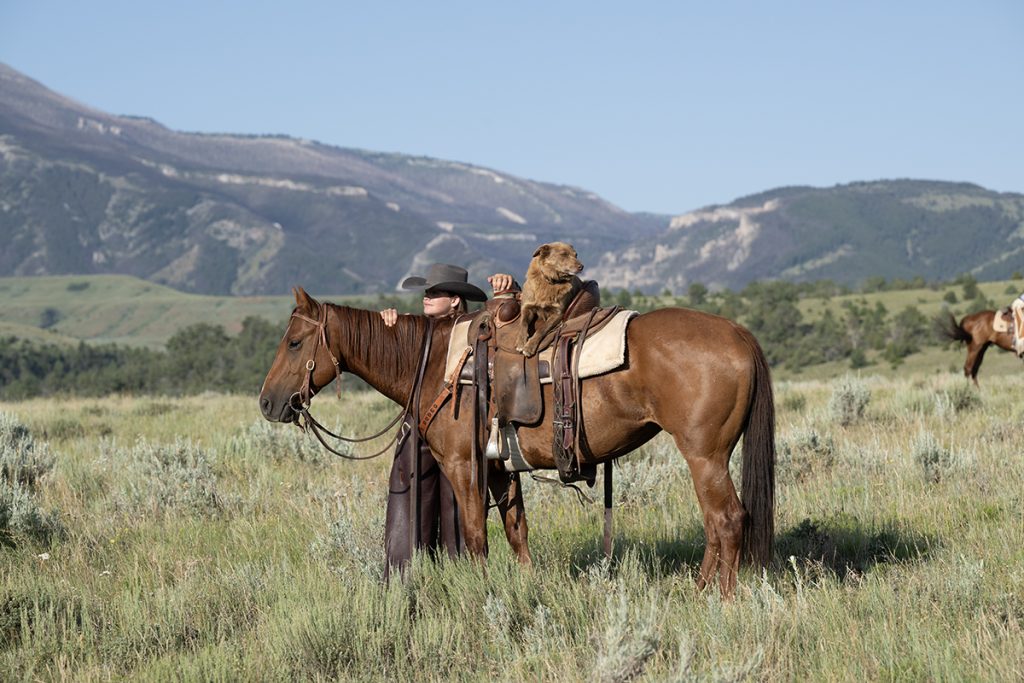
SOOC Straight out of the Camera
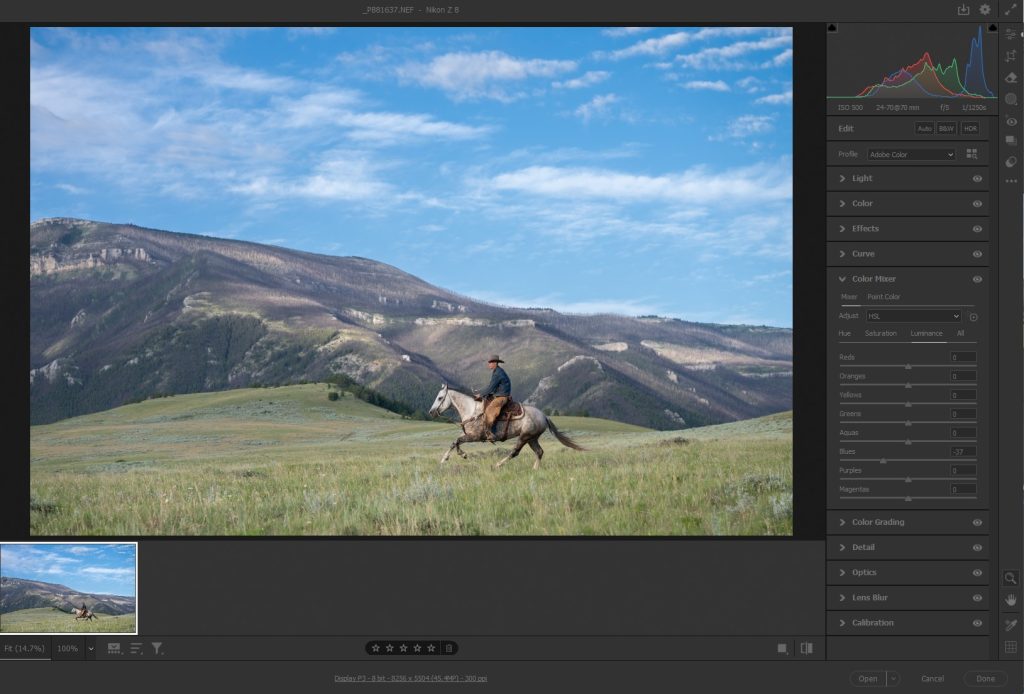
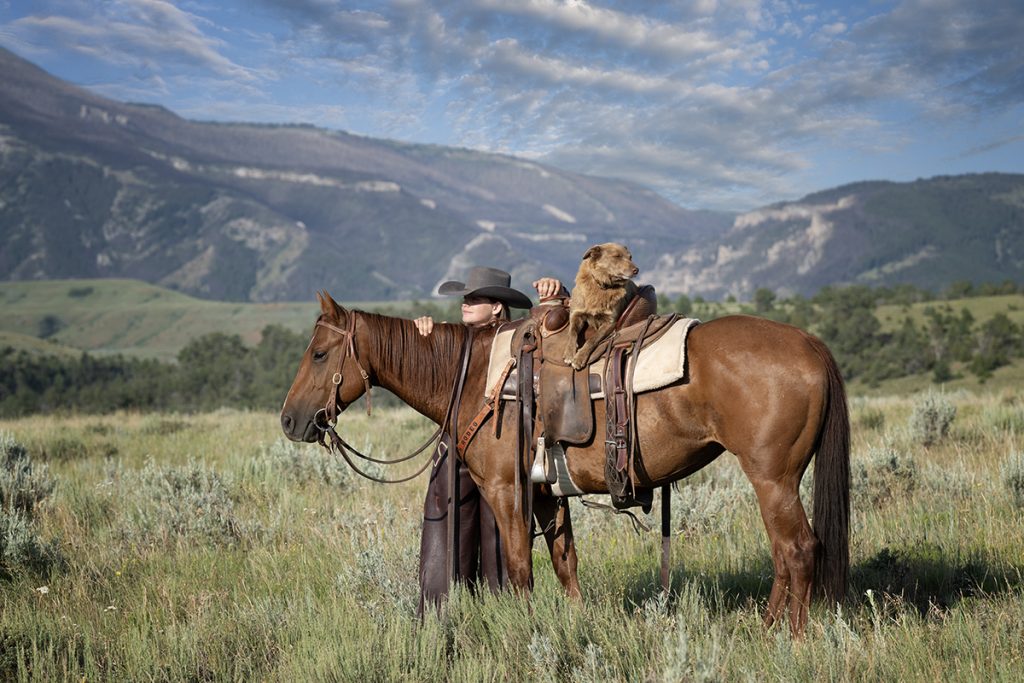
By simply pulling the highlights slider to the left and pushing the shadows to the right those skies start to pop with much better balance. And if you really want to add depth, head to the Color Mixer and drop the Luminance on the blues. It’s a subtle move, but it can make your sky feel richer and add more depth.
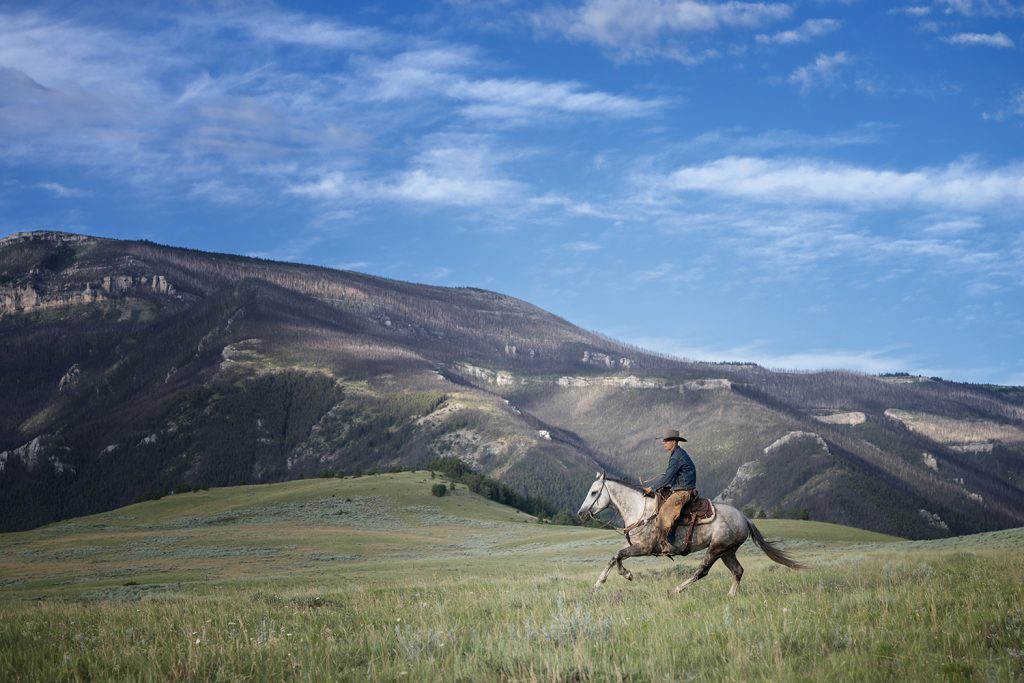
Adjusted in Adobe Camera Raw Using the Highlight/Shadow/Luminance Sliders
Another example below:Â
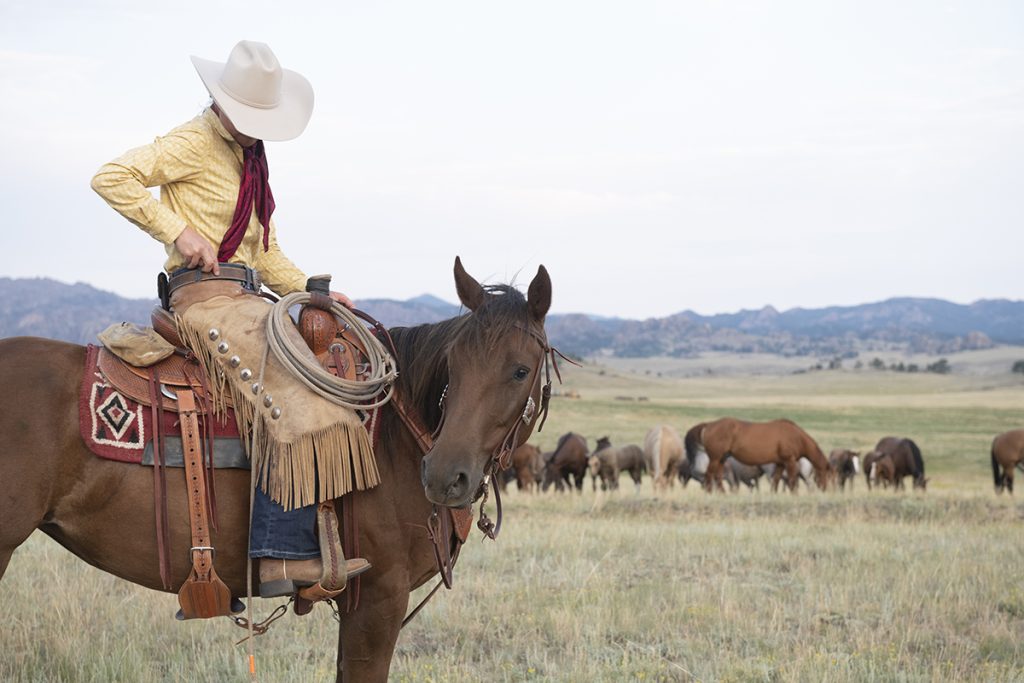
 SOOC – straight out of the camera (raw file)
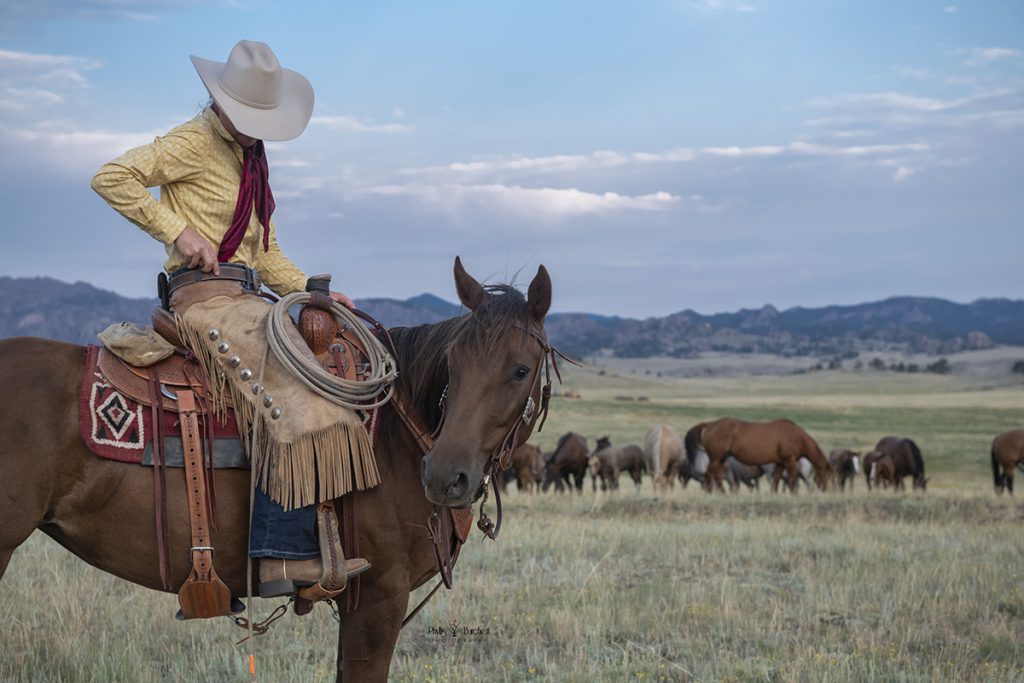
Adobe Camera Raw edits – lower highlights and using the color mixer > luminance > lower the blues – you can do these same edits in LIGHTROOM.
I used NIK > Color Efex > Darken/Lighten Center to add depth to the final image.
If you enjoy working in Photoshop, sky overlays can be a powerful way to bring your creative vision to life. They let you take a dull, white sky and turn it into something dramatic—whether that’s a crisp blue with fluffy clouds or a glowing sunrise that adds warmth and depth to the whole scene.
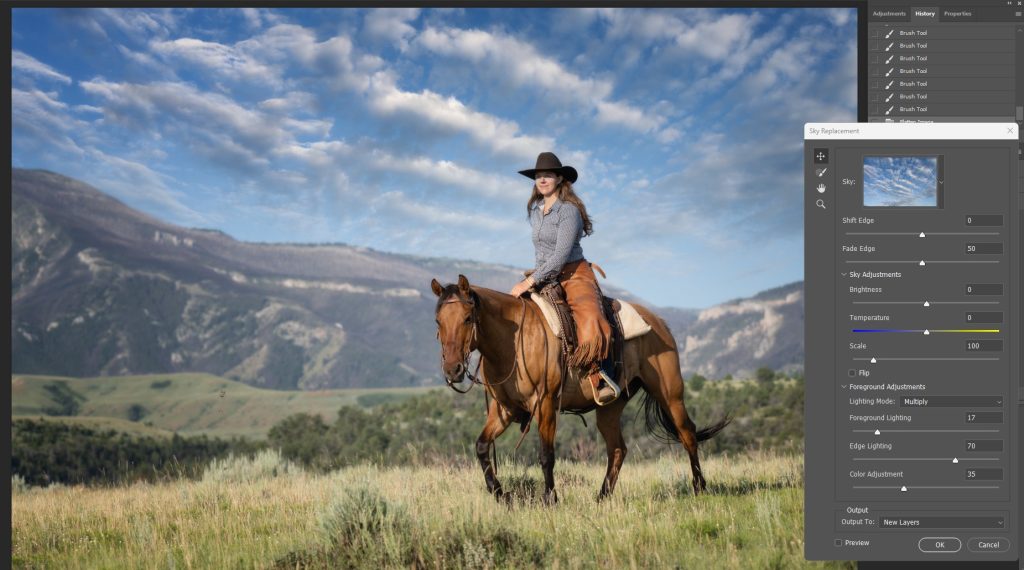
Example #1 – In Photoshop go to Edit > Sky Replacement and this box will open.
Photoshop’s Sky Replacement makes this easier than ever. One of the best parts? You can upload your own sky images. I’ve gotten into the habit of capturing beautiful skies whenever I’m out shooting—if I can use them for the scene or location, I’m working on all the better, but I will also have them in my files for down the road. Over the years, I’ve built up a pretty extensive sky library, and it’s become a go-to resource when I want to elevate an image that needs a little extra atmosphere.

The two images I used for the above example of a sky overlay using photoshop, both shot at the same location.
#2 Example – raw file SOOC
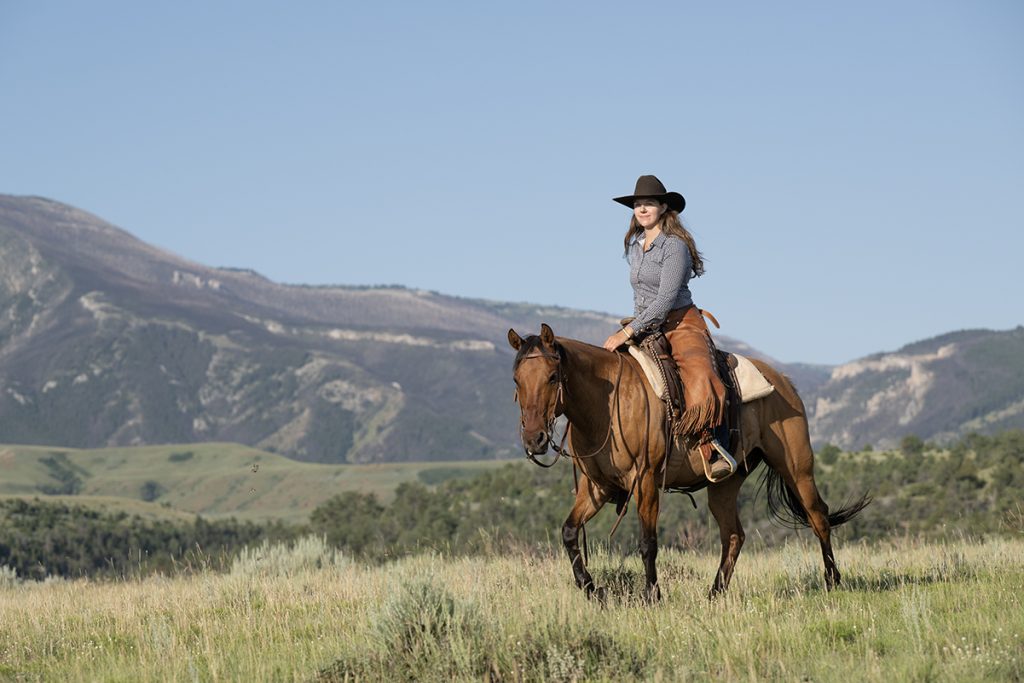
The image below was made using the same sky image above with the use of the sky overlay in Photoshop.
Note: You can usually use images with replaced skies in photo contests, but it’s important to check the specific rules. Many contests allow editing like sky replacement, as long as the sky is your own work and the main subject isn’t heavily altered. That said, some may see sky replacement as going too far from a natural capture. Make sure it doesn’t change the scene’s essence or mislead the viewer.
For editorial images, sky replacement is generally not recommended and often not allowed, especially if the image is meant to represent a real event, scene, or moment.
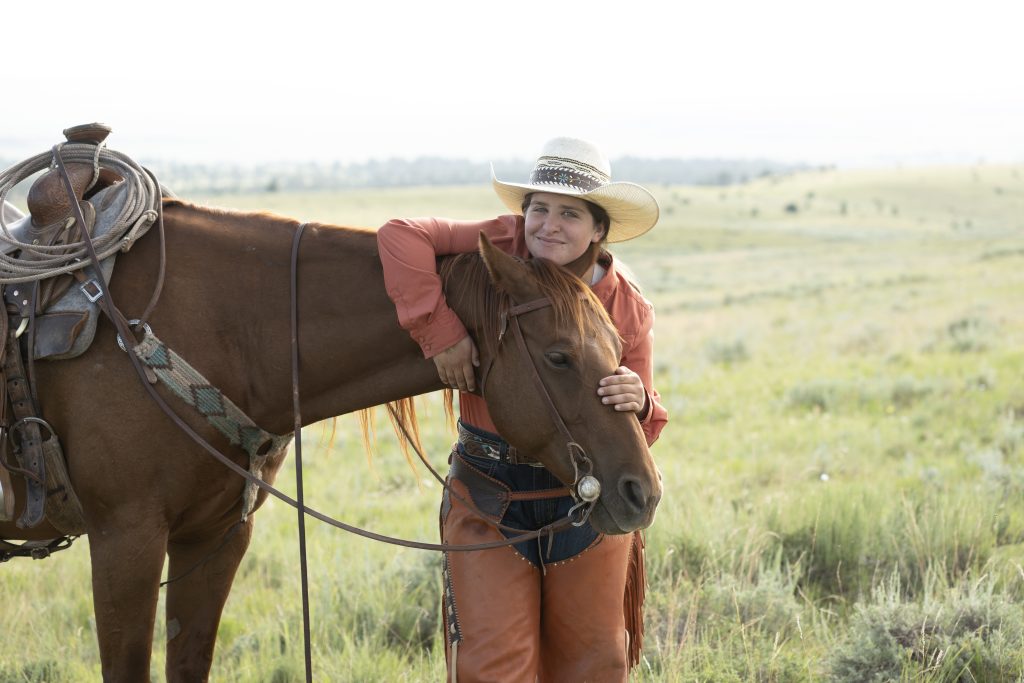
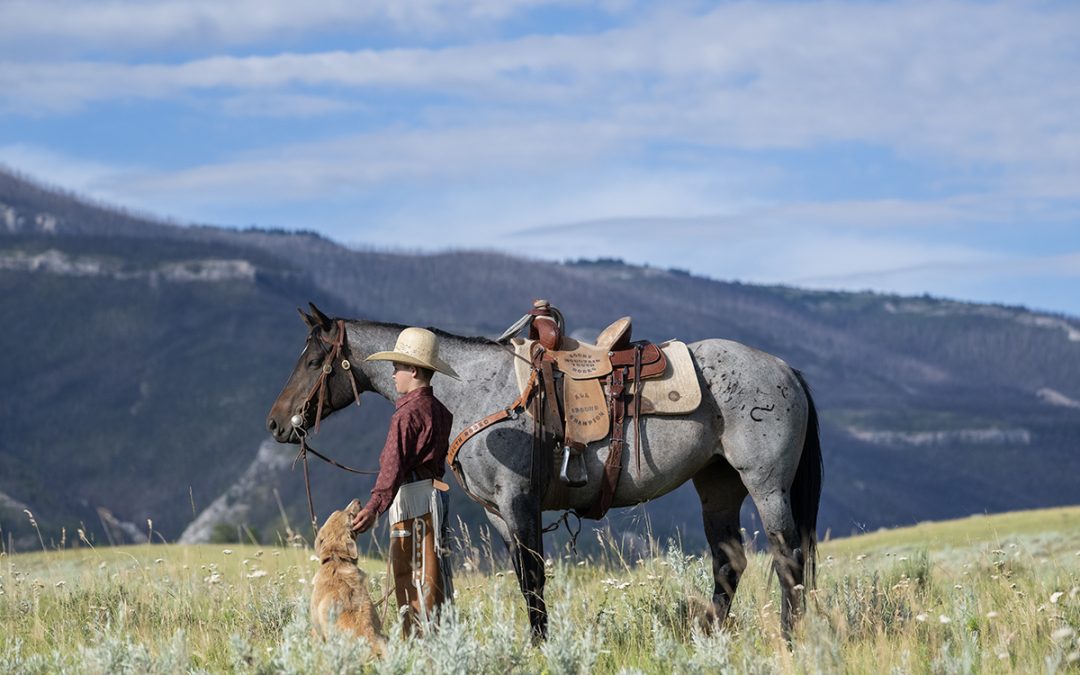
Original file – SOOC
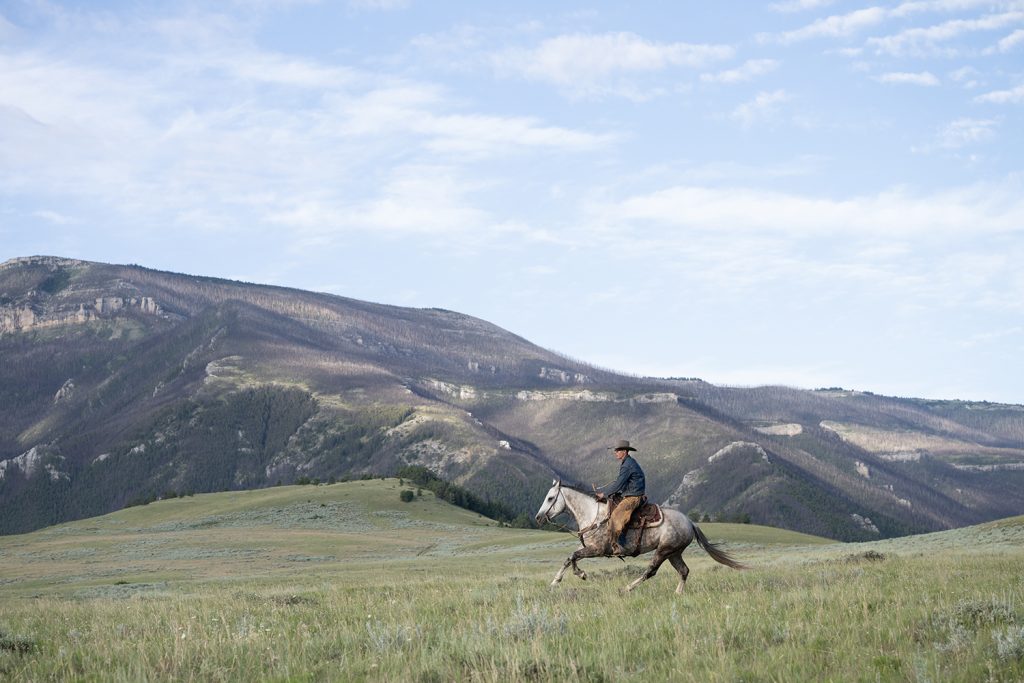
Sometimes, you just have to roll with what you’ve got—and that includes a blown-out sky. Not every shot needs a perfectly detailed backdrop. In fact, there are moments when the emotion of the scene is what really matters, and the sky becomes completely irrelevant.
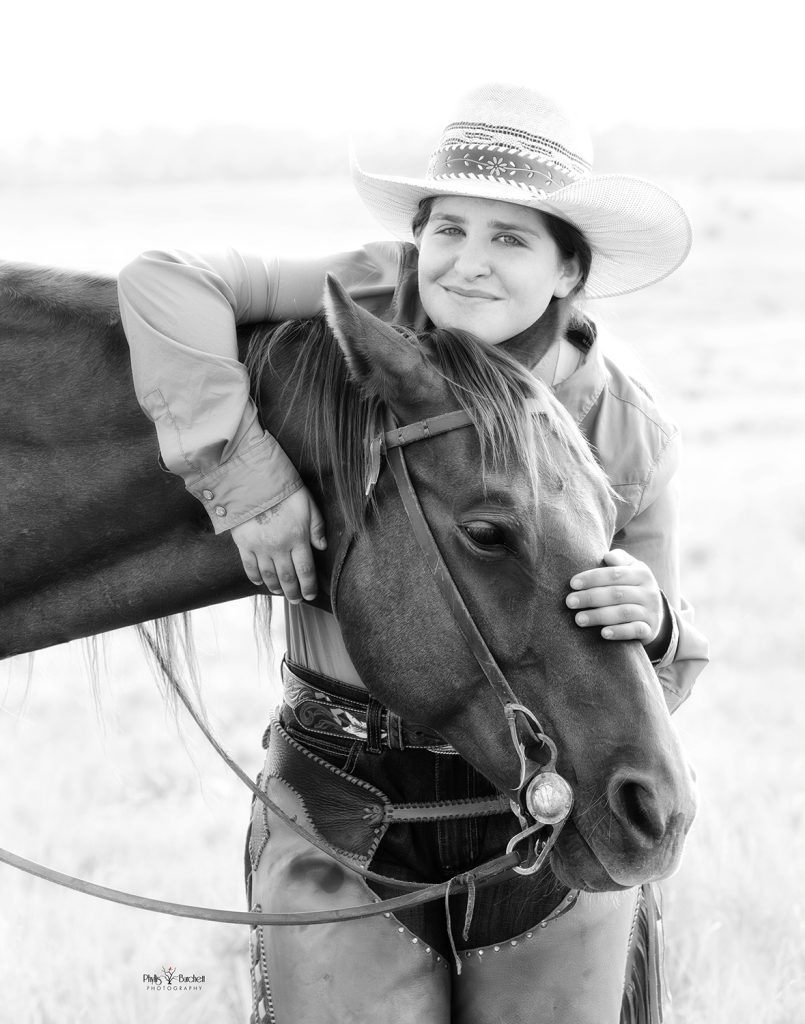
In this case, the blank sky actually helps by isolating my subject and letting the mood come through. Turning it into a silhouette or going black and white can take that emotion even further, adding drama and depth without needing every pixel in the sky to be perfect.
The use of a Graduated Neutral Density Filter is a great way to minimize the light coming into your camera and bring the exposure down so that you can preserve detail in bright skies. While popping on a Graduated ND Filter can be tough when you’re shooting horses or portraits, it’s great for landscape photography.
However, if you use Nik Color Efex Pro by DxO, one of the filters included is a Graduated Neutral Density Filter. You can adjust the lower and upper tonalities, blend, rotation, shadows and highlights all while using this tool. Just another great way to fix blown out skies in our equine photography!
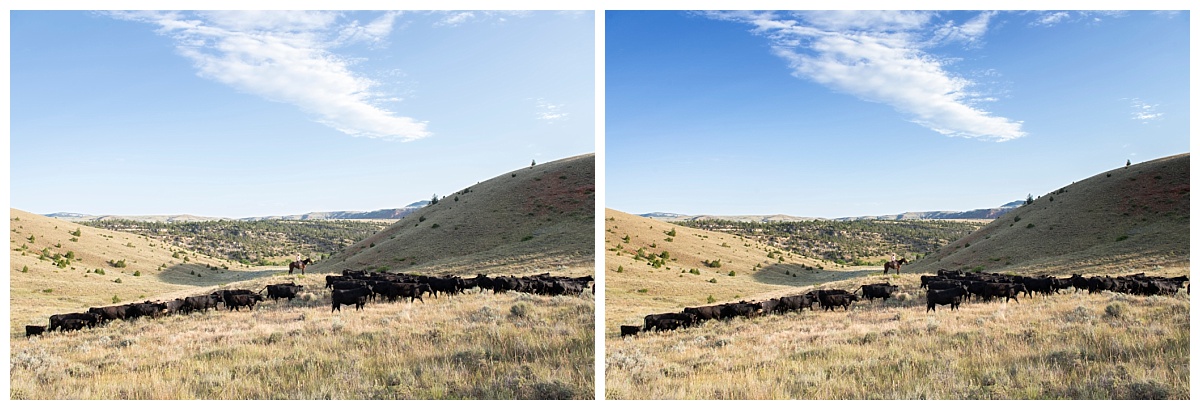
Left: Before ND Filter
Right: After ND Filter Using NIK Color Efex Pro
It’s easy, peasy to fix blown out skies in our equine photography images once you see the many different ways you can utilize Photoshop and Lightroom!
The NIK COLLECTION 8 is the latest version of DxO’s amazing creative plugin suite—whether you love working in rich color or timeless black & white, it’s a fantastic tool to enhance your images and have fun with your editing process.
If you haven’t had a chance to try it yet, you can explore it for free trial here.
And when you’re ready, just fill out the short form below to instantly receive your discount code.