MAKE LOW-KEY PORTRAITS POP
This week I’d like to show you how to make low-key portrait images POP three ways using NIK 6 Silver Efex,
my favorite Black and White conversion plug-in.
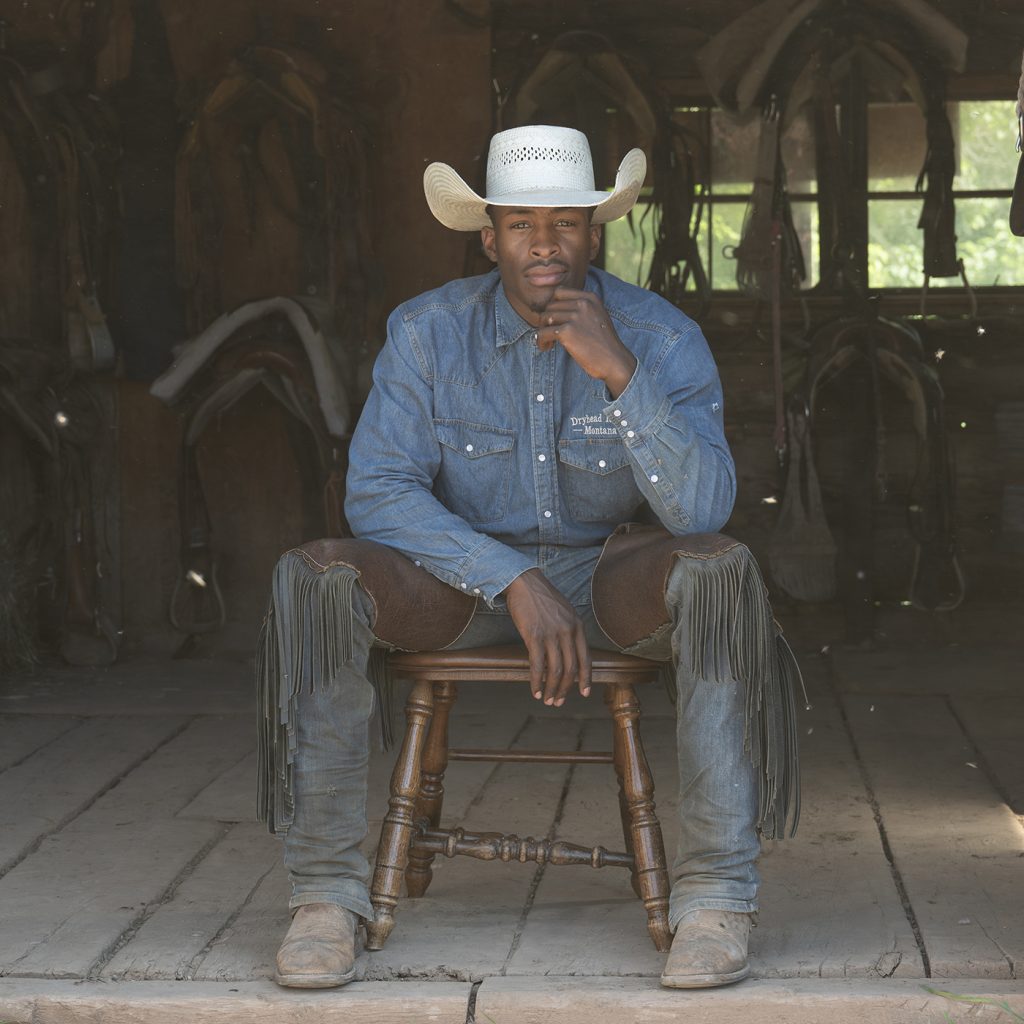
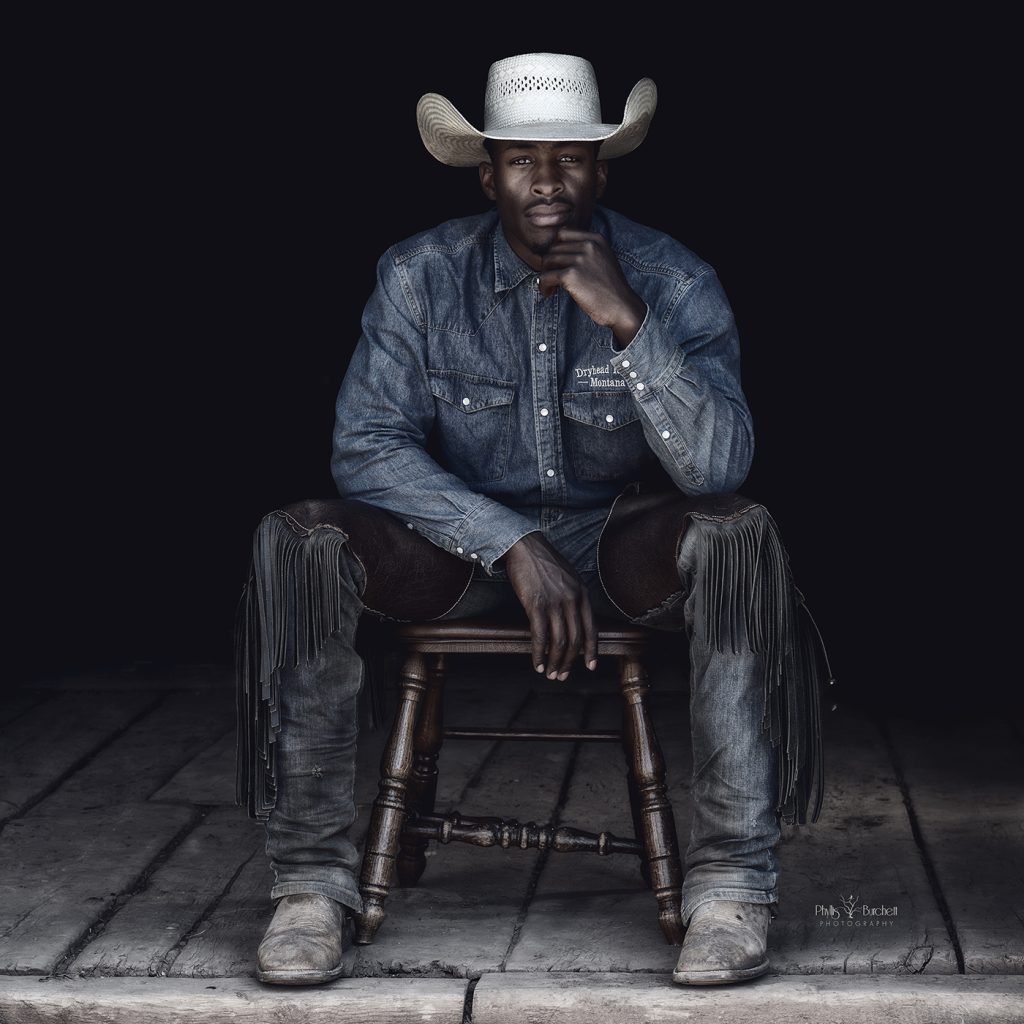
This portrait of Rick, was taken during our Dryhead Ranch Retreat this year.
 Image SOOC (straight out of the camera) with square crop applied.
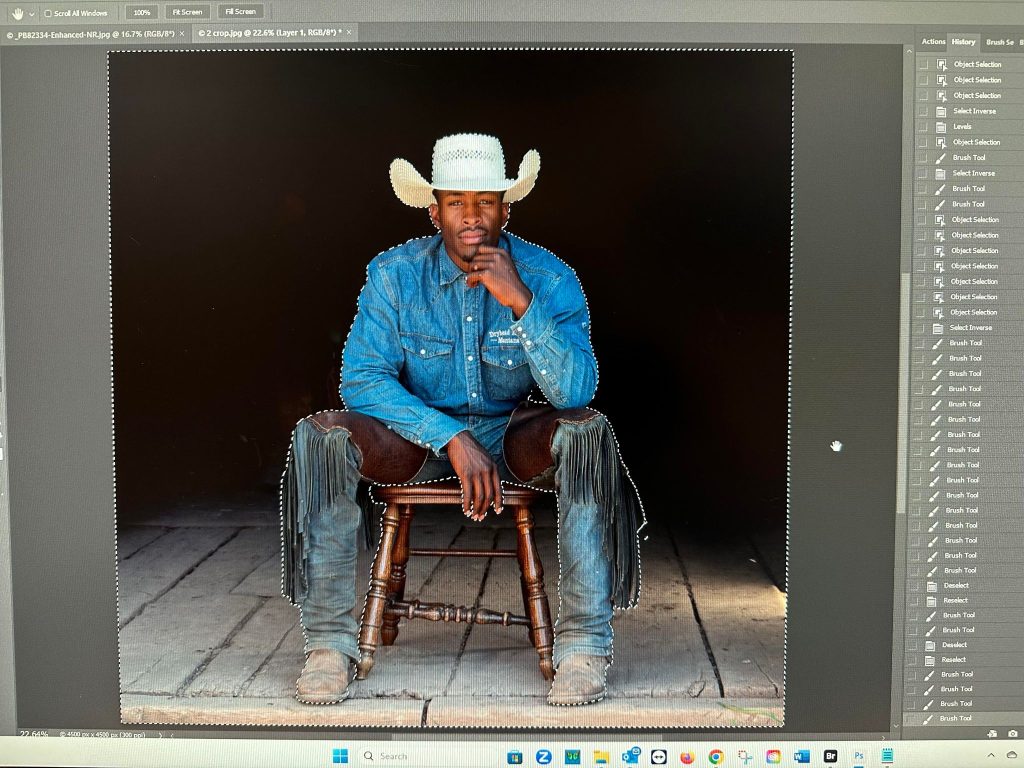
Obviously, I need to clean the background up so I Selected the subject (as you can see by the Marching Ants).
Then I Inverted my selection so I could paint on the background.
KeyBoard Shortcut: Windows:Â Ctrl + I – Mac:Â Command + I
I didn’t like the light leak on floor right so cropped it out, applied a levels layer with black point
to ensure my background was a true black.
Next, I zoomed in to 100% and cleaned up the image. There were flies on my Cowboy and grass at bottom of the frame.
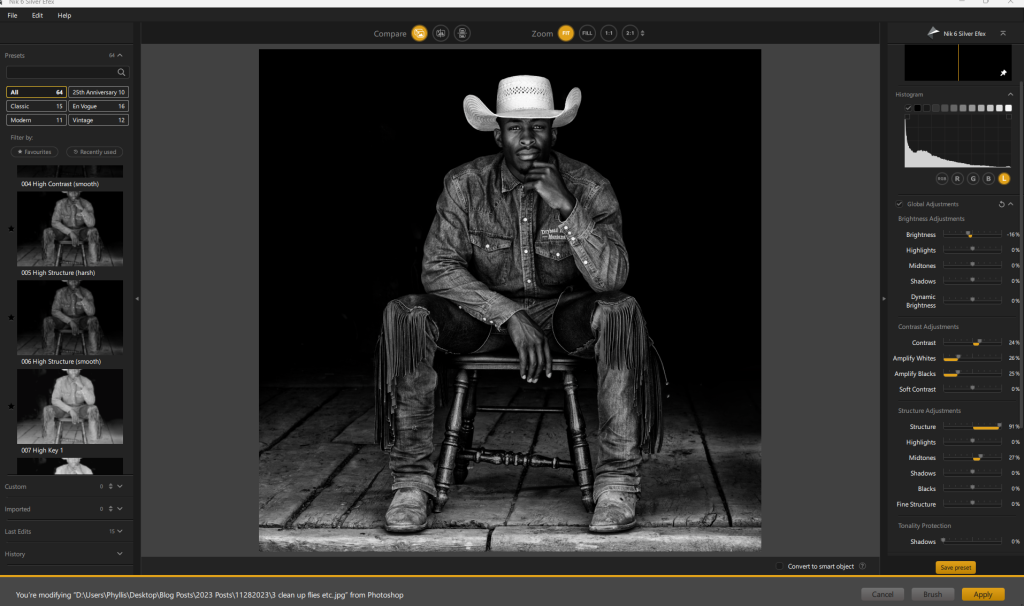
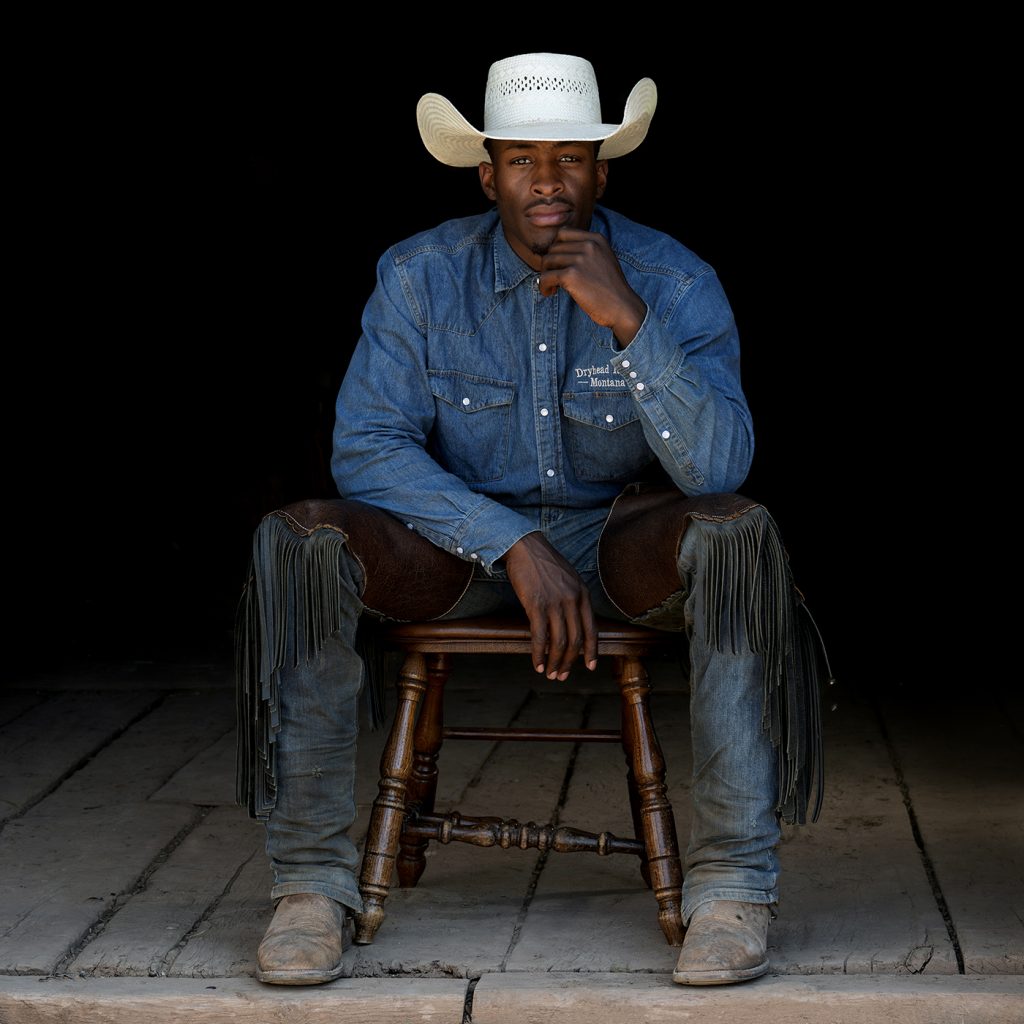
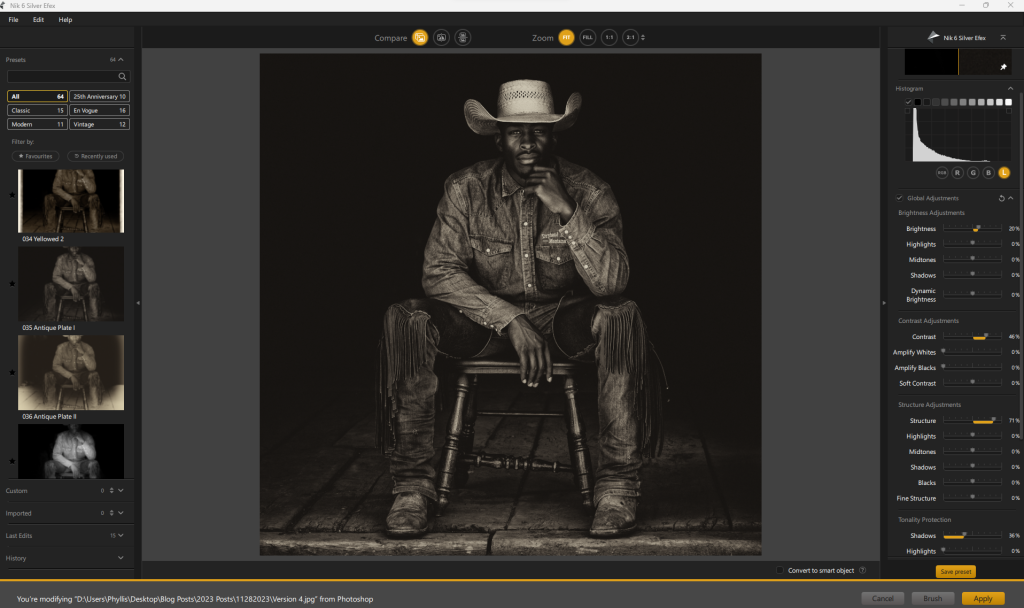
I opened NIK 6 Silver Efex and chose the Preset, High Structure (harsh)
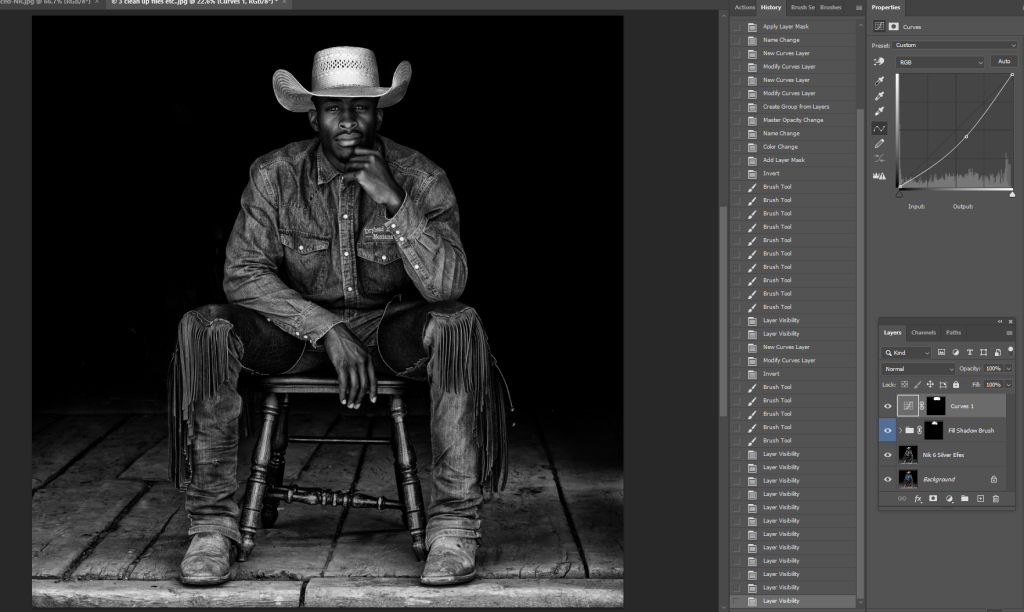
After I opened the image in Photoshop, I decided his hat was a tad bit overexposed,
so I used the fill Shadow Brush in Greater Than Gatsby Painterly Portrait II.
It helped but a Curves adjustment gave me what I was looking for.
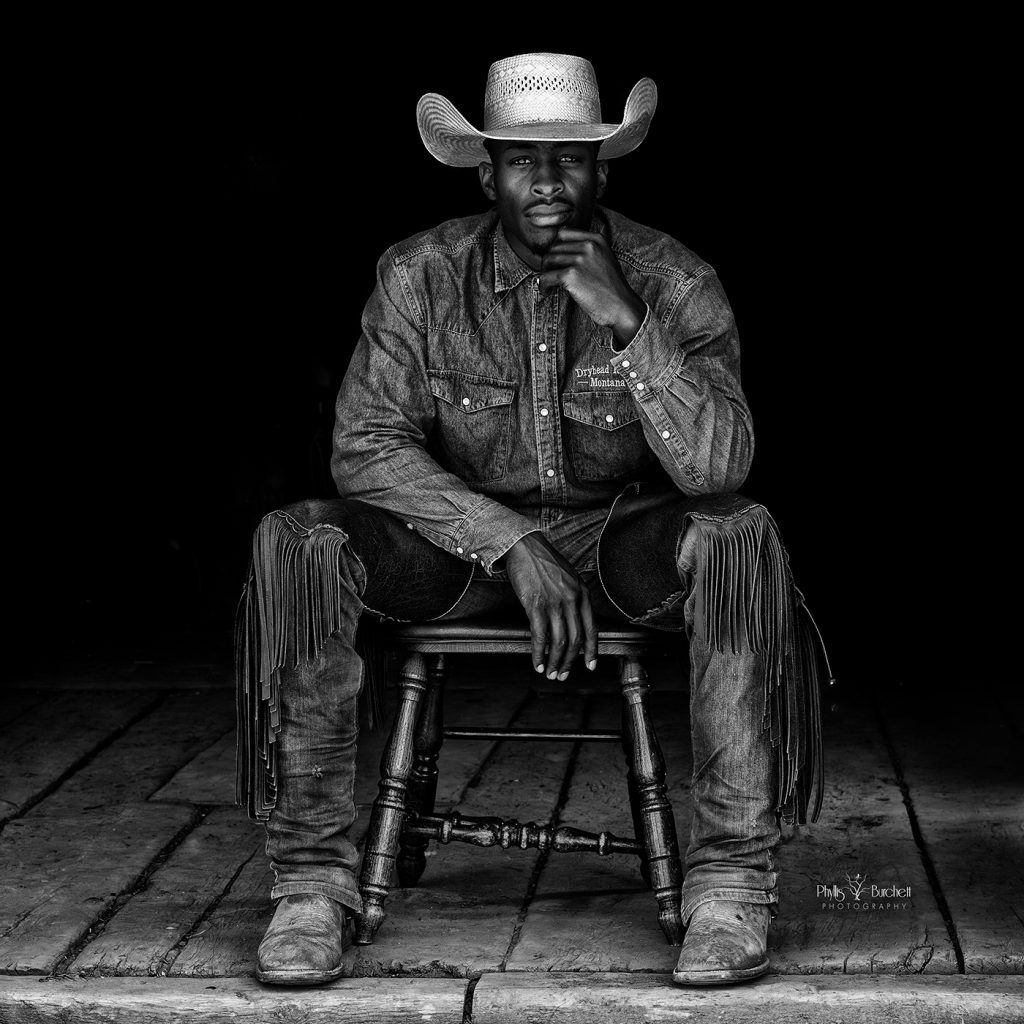
  Below is the Final B&W image  Â
                                              Â
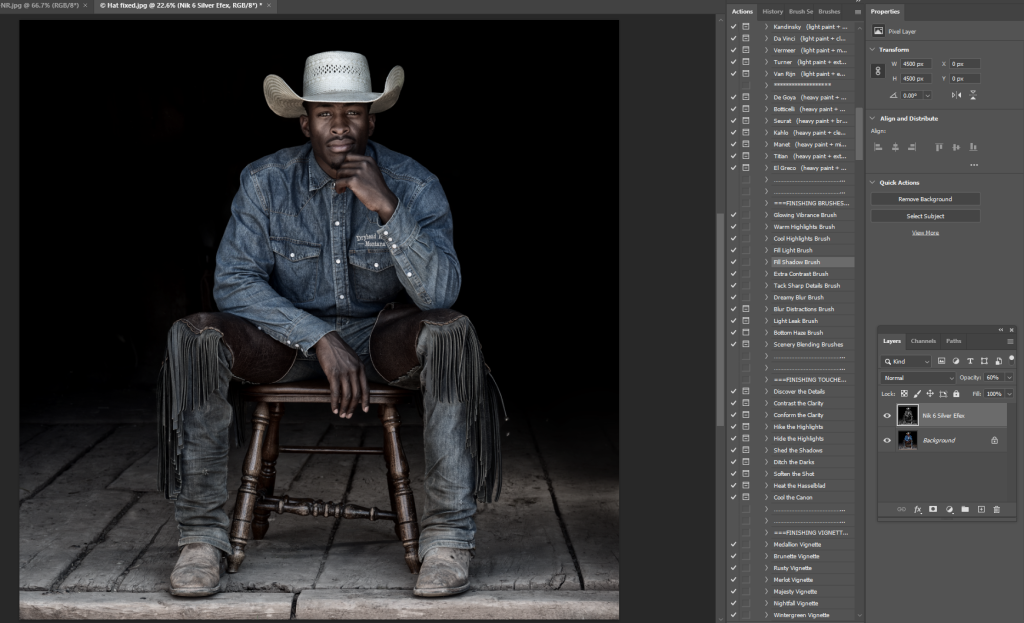
Another option using NIK 6 Silver Efex with the High Structure Preset is to
desaturate the effect once you’ve opened the file in PS. Here I reduced the opacity to 60%.
Â
The final “desaturated” image!
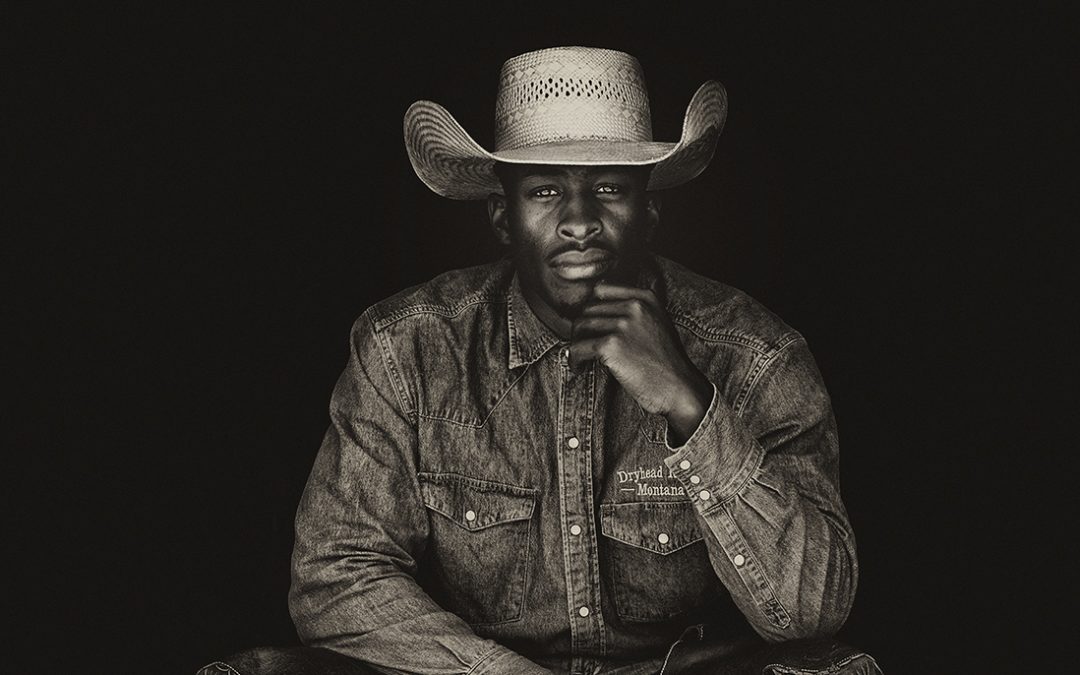
The third option I’d like to show you using NIK 6 Silver Efex is a Sepia tone using the Antique Plate preset.
Adjust the sliders as you’d like to get the final look.

Final Sepia Toned result.
Hope you enjoyed this tutorial using NIK Silver Efex on how to make low-key portrait images POP!
If you have any questions, please don’t hesitate to ask!
Be sure to sign up for my weekly newsletter where you’ll get tips and tricks delivered to your inbox,
you’ll also be the first to know when new events are added too!