Photos can make or break a sale.
So how do you take a good conformation shot?
Planning, preparation, and patience are key to helping your photo shoot go smoothly.
Look for a good location with level ground that is free from buildings, vehicles, or other distractions.Â
If there’s a fence behind your subject, make sure there is plenty of separation (distance) between the two so the fence can fade into the background. Choose a site with a “contrasting” background, one that will compliment your horse. A dark-colored horse will disappear against a dark background. It also helps if the area directly behind the horse is about the same color or light intensity throughout.

My favorite time of day to take pictures is late afternoon, about two hours before sunset. The sun is at a lower angle then and the light will be much more flattering. Avoid shooting in bright daylight to avoid harsh shadows. Morning light is ok, but I think it tends to change more quickly. Shoot with the sun behind your shoulder and slightly from the rear of the horse. For most horses, a bright overcast day is best. Overcast light is more evenly distributed. For black, grey, or white horses, pick a more overcast day or low angled sun.
Some will say a sunny day works best to take pictures. It can help the horse’s coat to be more brilliant looking along with showing more muscle definition. In this case I would say about 8/9AM or 3/4PM. If you are shooting with added light such as a speedlite or strobe, then you have more time to play with. Just try to avoid the hour when the sun is directly overhead.
The sun needs to be at your back, and shining directly onto the side of the horse that you are photographing.
Horses will look their best shot with a longer focal length.
Wide-angle lenses distort things by making objects nearest to the camera look bigger and objects farther from the camera look smaller. Using a short or medium focal length will distort their bodies and make them look out of proportion. The best way to insure he is proportioned correctly is with a longer zoom. Using a telephoto zoom lens, toward the long end of the range of 200 mm is preferred.
Use the correct camera settings by setting your shutter speed to at least 1/1000 and your ISO around 400.
A fast shutter speed will give you nice sharp pictures and eliminate camera shake as well as motion blur issues.Â
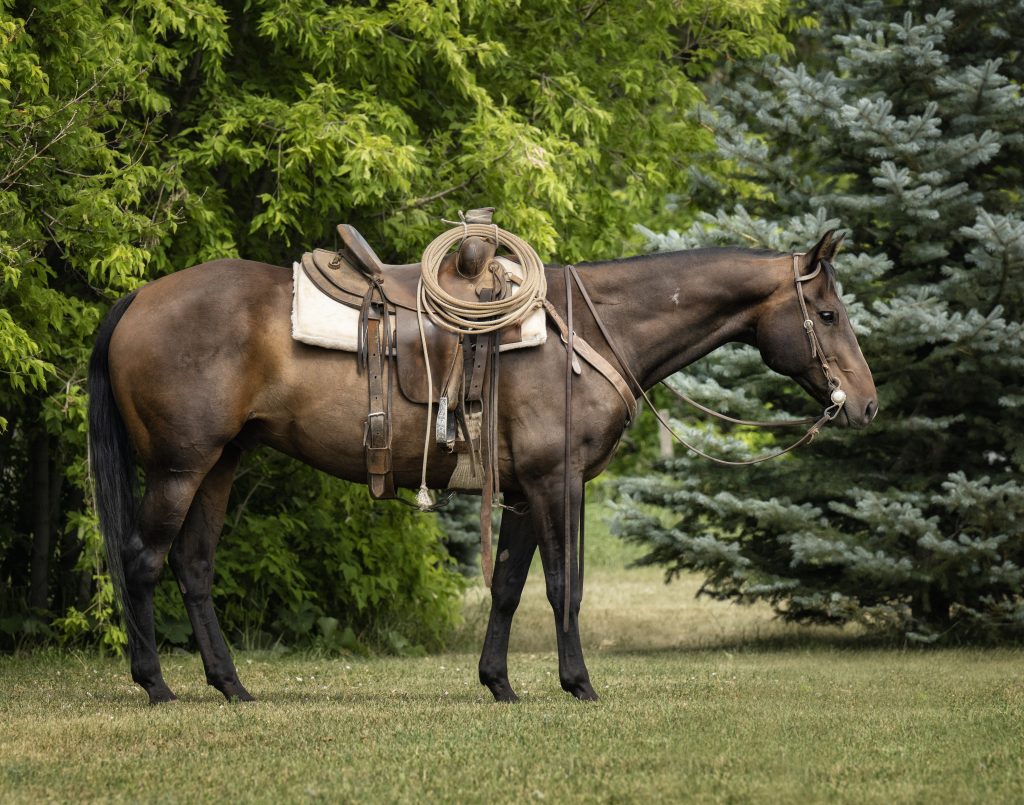
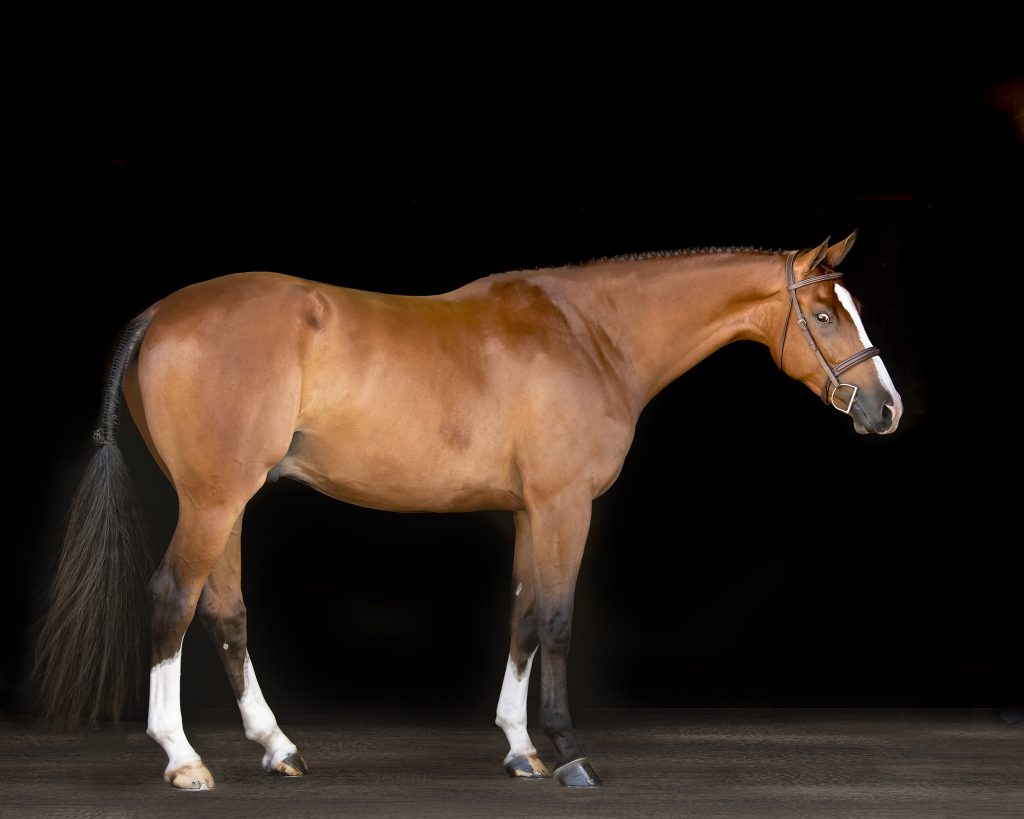
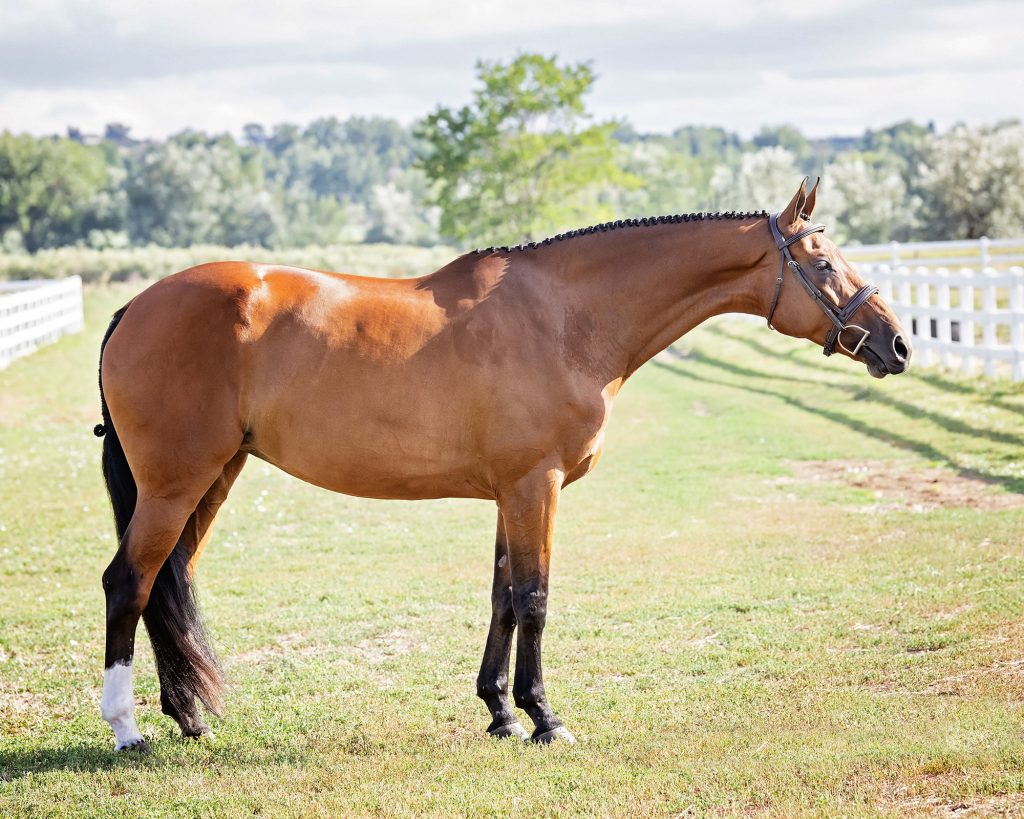
Always shoot from the horse’s level. For a conformation shot from the side (profile), your camera should be at mid-barrel height.
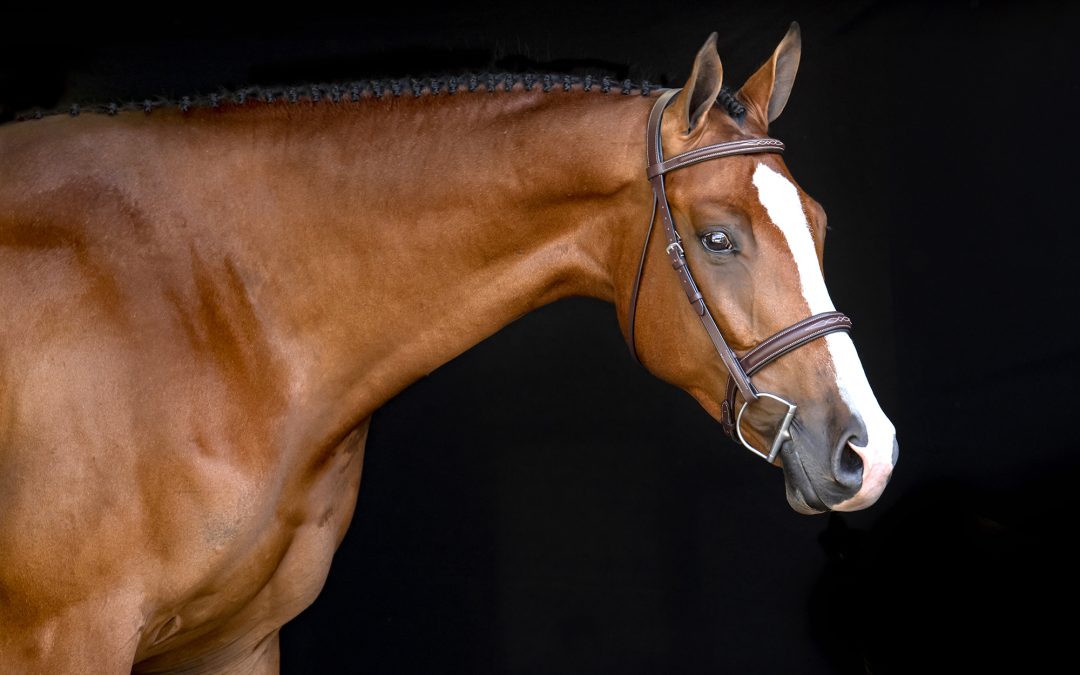
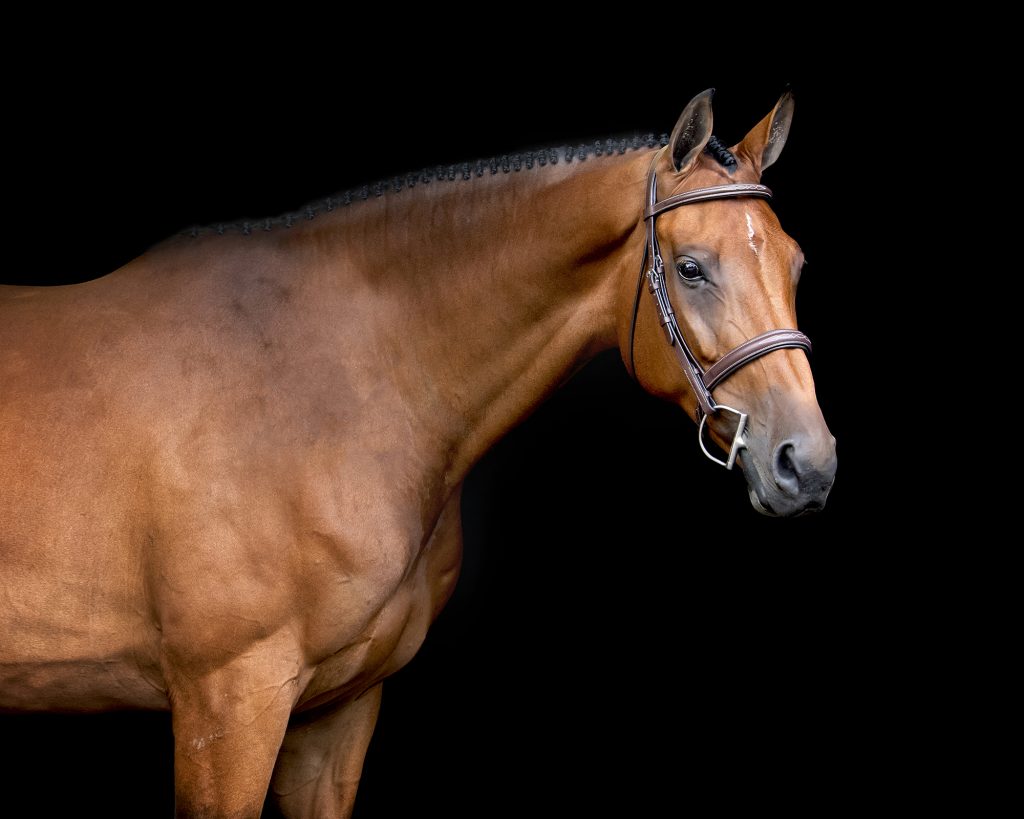
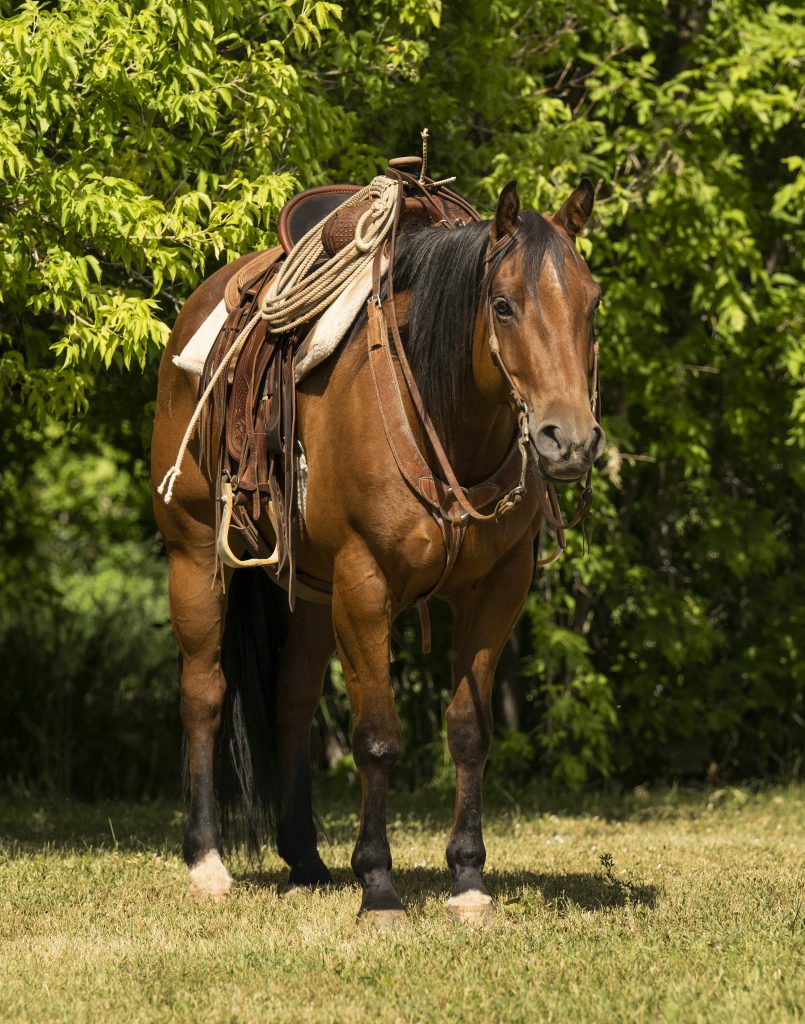
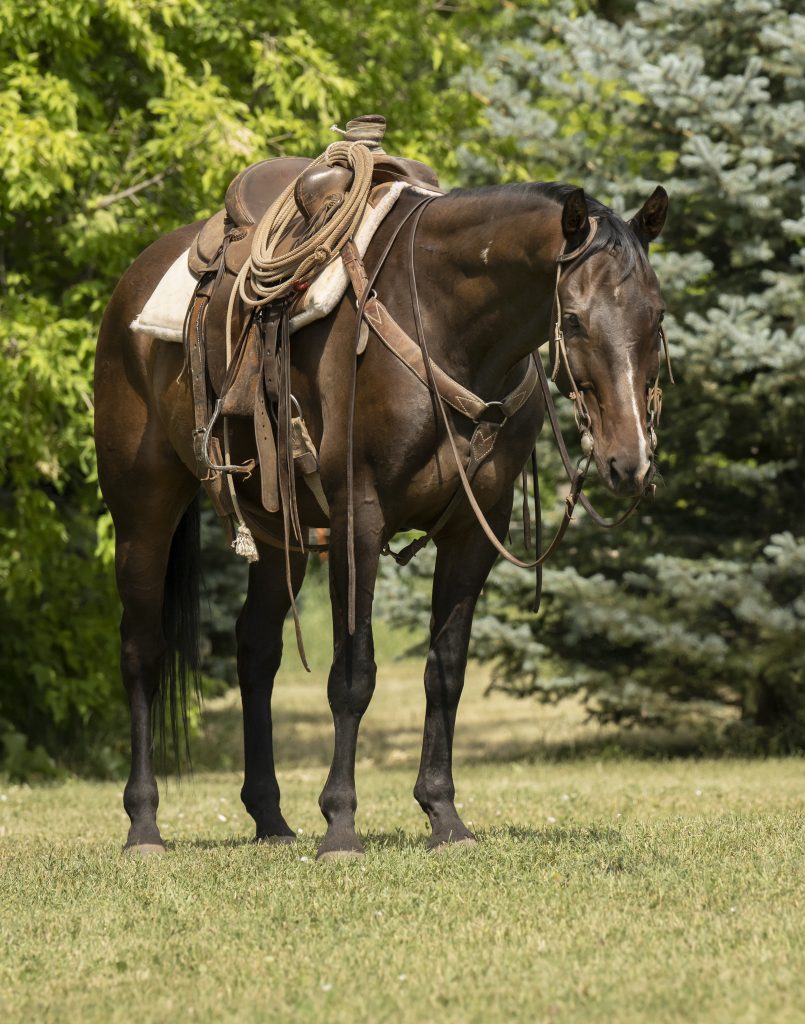
Shooting from a higher angle will make your horse look small and short legged. When you are shooting a head shot or portrait, you should shoot from the horse’s eye level.
You will want to focus on the nearest eye for a portrait. Be sure to take several shots to ensure you have their eyes wide open.
Prepare your horse – Prior to the shoot your equine model should be clean and well groomed.
Braided or banded if necessary, wearing a well-fitted halter/lead or bridle. Shoeing should be recent, hooves polished. Don’t forget the fly-spray!
You will need two assistants. One will hold the horse, and one will get the horse’s attention.
Leg placement for conformation shots is different than standing a horse up for a halter class. For stock type horses, you want the horse to stand in what is called an open stance. That means the two legs closest to the camera are slightly more open than the two on the opposite side. This way will give the buyer a view of all four legs. The legs that are closest to the camera should be square, not too far forward or too far back. The legs on the other side should be slightly to the horse’s center.
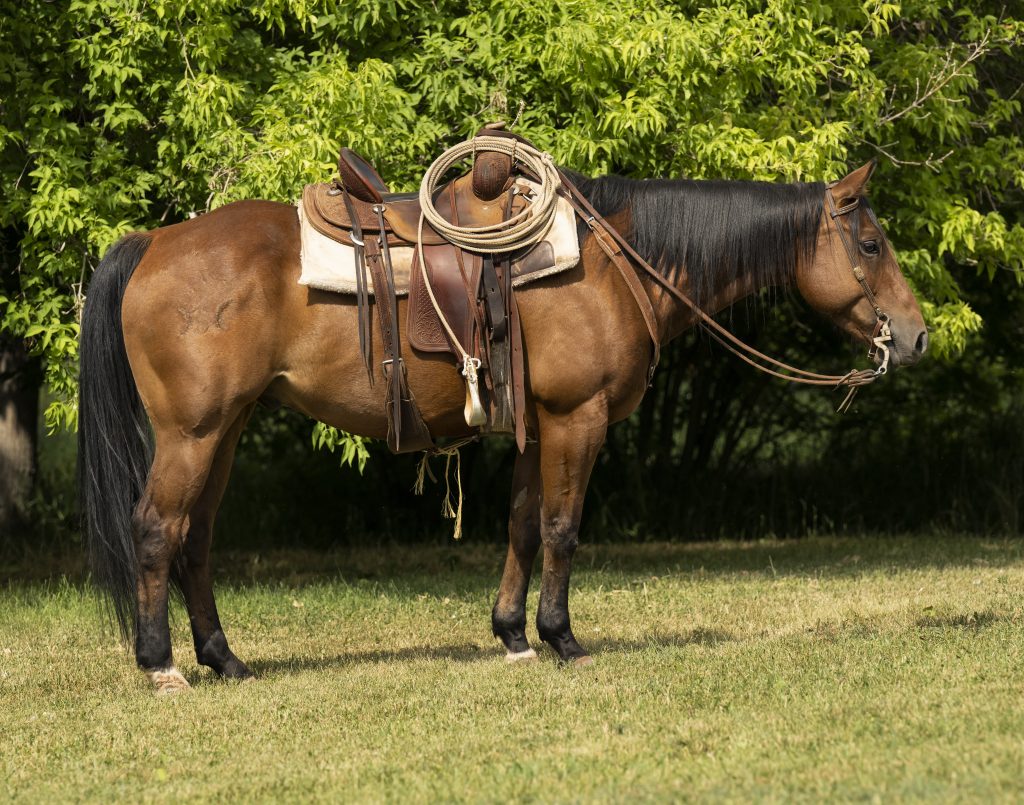
I prefer to shoot the horse with the mane on the same side as the camera whenever possible.
Turn the horse’s head slightly toward the camera, be sure he looks alert with ears forward.
The camera should be at a distance so that the horse “fills up” the frame.
If you’re doing 3/4 shots, then you will want the horse to be square.
The majority of stock type horses should show their neck just above level.
This will show how pretty and long the neck is, and how clean his throat latch is.
For Hunters it’s appropriate to have the neck a bit higher.
I hope this has been a help, would love to hear from you if you have any questions!