Hey everyone, I’m headed west to Art of the Cowgirl this week for our Photography Clinic hosted by Kim Beer and myself. We will have eleven eager young photographers to join us and I cannot wait!
Cara and Marci will be holding down the fort at our Cowgirls with Cameras Booth where we will be offering art for sale and putting out the word about our upcoming events for 2023.
If you’ve never been to an Art of the Cowgirl event you NEED to make plans to attend next year. We will also be hosting the photography clinic during the Montana gathering the first of June this year.
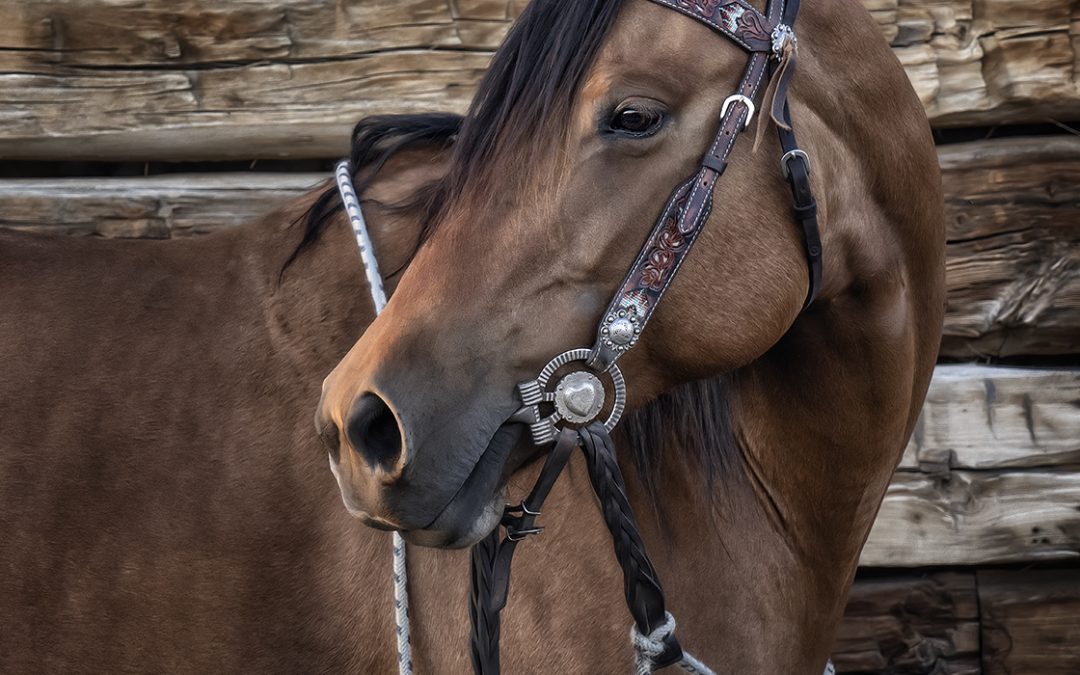
One of my goals for this year is to bring you a before and after image each month so you can get some insight into how I like to edit. Before I do any editing, I take into consideration how the image will be used. If it’s an event photo or perhaps something to be used for editorial I do minimal editing. But for this week’s image I’ve chosen one that will be used as fine art to hang in a business or home. So, there will be many more steps involved in that process.
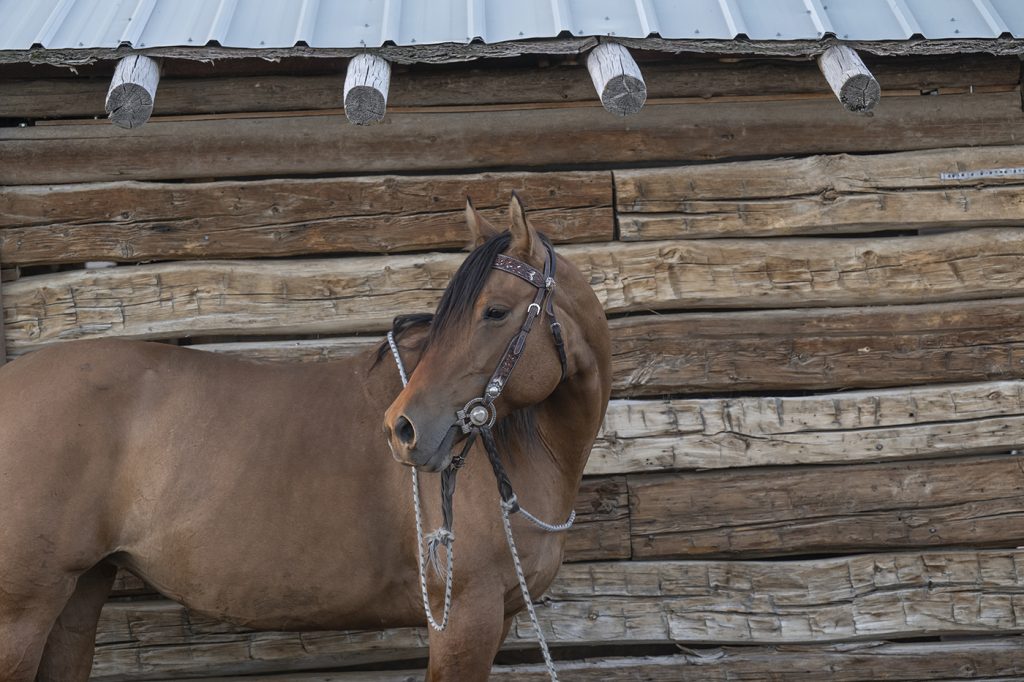
This is the Raw file straight out of the camera (SOOC) I did minimal adjustments in Adobe Camera Raw.
Next, I open the image in Photoshop. Since I shot this image with the Nikon Z9 45.7-megapixel camera, I have room to crop without losing any detail. The client was looking for a vertical image for a particular wall in their home.
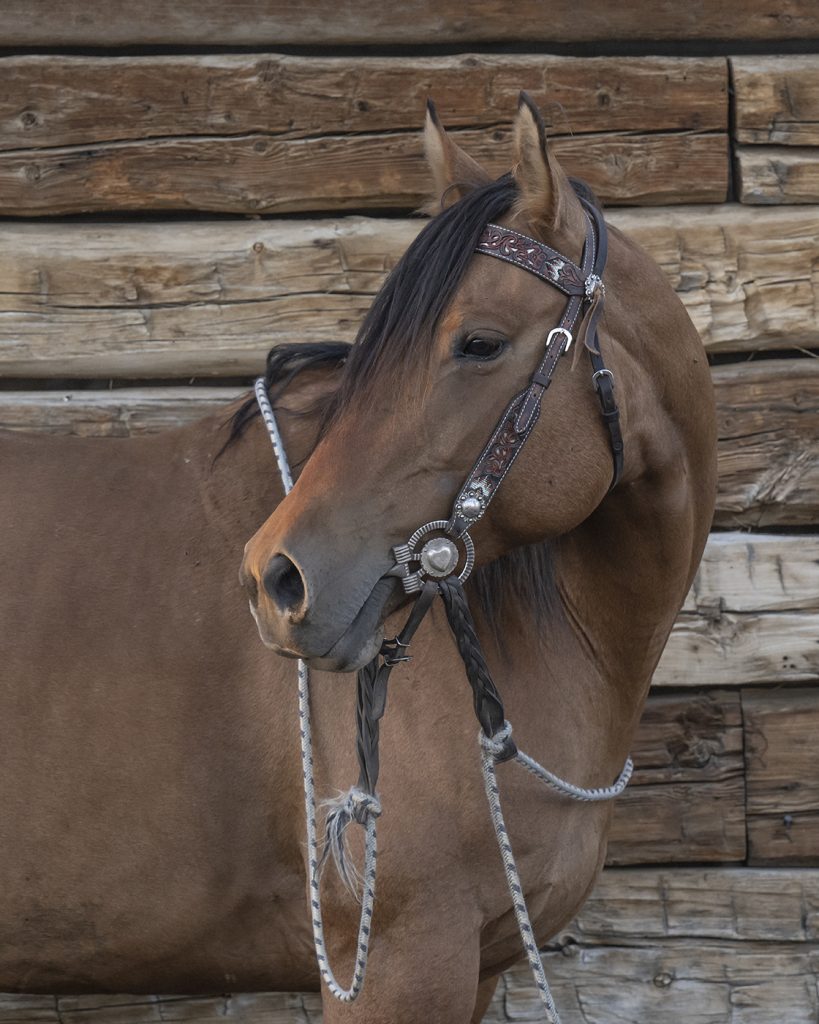
After I have cropped the image, I open NIK Color Efex Pro. I love the old wood and the textures that are in this shot so I want to enhance them with the help of the Tonal Contrast Filter. I also add the Darken Lighten Center Filter to bring more focus to the eyes and bridle detail.
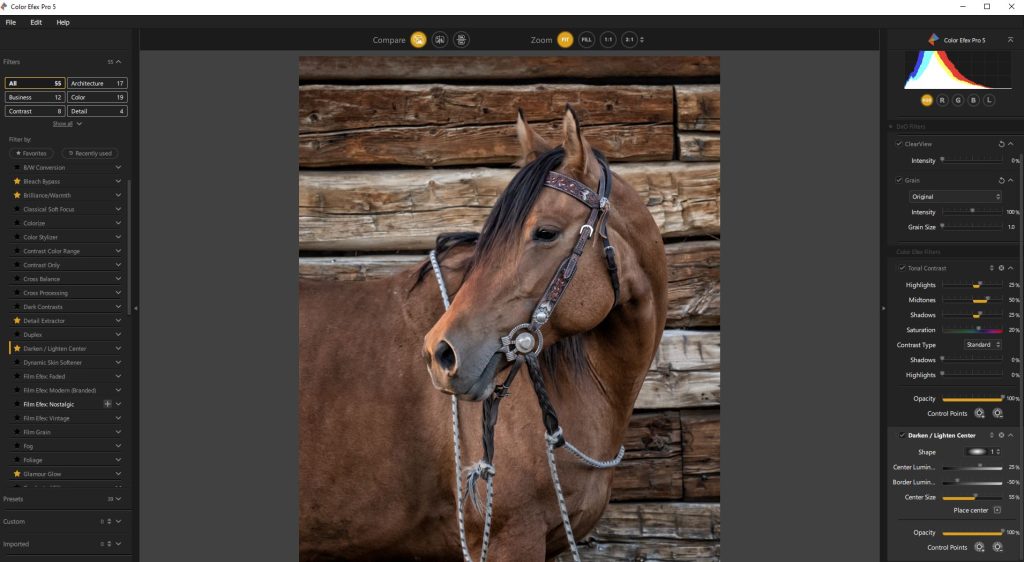
Nik Color Efex Pro Panel opened in Photoshop, note the list of filters available on the left.
I know I want to add a bit of a painterly touch to this image so I run the action from Greater Than Gatsy Painterly Portrait Collection called Vermeer Light Paint.
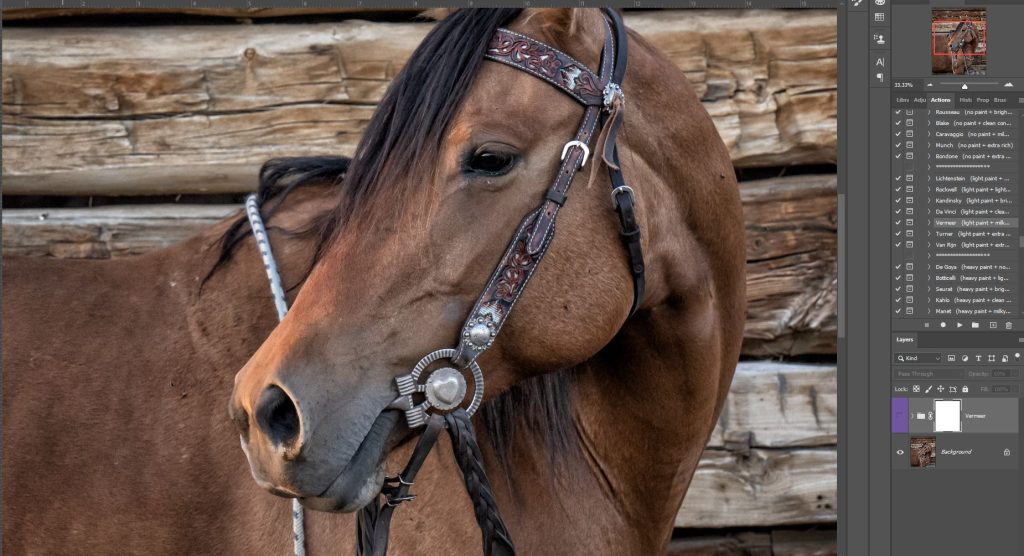
Here is the image magnified so you can see what it looks like before I run the action.
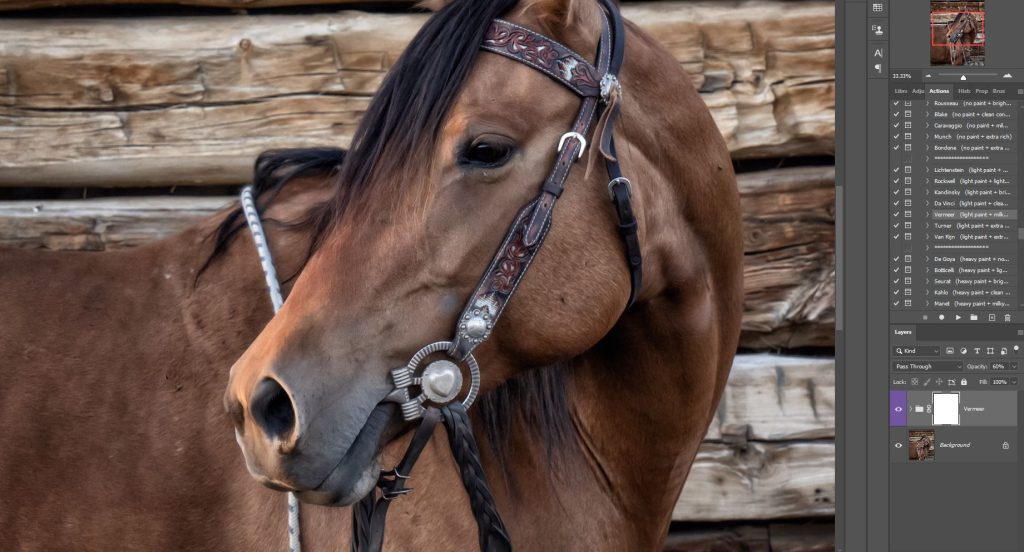
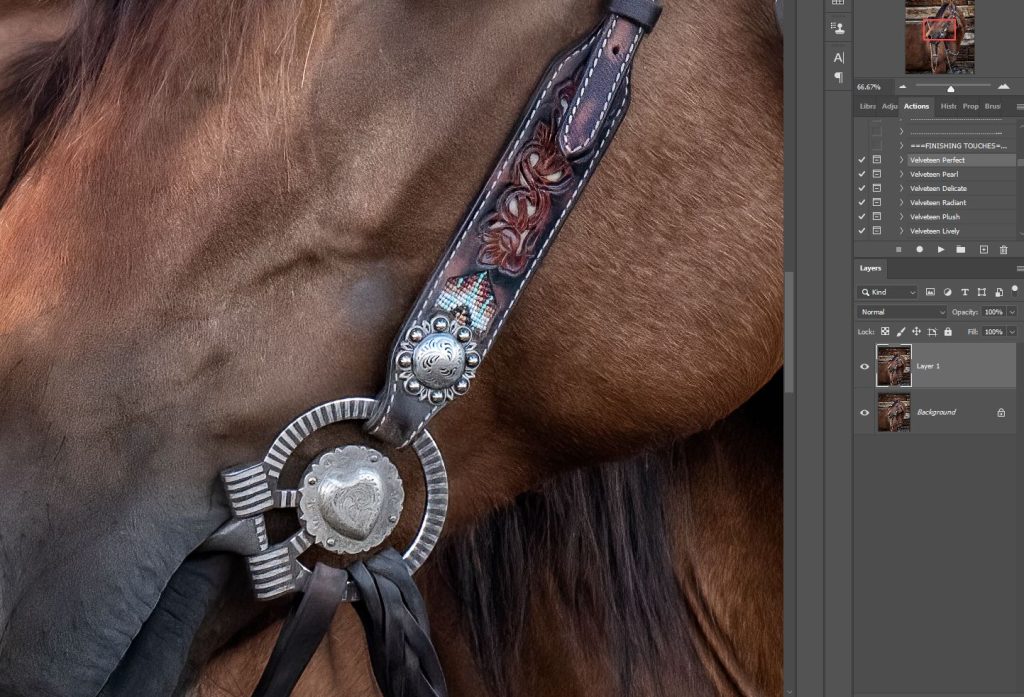
This is after I’ve run the action. I never apply this painterly action at 100% so I have reduced the opacity to 60% and brushed it off of his eye and the bridle/bit.
Next, I will add another layer and clean up some spots with the Spot Healing Brush Tool.
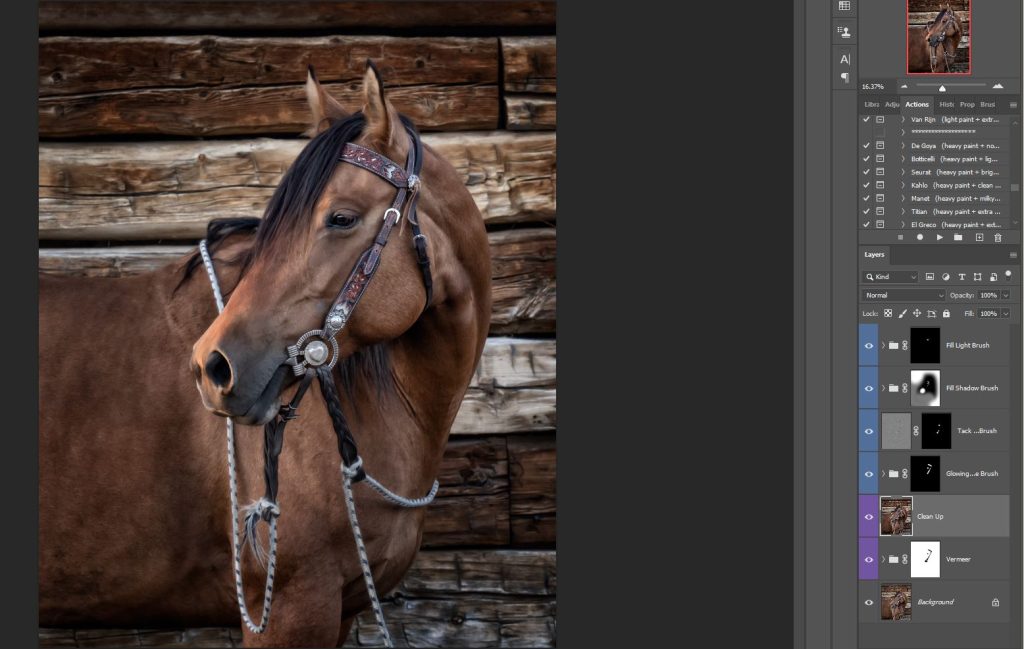
(Note the layers and layer masks on right)
I will continue to tweak the image with added layers and brushes all in the same GTG collection:
1.Glowing Vibrance Brush to add a bit of warm, glow to the headstall
2.Tack Sharp Details Brush on the headstall, bit and eye.
3. Fill Shadow Brush and the 4. Fill Light Brush to do a bit of burning and dodging.
I’m almost finished until I decide I’d like a little more sharpness in the bit and concho so I use Topaz Sharpen AI since this will be printed very large, I want to make sure that detail is there.
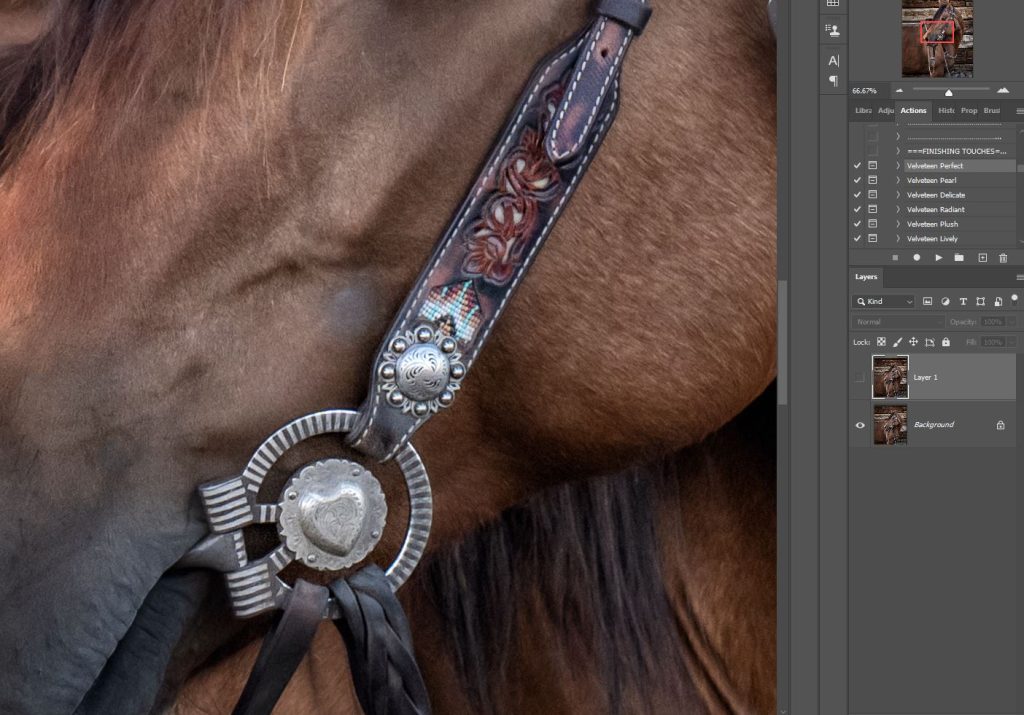
Before I use Topaz Sharpen AI
After Topaz Sharpen AI. It’s not a huge difference but noticeable to me!
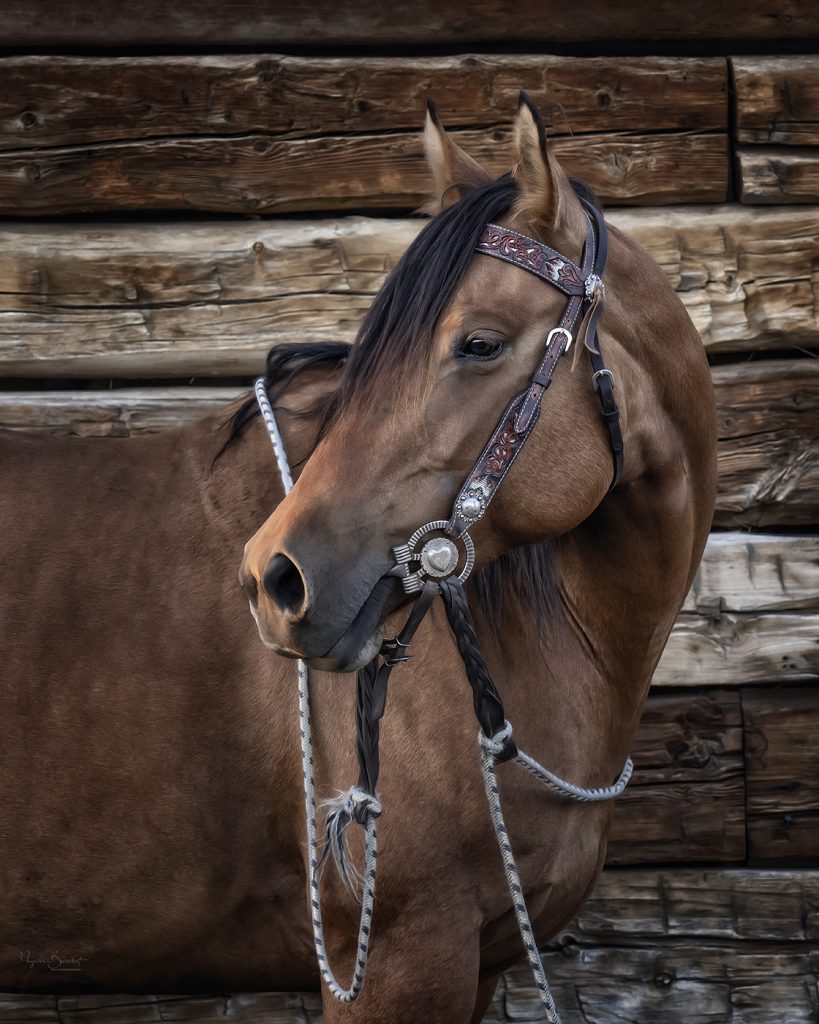
Now I have my finished product read to hang.
Hope you enjoyed watching my process, if you have any questions please don’t hesitate to ask!