Creating Beautiful High-Key Images

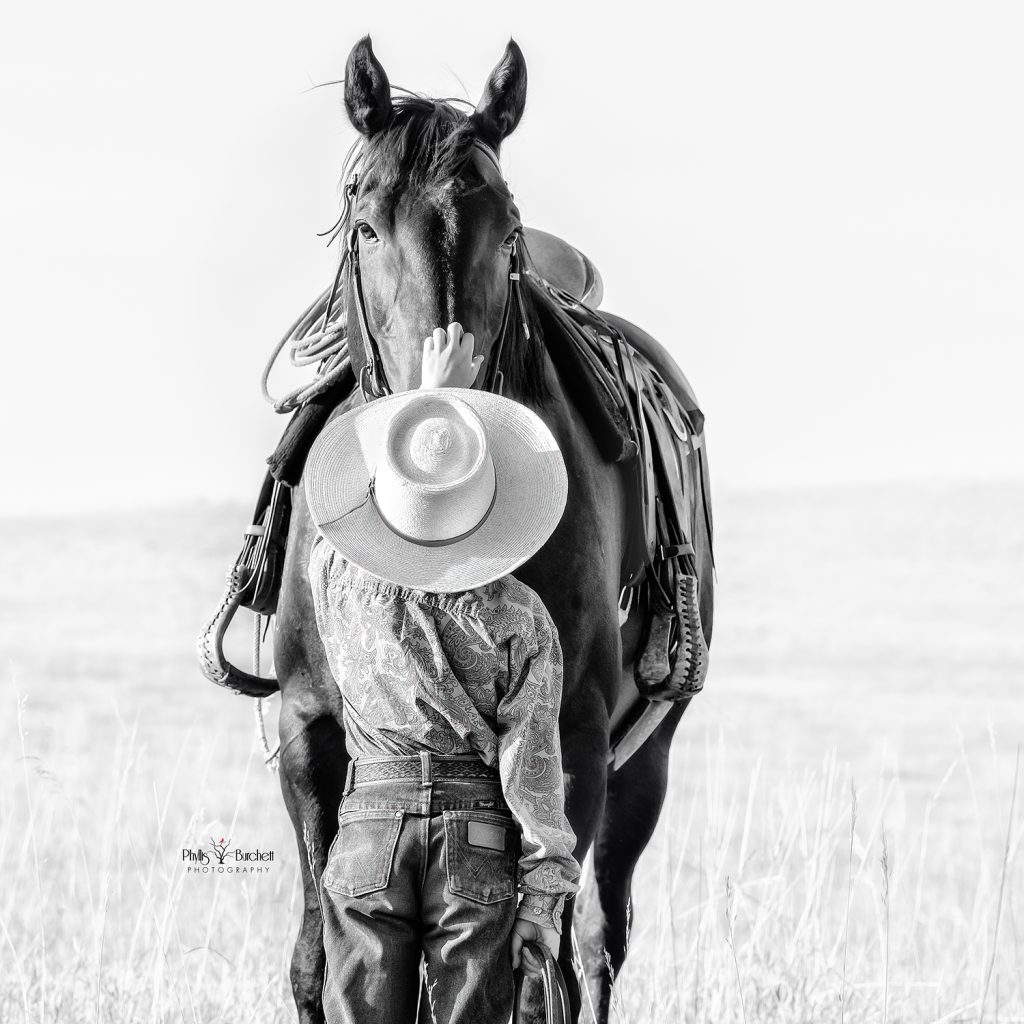
One of my favorite editing techniques is creating black-and-white high-key images. When done well, they have a timeless, elegant quality that draws all the attention to the subject while eliminating distractions.
But before we jump into the editing process, let’s talk about what “high key” actually means.
High-key photography is a style that uses bright tones and minimal shadows to create a light, airy feel. Unlike dramatic images filled with deep shadows and contrast, high-key photographs are soft, clean, and often evoke feelings of peace, simplicity, and joy.
The goal is to preserve detail in your subject while allowing much of the background to fade into bright whites. This is typically achieved by photographing your subject against a background that is significantly brighter than they are and exposing correctly for the subject.
The opposite approach is called low-key photography, which relies on darker tones and shadows to create mood, drama, and mystery.
Seeing High-Key Potential
Creating a successful high-key image starts long before you open Photoshop.
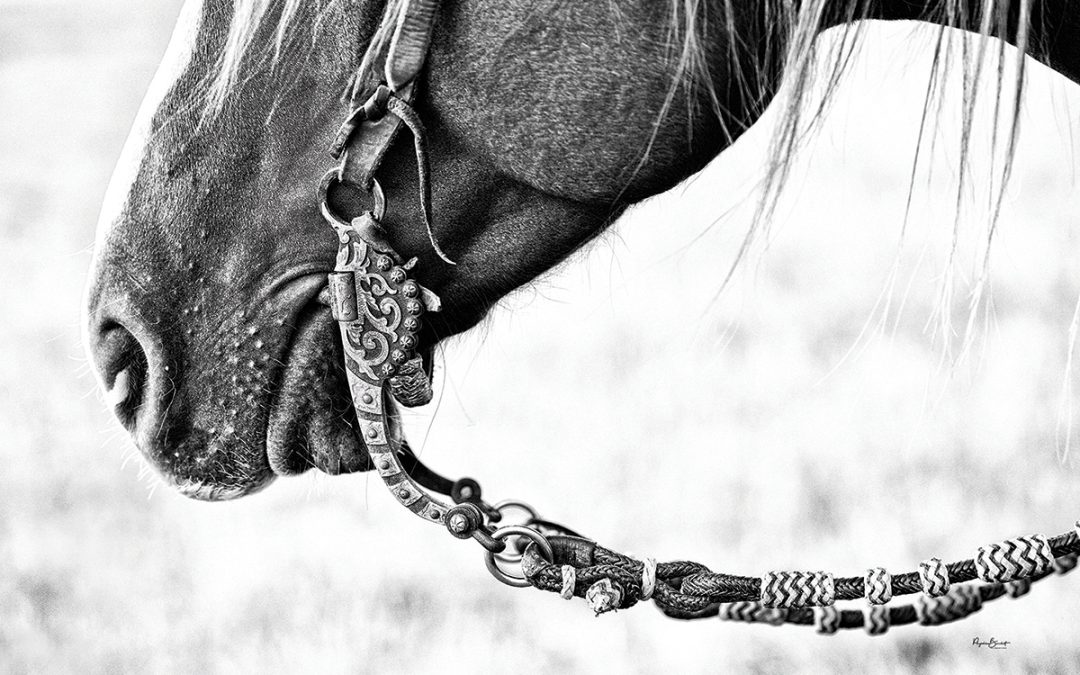
As you’re photographing, begin looking for scenes that might lend themselves to a high-key conversion. Subjects with simple backgrounds, strong shapes, and clean lines often work particularly well. Thinking ahead during the shoot will make the editing process much easier later.
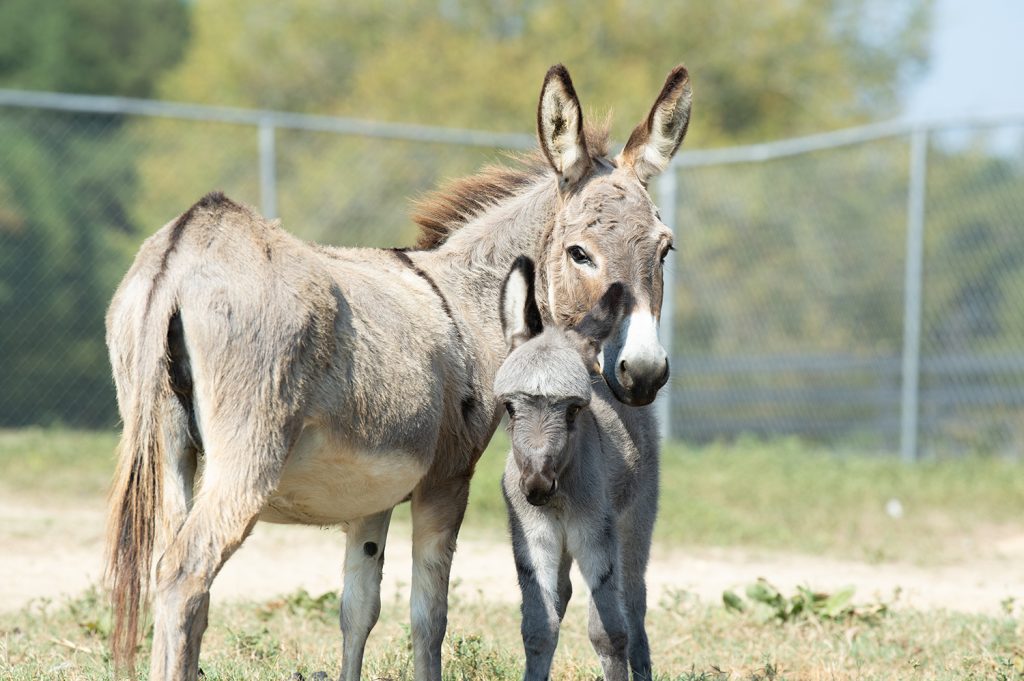
Before-Raw file SOOC (straight out of the camera)
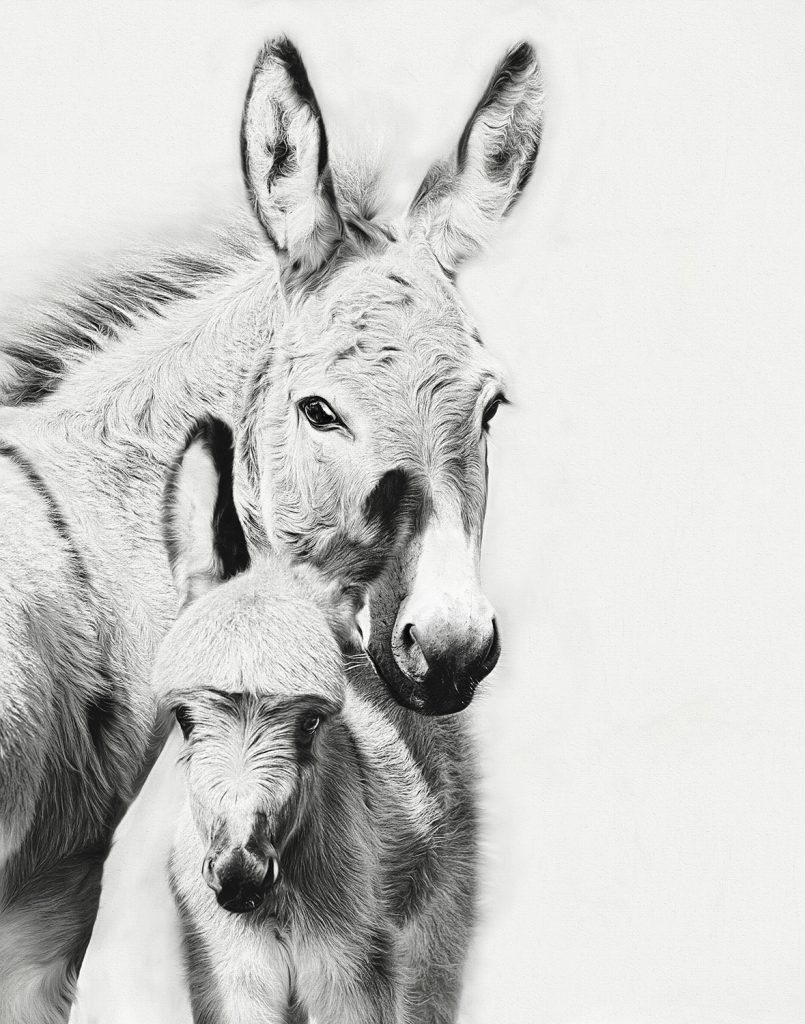
After Edits
Sometimes high-key images are intentionally created in-camera through exposure choices. Other times, a slightly overexposed image can become the perfect candidate for a beautiful high-key conversion during post-processing.
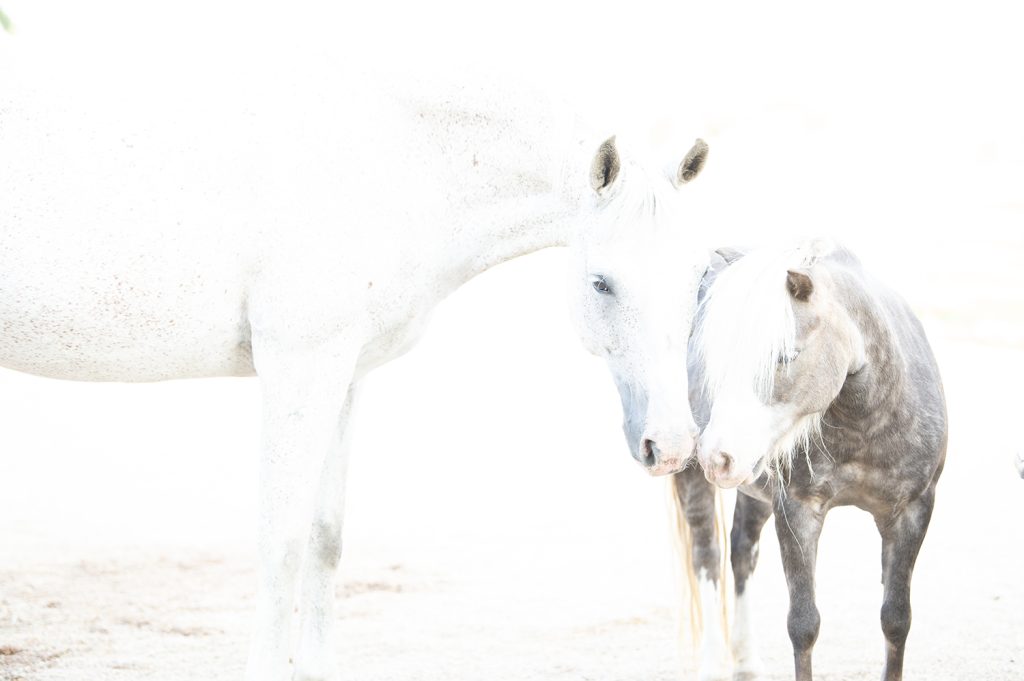
Overexposed Image shot in Raw SOOC (straight out of the camera)
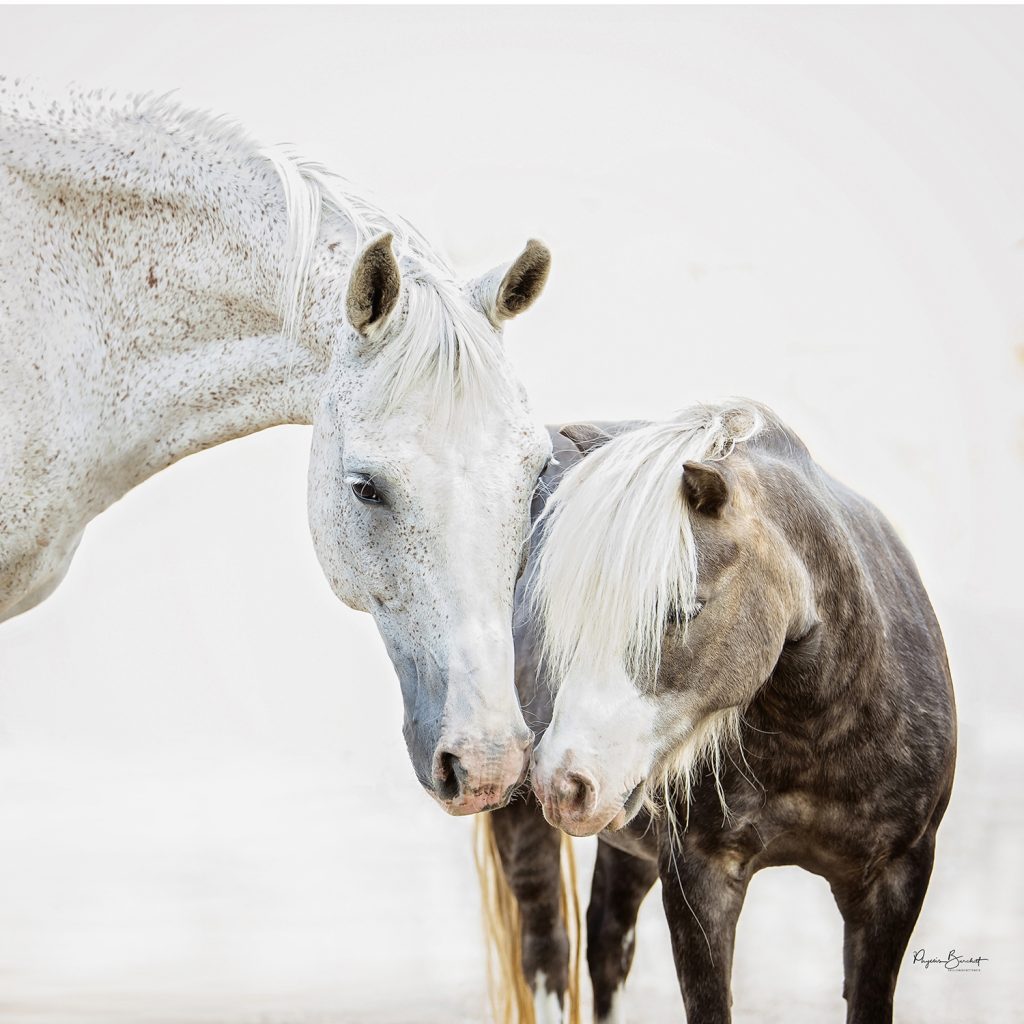
Thanks to shooting in Raw format I was able to recover the overexposed areas to make a lovely, unexpected image for a client! High-key can be in color too!
My 5-Step Process
Here’s the basic workflow I use to create my black-and-white high-key images:
-
Look for high-key opportunities while shooting.
Train yourself to recognize scenes that will translate well into bright, minimalist black-and-white images.
-
Make minor adjustments in Camera Raw.
Start with basic exposure and tonal corrections to prepare the image for conversion.
-
Convert using Nik Silver Efex Pro.
This is where much of the black-and-white magic happens. Silver Efex Pro gives me incredible control over tones and contrast.
-
Refine the image with Viveza.
Using Viveza allows me to selectively adjust brightness, contrast, and detail exactly where needed.
-
Finish with Photoshop adjustment layers.
A few final tweaks help polish the image and bring the vision together.