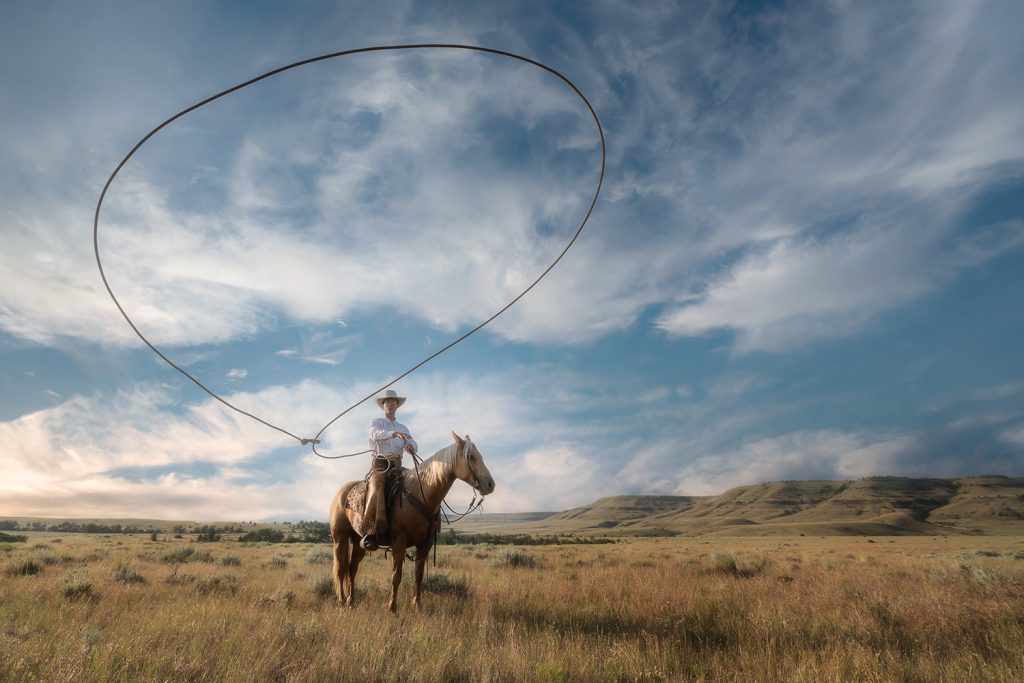
Most people think sky replacements start in Photoshop.
But they don’t; they actually start in the field with how you choose to shoot the sky in the first place
and choosing the focal length for dramatic skies is key.
This is one of the biggest things photographers overlook.
When you start shooting your own skies, your work becomes more consistent. The light makes more sense, and the final images feel more realistic.
You’re no longer trying to force someone else’s sky into your scene; you’re building a library that already matches the way you see and shoot.
Many photographers shoot the sky randomly, just grabbing something pretty to use later.
Then we try to drop that sky into an image shot at a completely different focal length. Maybe the colors and light match, but the perspective doesn’t.
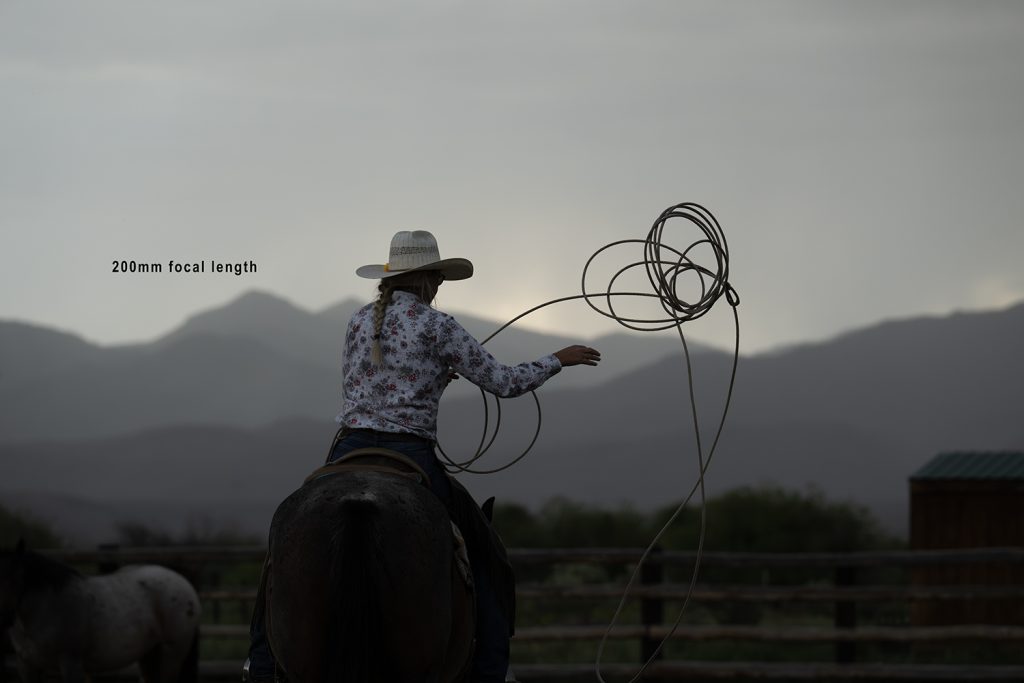
Focal length doesn’t just change your composition; it can change how the sky feels.
Wide Angle (12-24 mm) – Expands the scene, clouds appear smaller and more spread out, feels open, dramatic, and natural for landscapes.
Mid-Range (Around 50mm) – More natural perspective, closest to how we see the world, flexible and easier to blend in different situations.
Telephoto (100mm and up) – Compresses the sky, clouds look larger and closer together. Beautiful on its own, but sometimes tricky for composites.
If your foreground was shot at 24mm and your sky was shot at 200mm, they just don’t line up.
The viewer will feel that mismatch instantly, even if they’re not sure why.
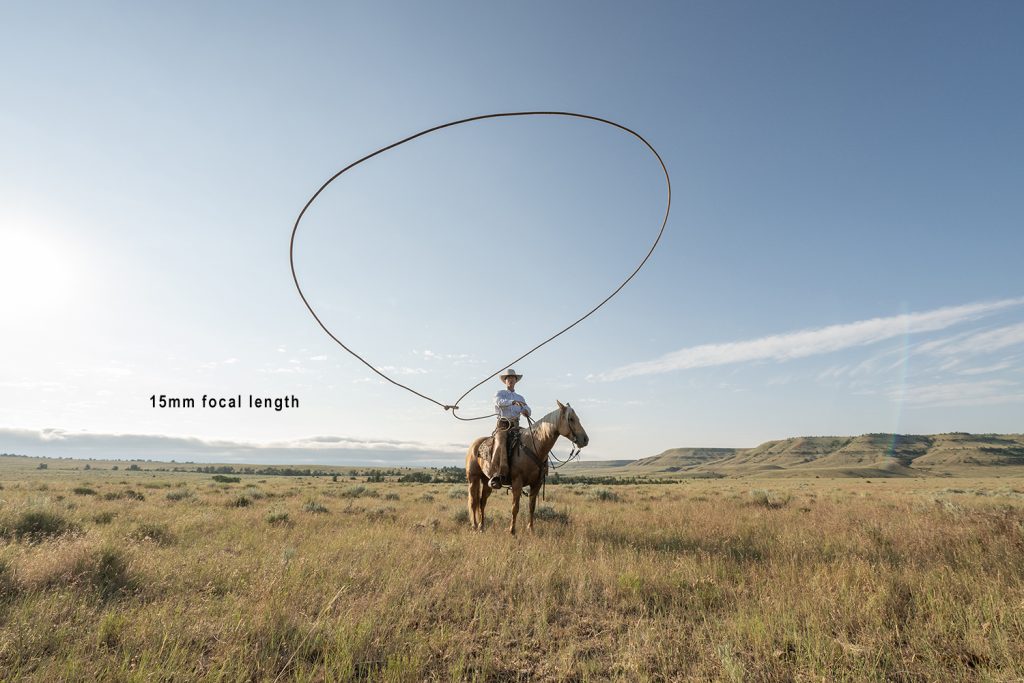
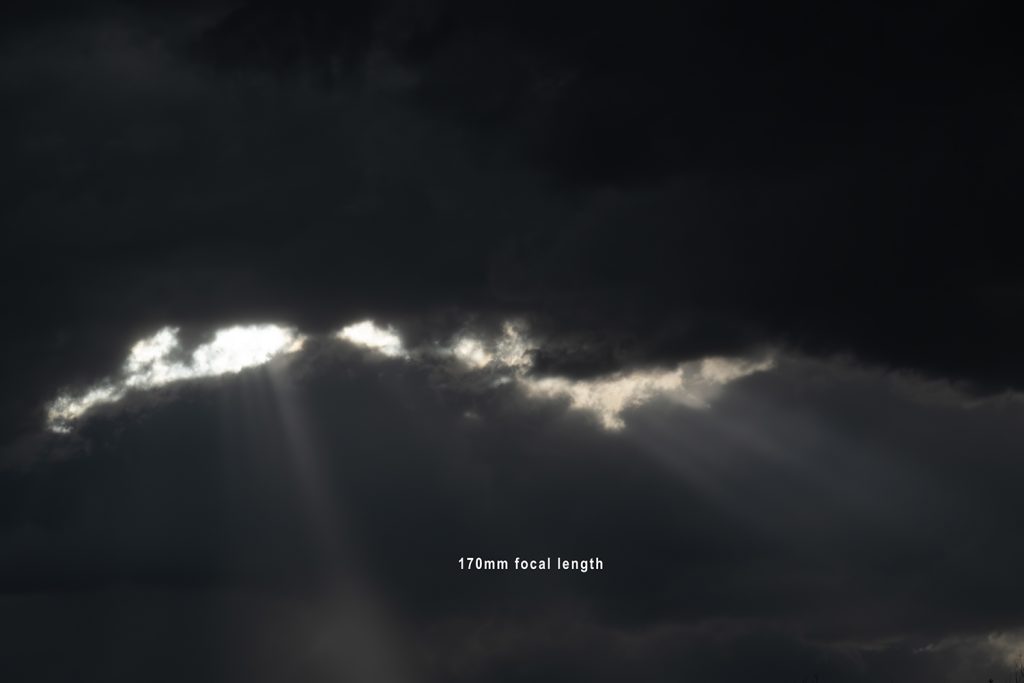
Original image, 15mm focal length.
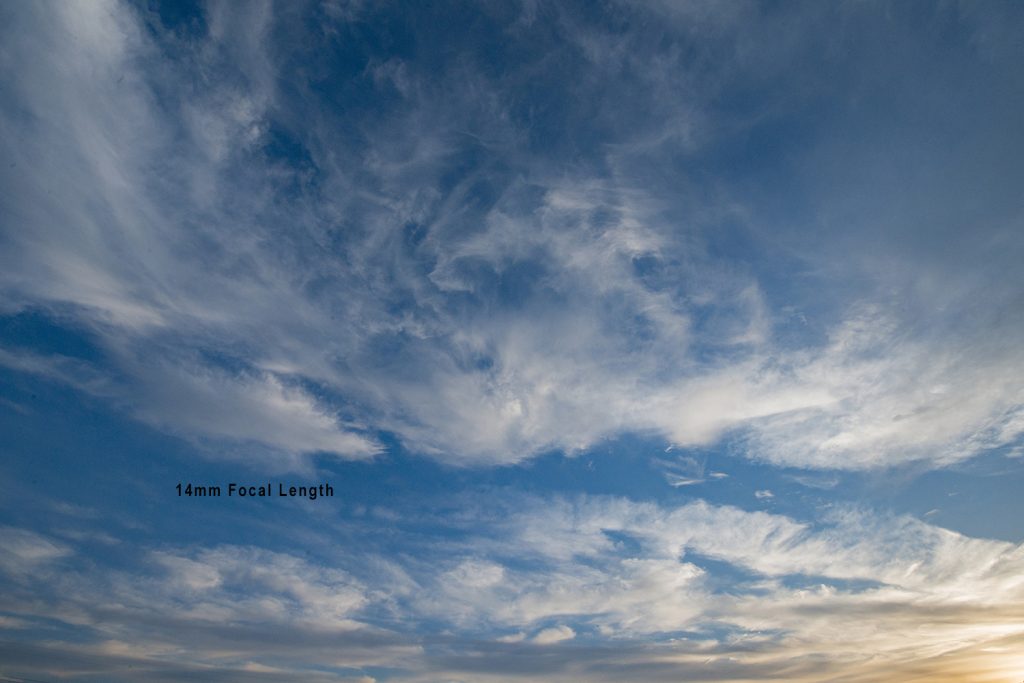
Cloud overlay at 14mm focal length (my own image)
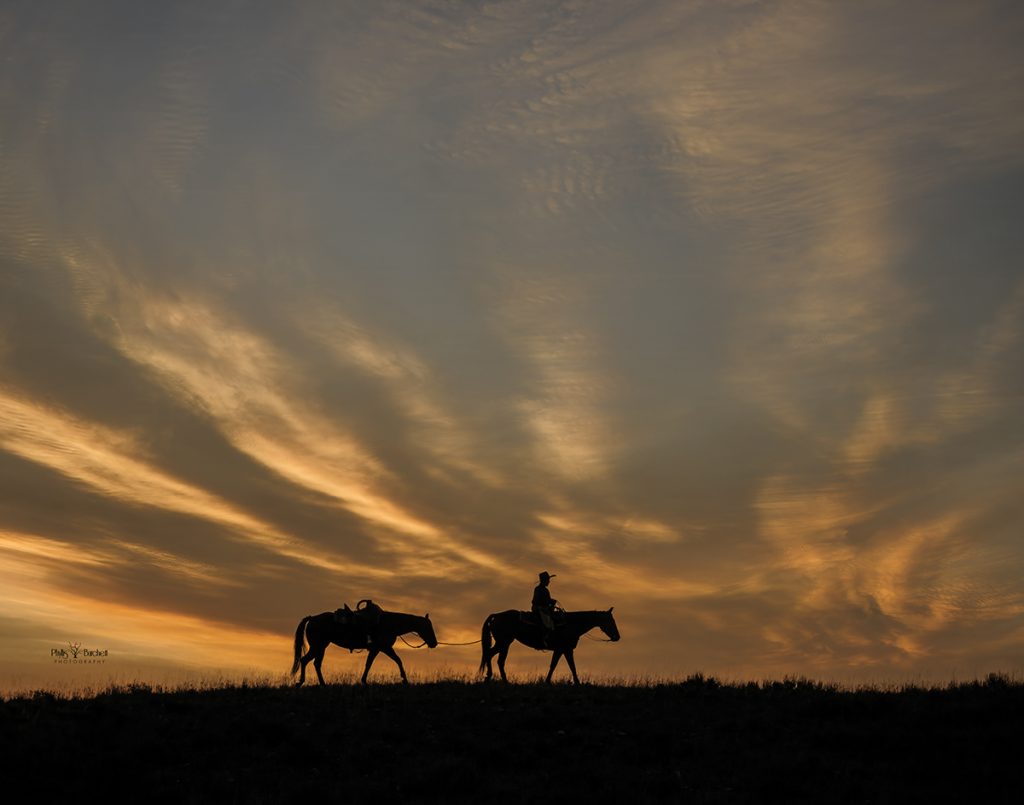
Final image
I flipped the overlay image, so the light was coming from the left to match the original scene.
There’s so much more than just choosing the focal length for dramatic skies, if you want your sky replacements to look believable, start here:
-
Match the focal length
-
Match the camera height and angle
-
Match the direction of light
-
Match the time of day and mood
-
Match the scale and depth of the clouds
This is especially important in wide, open environments, where the sky plays a huge role in the overall image.
Start building your own library of sky images. Next time you’re out shooting, take a few extra minutes and capture the sky on purpose.
Shoot skies at the same focal lengths you actually use, your go-to wide lens, and your everyday focal length, maybe even some isolated shots of clouds.
Look for variety: soft clouds, dramatic storm clouds, sunsets/sunrises.
When you’re in the field shooting, keep in mind to:
-
Slightly underexpose to hold detail in the highlights.
-
Always shoot in RAW.
-
Keep the horizon low or out of the frame entirely to give yourself more usable sky.
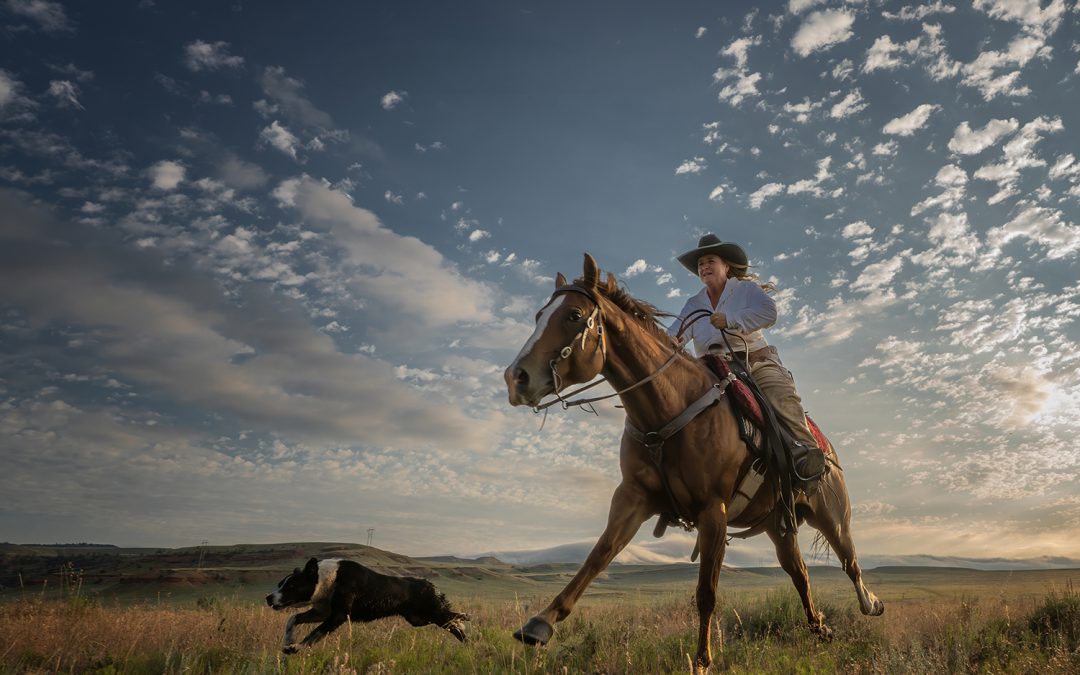
Original image
My sky image was taken within moments of the original image of the same scene.
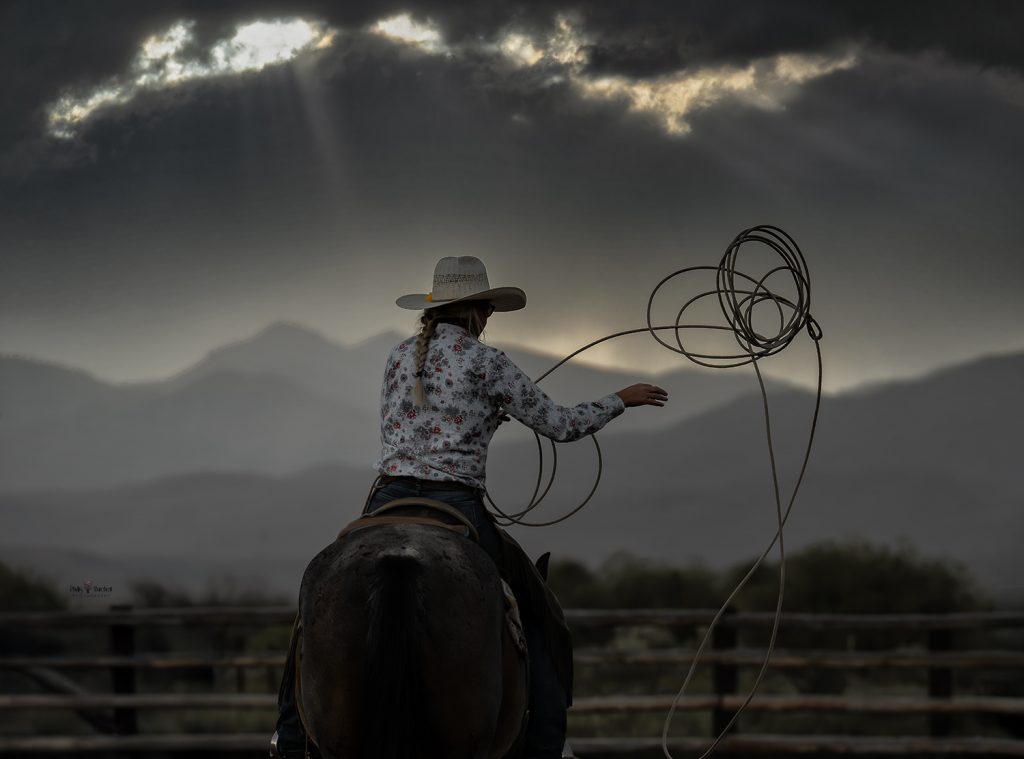
Final Image
Final thoughts: Organize to make things easier to find. Because if your filing system for your library is messy, you won’t use it. So, keep it simple: name each file by focal length, time of day, primary color, or weather. Something like: “24mm_sunset_pink_01” will make things much easier for you in the long run.
Good sky replacements aren’t about tricks in Photoshop. They’re about intention in the field. When you start paying attention to how you shoot your skies, everything you create starts to feel more natural, more consistent, and more like your own work! ☺