Holiday Photography
The holidays are just around the corner, photos for holiday cards and portraits to be given as gifts need to be taken soon! If you’re looking for how to advice for Holiday pics or just need a little inspiration, I hope these tips will help.
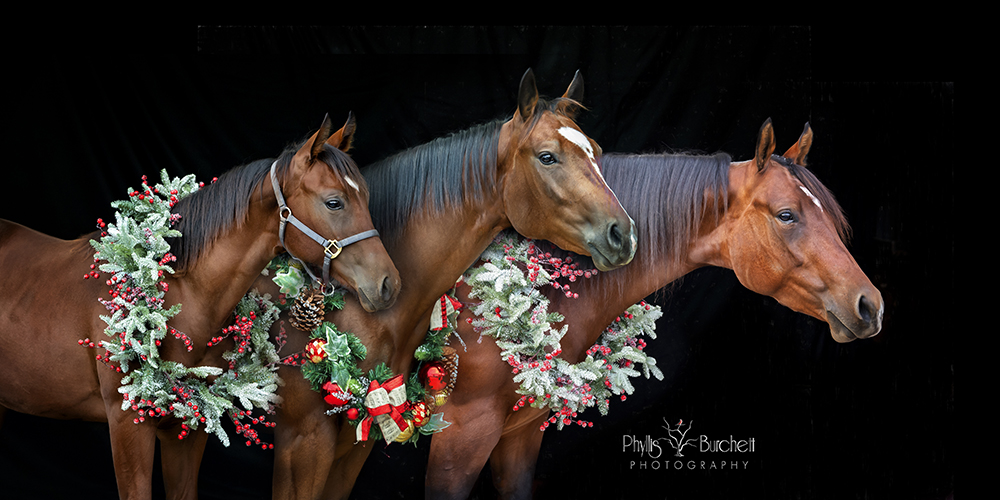
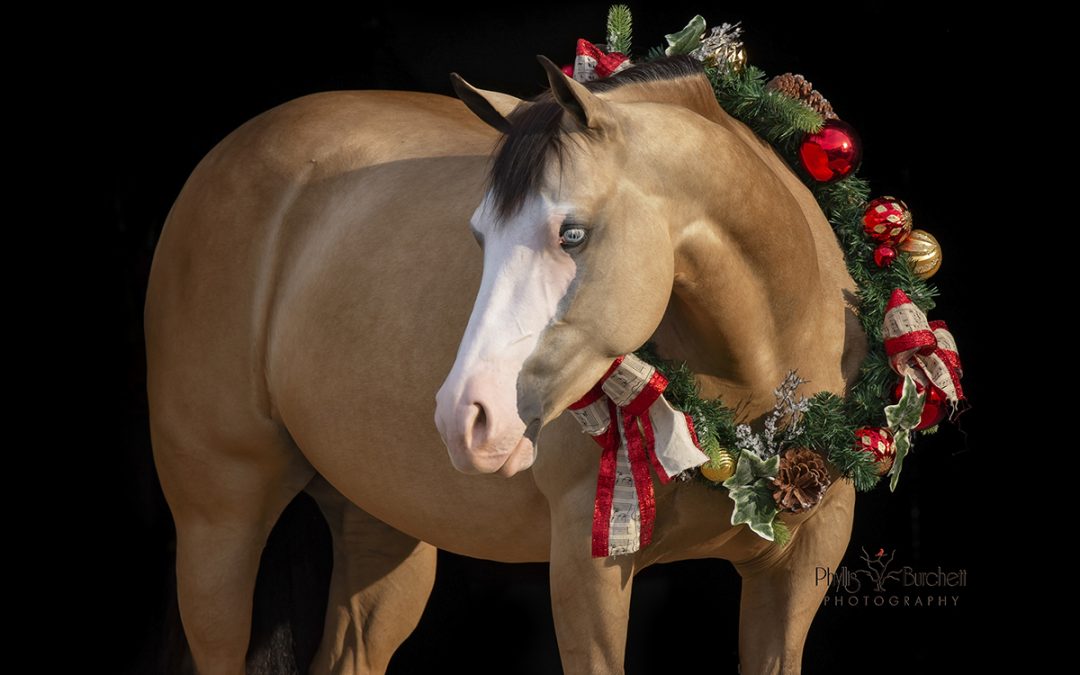
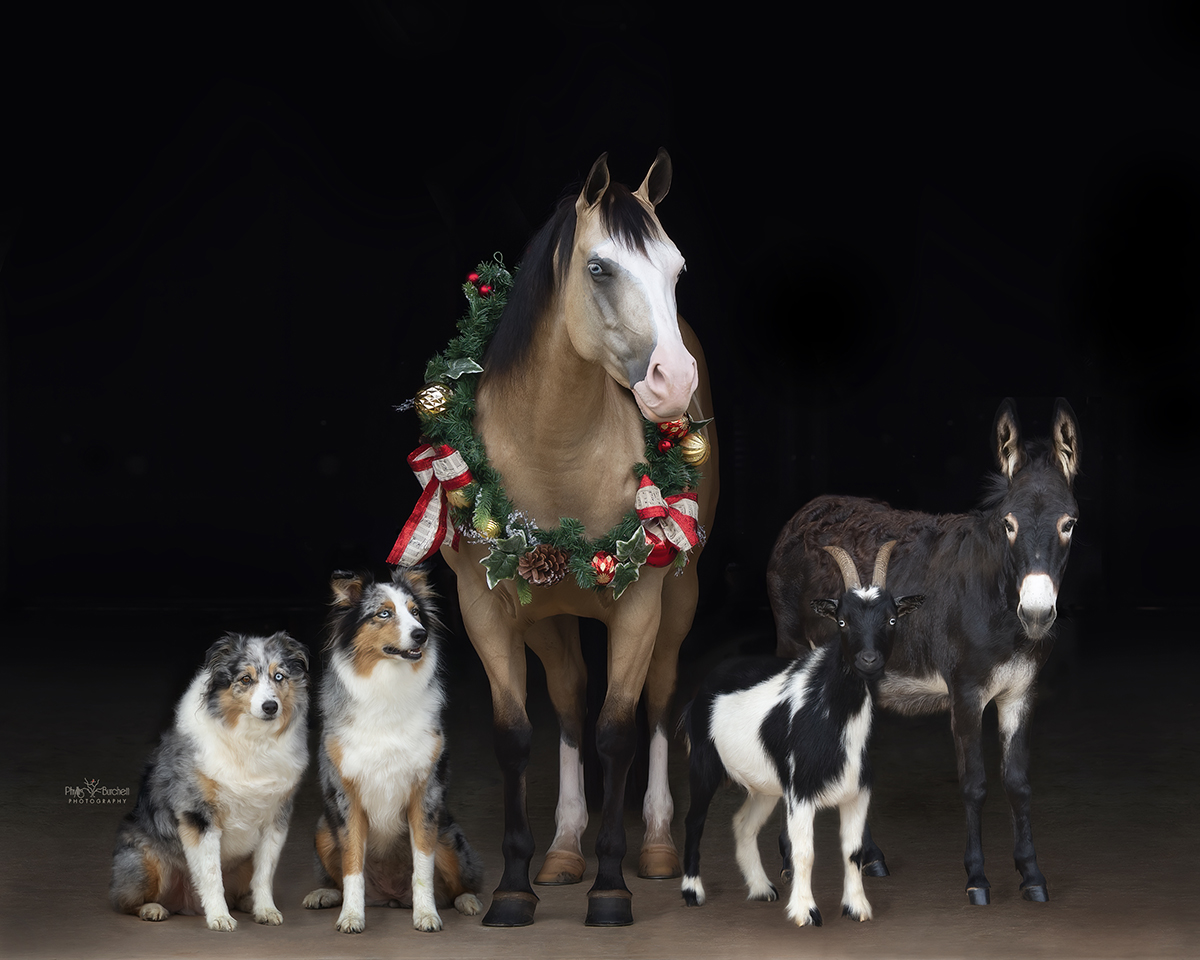
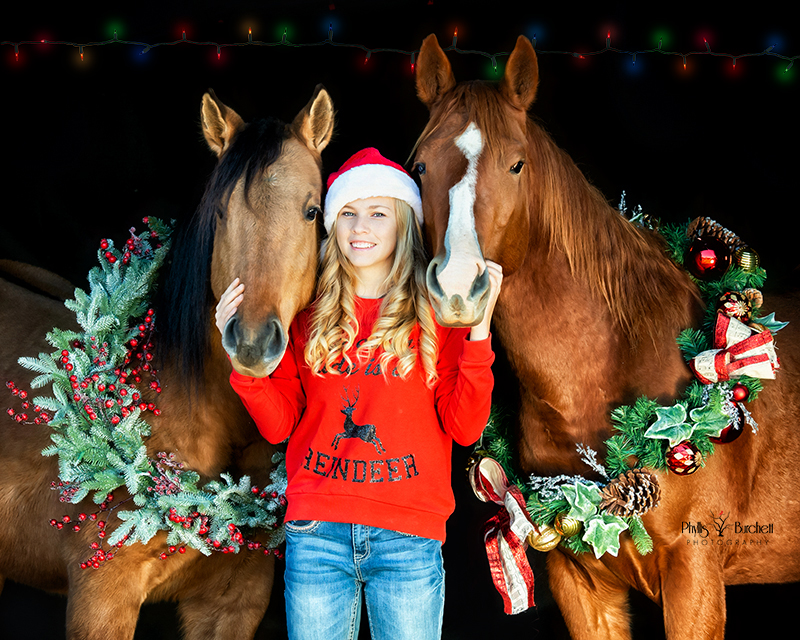
Think about Composites!
These horses were shot individually and then composited in Photoshop.
If you’re doing a black background shoot most any time of day will work as long as you have even light.
For more tips on doing this type of shoot please refer to my blog post on how to create stunning black background portraits!
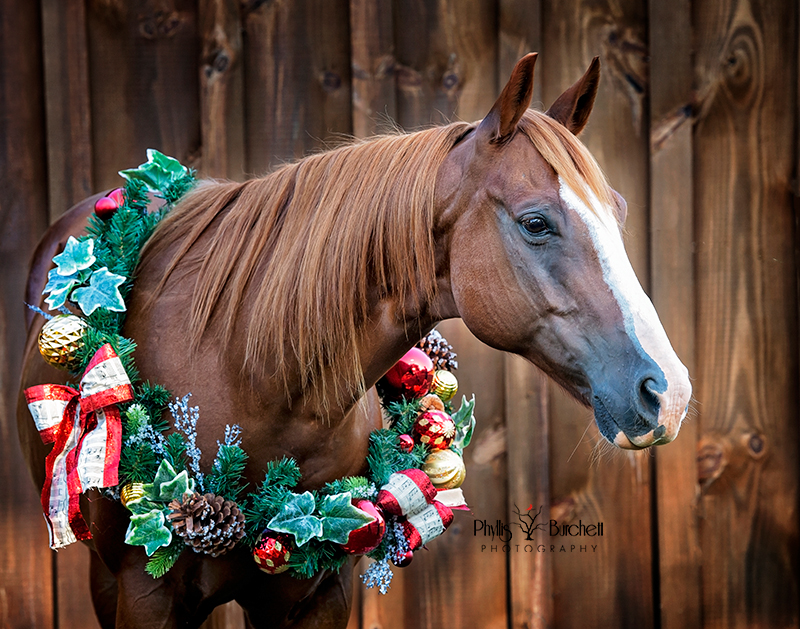
If you don’t have a good place for black background look for a pretty background wall large enough to put your subject in front of.
Otherwise, I’m sure you all know my favorite time to shoot is “Golden Hourâ€, which is about an hour before sunset.
The light has softened and there will be less shadows that can be unflattering to your subject. If there are lots of trees or the sun is blocked by either the landscape or a building, keep this in mind when planning your late afternoon/evening shoot as the light will be gone quicker.
 If you plan on using props during your holiday photoshoot—make sure you familiarize your horse with them ahead of time! This should also be done with any clothing that makes noise or may blow in the wind.
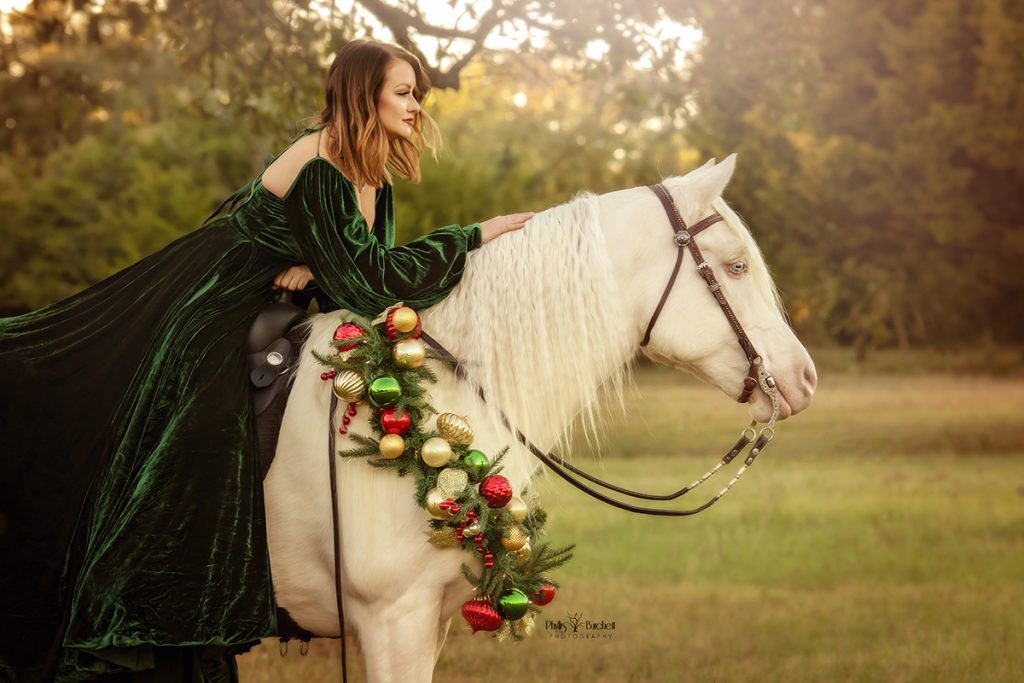
You want your horse model to be alert but not frightened and nervous for the shoot. Show any props to your horse in plenty of time prior to the shoot so that they become familiar and comfortable with them.
Be sure your models are groomed like they are going into the show pen! Braiding or banding is optional, but tack should be presentable and clean.
It’s important to let your client know it’s a good idea to lunge or ride their horse earlier in the day, to use up any extra energy so he/she will be more cooperative during the shoot. Make sure they know to leave plenty of time for grooming between exercise and the photoshoot. During the shoot, it’s always a good idea to give your equine model breaks or let him move around a bit in between shots.
An assistant at hand is always appreciated. Not only to help get ears forward, but another set of eyes is good to have on hand for things you may miss. As a photographer when you’re looking through the camera you don’t always see things that you will wish were fixed at the time of the shoot instead of having to do it in post-processing.
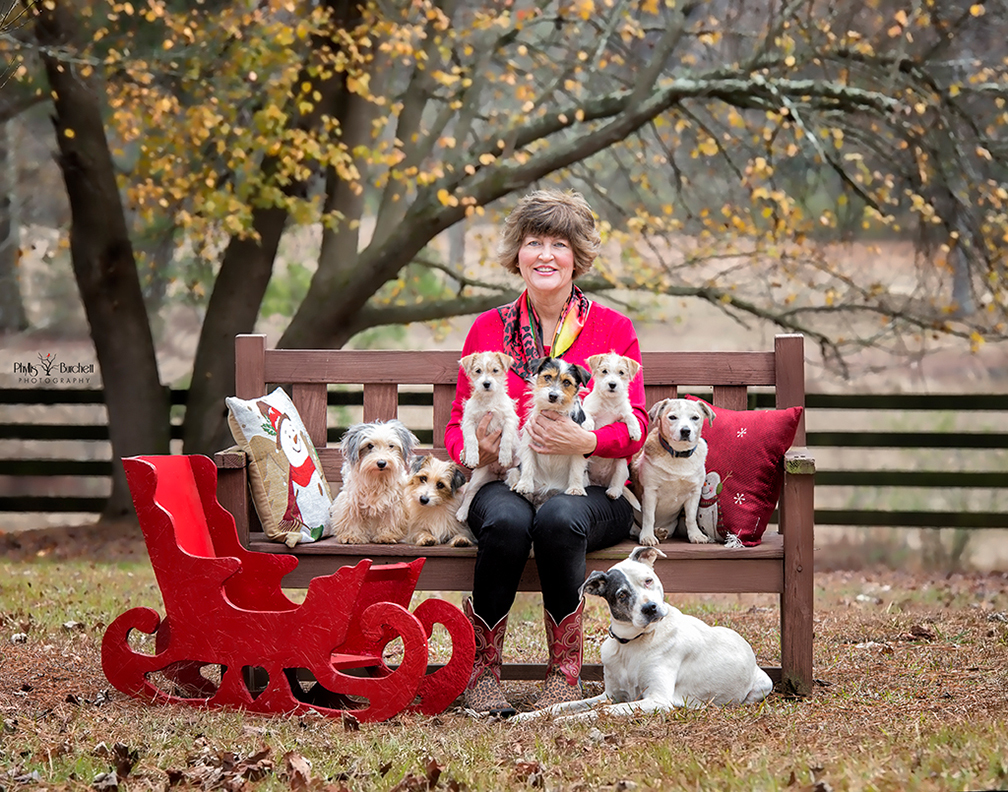
Think about telling a story with your images. These could be First Pony or Christmas Surprise.
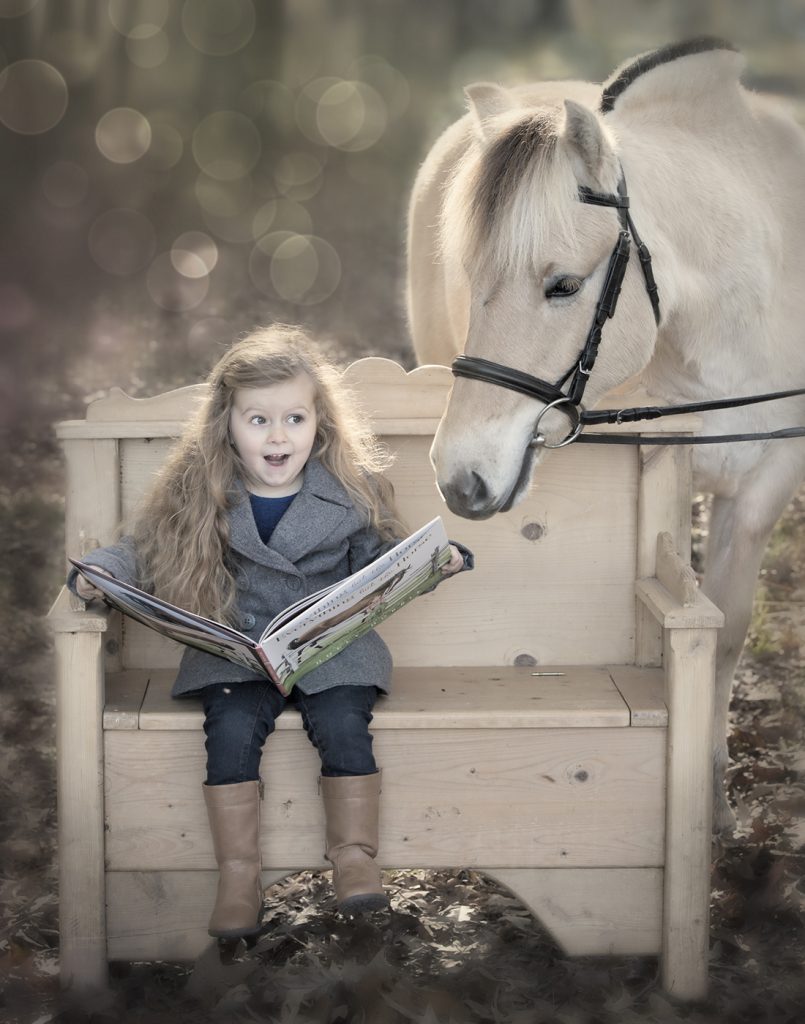
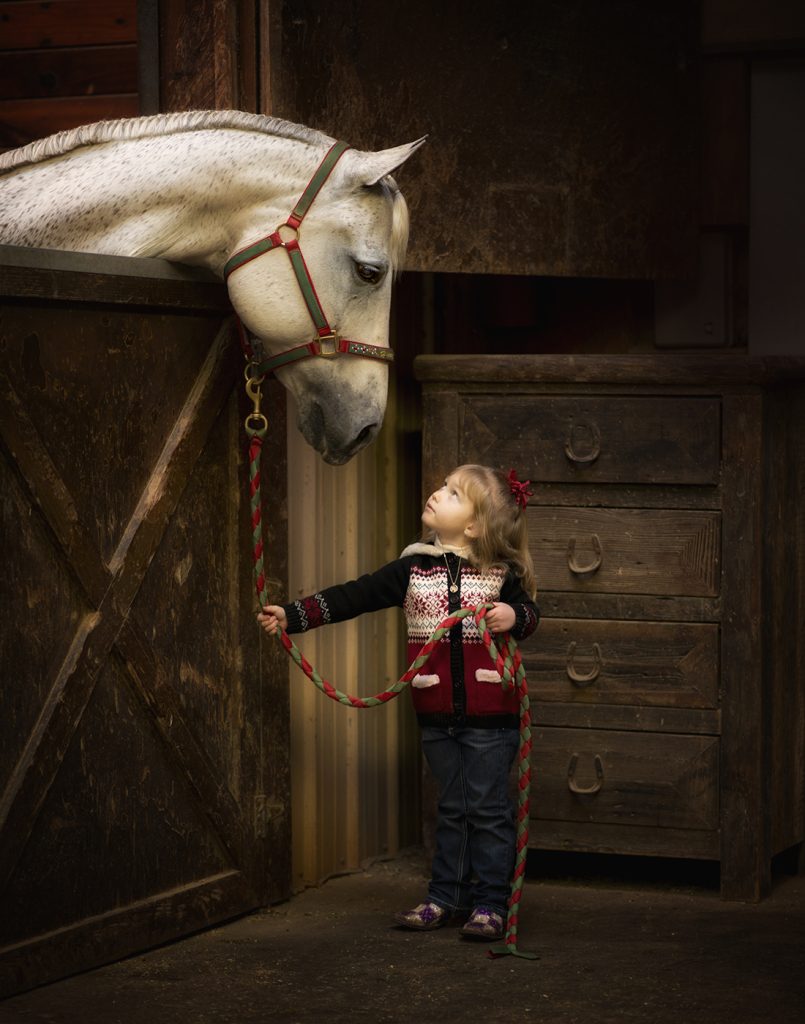
There are so many ways to get creative with your Holiday images.
So many companies offer overlays, PNG files, Brushes and more to help you make your images more festive!
Bellevue is one my favorites:Â https://bellevue-avenue.com/products/string-lights-overlays
Inky Deals:Â https://www.inkydeals.com/deal/650-christmas-designs-bundle/
Just do a search for Christmas Overlays.
Fun Christmas Light and Bokeh Shooting
For an image where the only subject is the bokeh of the lights, the lights can be on a Christmas tree or simply arranged in a bunch.
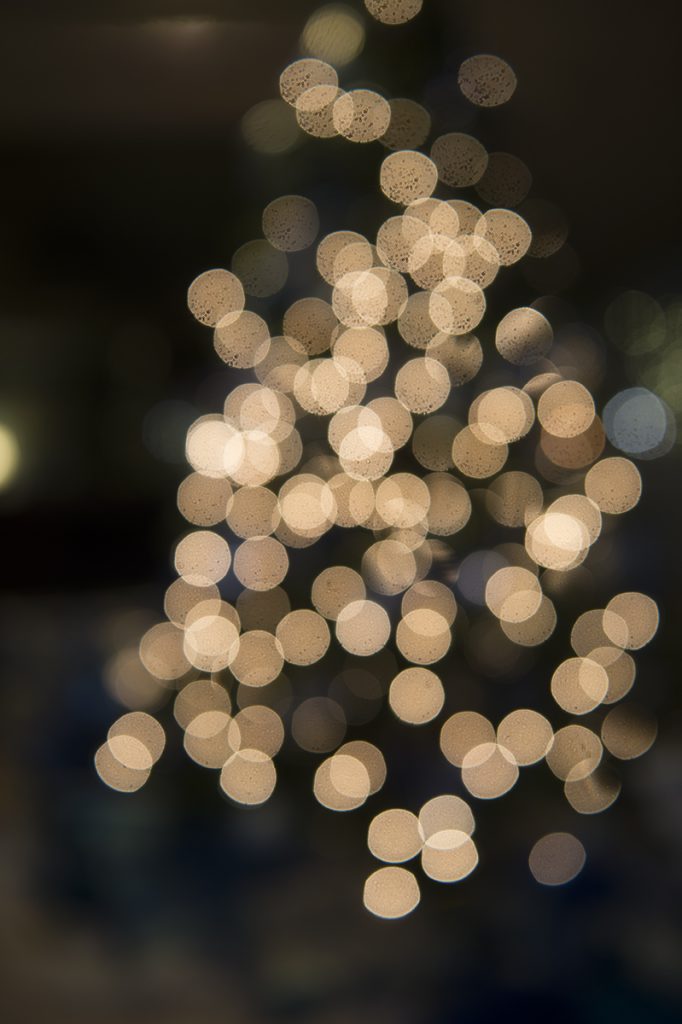 F2.8 – 1/20 SS – ISO 100 – 24-70mm Lens at 36mm
Best done on a tripod but you can hand hold the camera and lens by activating your image stabilization and using a higher shutter speed depending on your focal length. Â You want to use a wide aperture of f/4 or wider. Lenses that offer a wide aperture of f/2.8, f/1.8 or f/1.4 are best.
With the aperture set wide open, in manual mode, you’ll need to set the shutter speed manually. Use the camera’s built-in meter to make sure the exposure is correct for the scene. You may have to increase the ISO, to get the exposure you want.
Now, manually focus the camera so the lights are out of focus. Since the definition of bokeh is the soft, pleasing out of focus effect from a lens, you do not want to focus on the lights for this effect.
Creating Zoom Blur images is fun too!
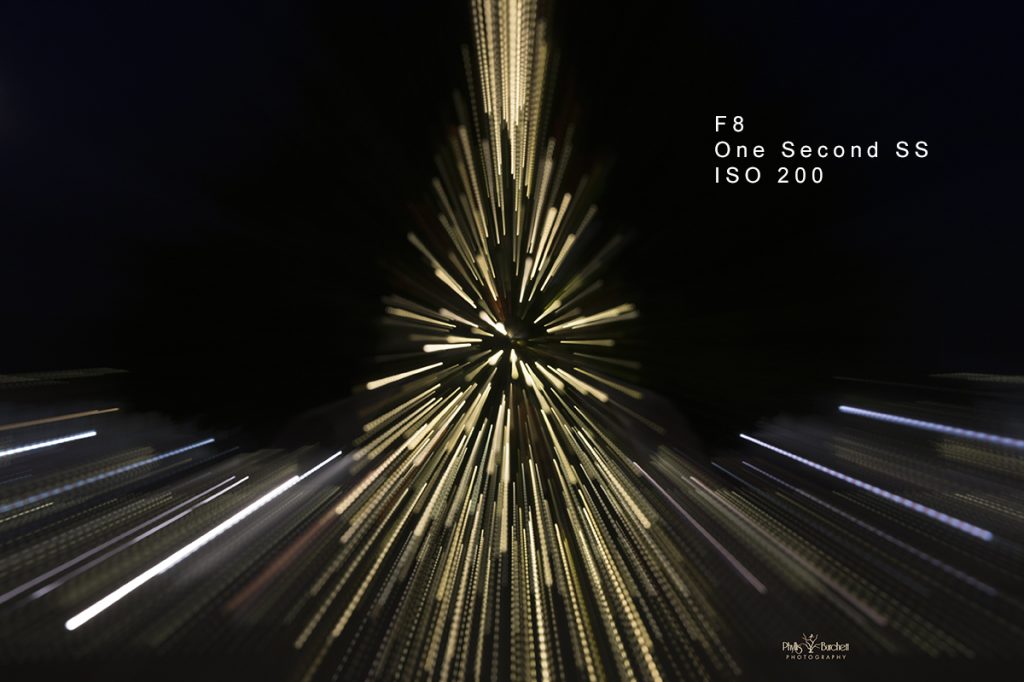
You’ll need a Zoom Lens to create this effect. You can begin by zooming in or out first but you’ll need a longer shutter speed for this one best done on a tripod.
You can use Photoshop Layers and Blend Modes for more creative fun by combining these two effects.
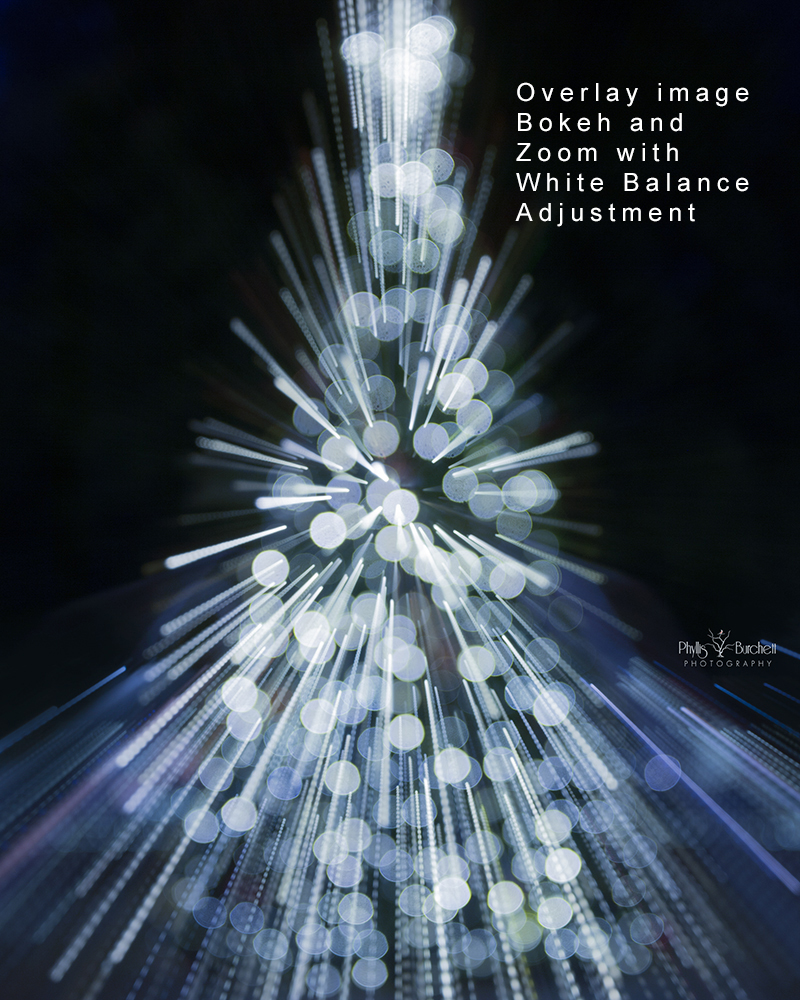 I adjusted the white balance in Camera Raw to the cooler tones.