
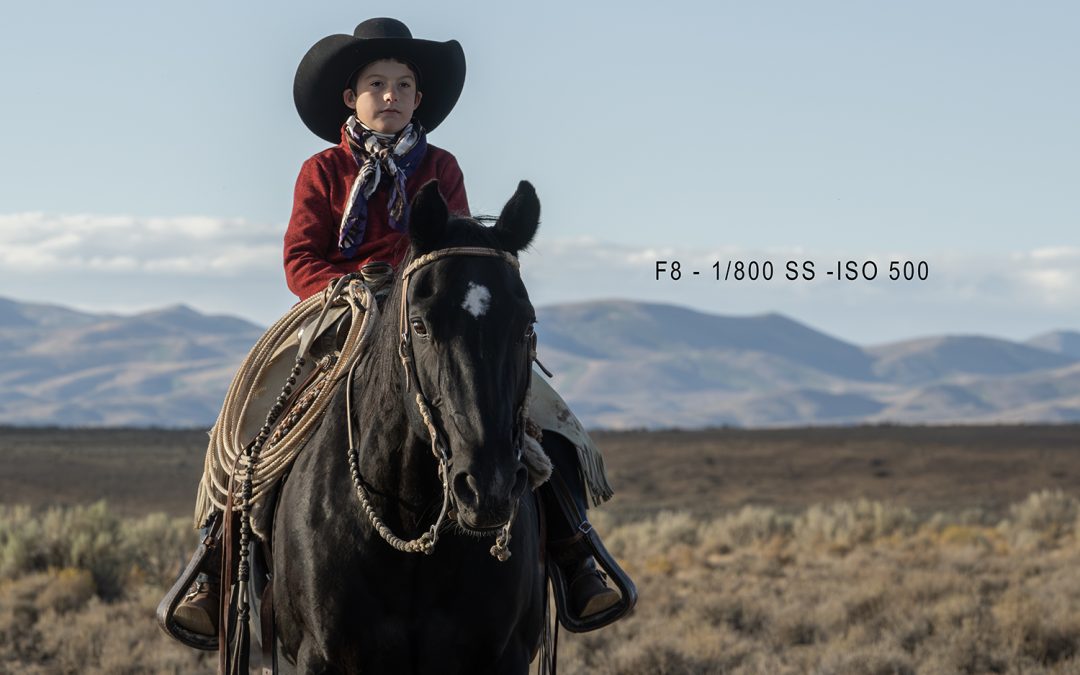
Understanding exposure is a foundation for becoming a more confident photographer. But rather than throwing a bunch of technical information at you all at once, I’m breaking it down into a three-part series covering the three elements of the Exposure Triangle: aperture, shutter speed, and ISO.
We’ll start with aperture and explore how it controls the amount of light entering your camera and, just as importantly, how it affects depth of field and the creative look of your images.
In the next two parts, we’ll cover shutter speed and how it can freeze or emphasize motion, then ISO and how it helps you manage exposure when light gets challenging.
My goal throughout this series is not just to help you understand what these settings do, but to help you understand why you might choose one setting over another, so you can make intentional decisions and use your camera as a creative tool rather than simply chasing the “correct” settings.
F8 – 1/1250 SS – ISO 800
Let’s start with aperture…
One of the questions I hear most often when we’re out in the field at a workshop or event is, “What aperture should I use?” While technical guidelines can help you answer that question, there isn’t one “correct” aperture for every situation.
For me, aperture is a creative decision. The setting I choose depends on the light, the lens I’m using, how close I am to my subject, what I want to emphasize, and most importantly, the story I want to tell.
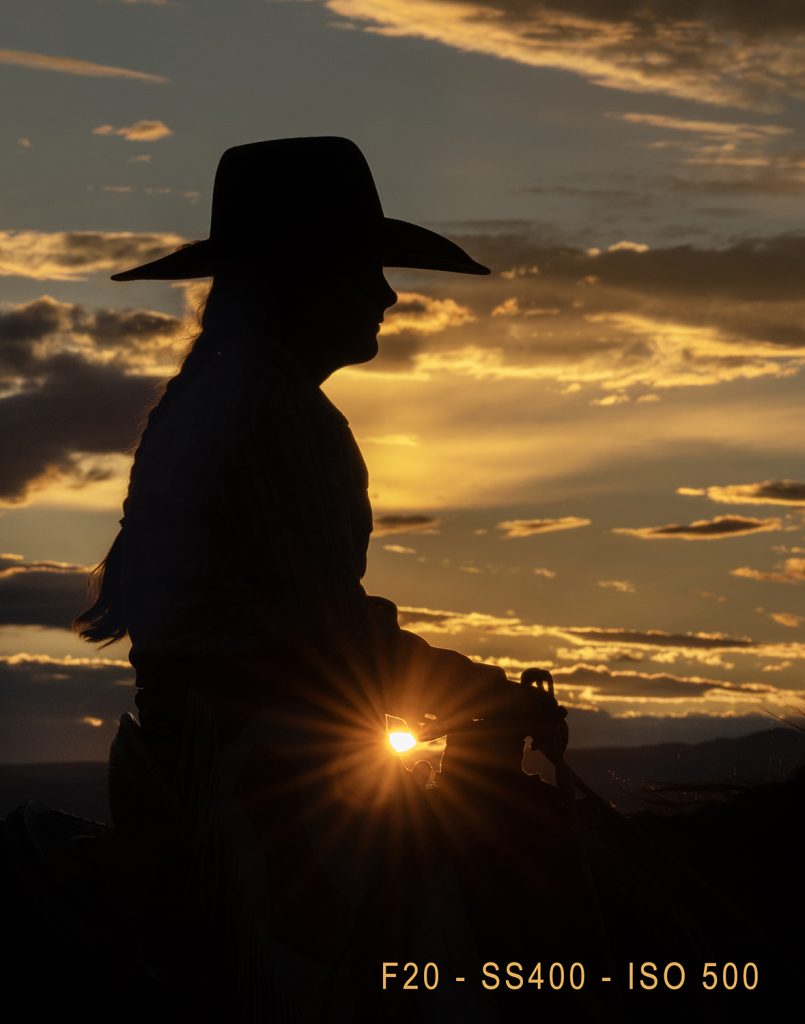
Here, I wanted that sunburst effect; stopping down to F20 gave me that.
Before we talk about choosing an aperture, though, let’s make sure we understand what it actually does.
What Is Aperture?
Aperture is the opening inside your lens that controls how much light reaches your camera’s sensor. Think of it much like the pupil of your eye. When the opening is larger, more light comes in. When it’s smaller, less light enters.
Aperture is measured in f-stops, such as f/2.8, f/4, f/5.6, f/8, and f/11.
Here’s the part that can be confusing at first:
A smaller f-number = a larger opening.
A larger f-number = a smaller opening.
But aperture does more than control exposure. It also strongly affects depth of field.
What Is Depth of Field?
Depth of field (DOF) is the amount of the scene that appears acceptably sharp from front to back.
A shallow depth of field means a small portion of the image is in focus while areas in front of or behind your subject become soft and blurred. This is often what we want when creating an intimate portrait or isolating a horse from a distracting background.
A deep depth of field means more of the scene appears in focus. This can be useful when you want to show the environment, capture multiple subjects, or create a landscape where the foreground and background are important to the story.
So, rather than simply asking, “What aperture should I use?”, I encourage you to ask: “How much of this image do I want in focus, and what do I want my viewer to notice?”
Aperture is one of the most direct ways to control depth of field.
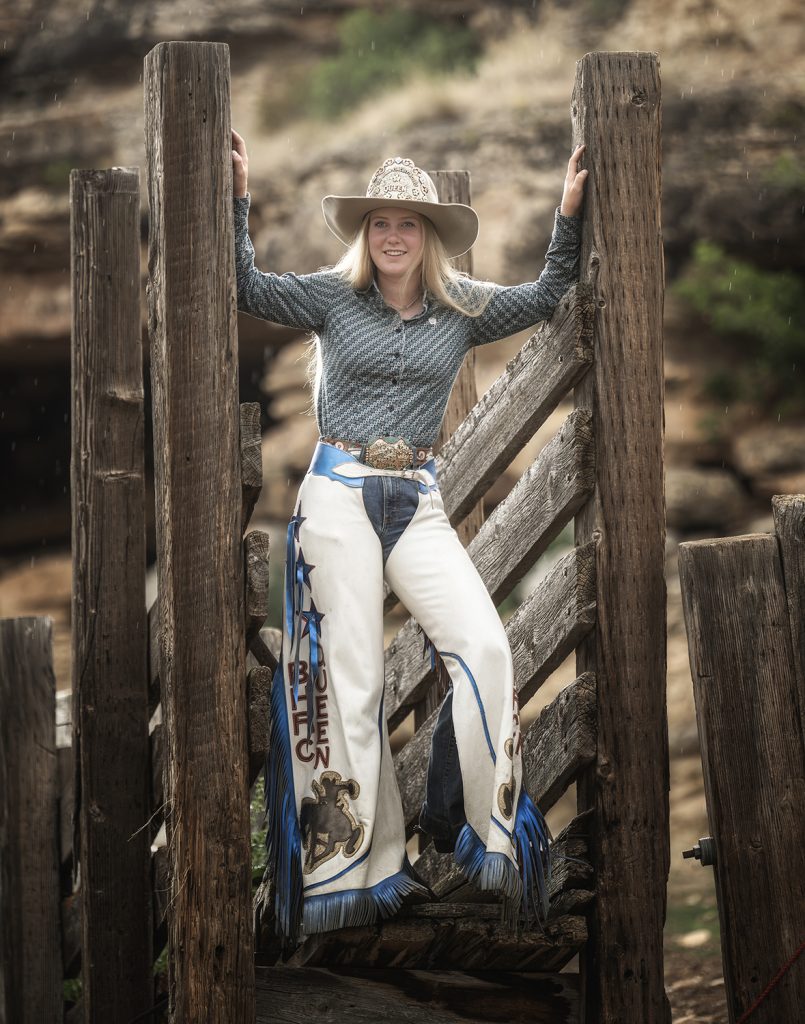
F2.8 – SS 1/250 – ISO 800
A wide aperture, such as f/1.8, f/2.8, or f/4, creates a shallower depth of field and can help separate your subject from the background.
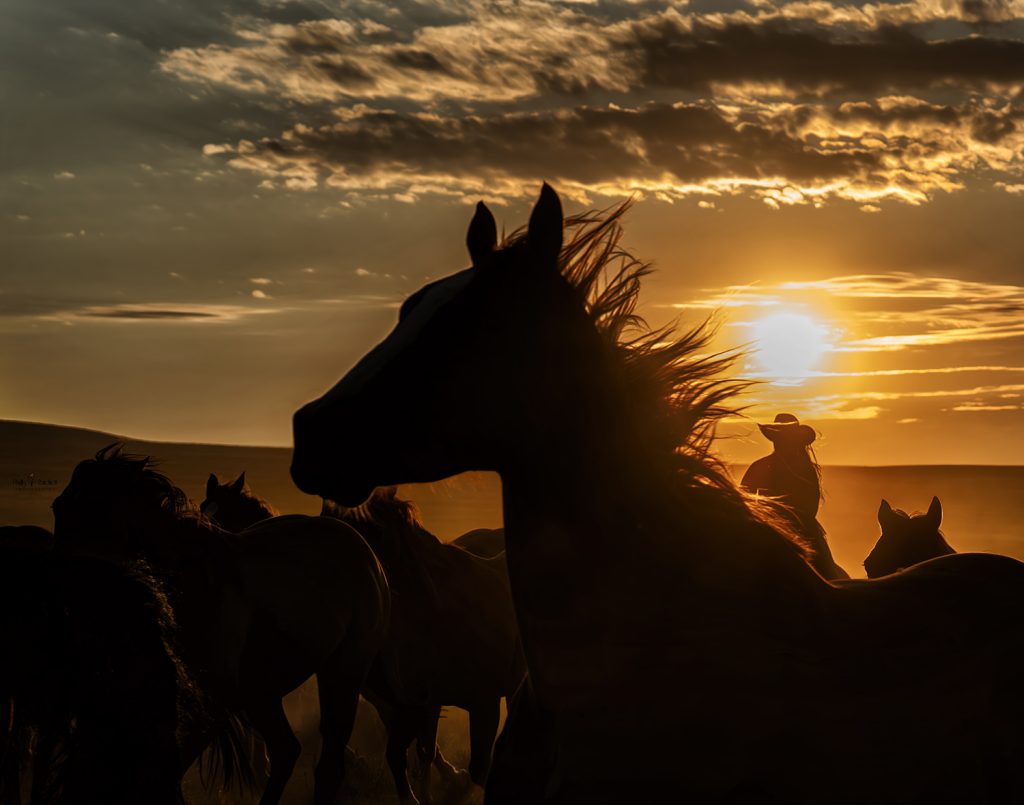
F8 – SS 1/1250 – ISO 200
A smaller aperture, such as f/8 or f/11, gives you a deeper depth of field and keeps more of the scene sharp.
Personally, I do use f/2.8 when the situation calls for it, mostly when I’m working in lower light. And yes, wider apertures can create that beautiful background separation we love. But depending on the lens and the subject, shooting wide open can sometimes mean giving up a little overall sharpness or having such a narrow plane of focus that critical areas of the subject fall out of focus.
For my portrait work, I often prefer f/4–f/5.6 when the light allows. It gives me a little more room for error while still providing beautiful background separation.
Distance to Your Subject – Your distance from your subject also affects depth of field.
The closer you are to your subject, the shallower your depth of field can become. Move farther away, and more of the scene will appear in focus.
Focal Length – Your lens’s focal length also affects how you create subject separation.
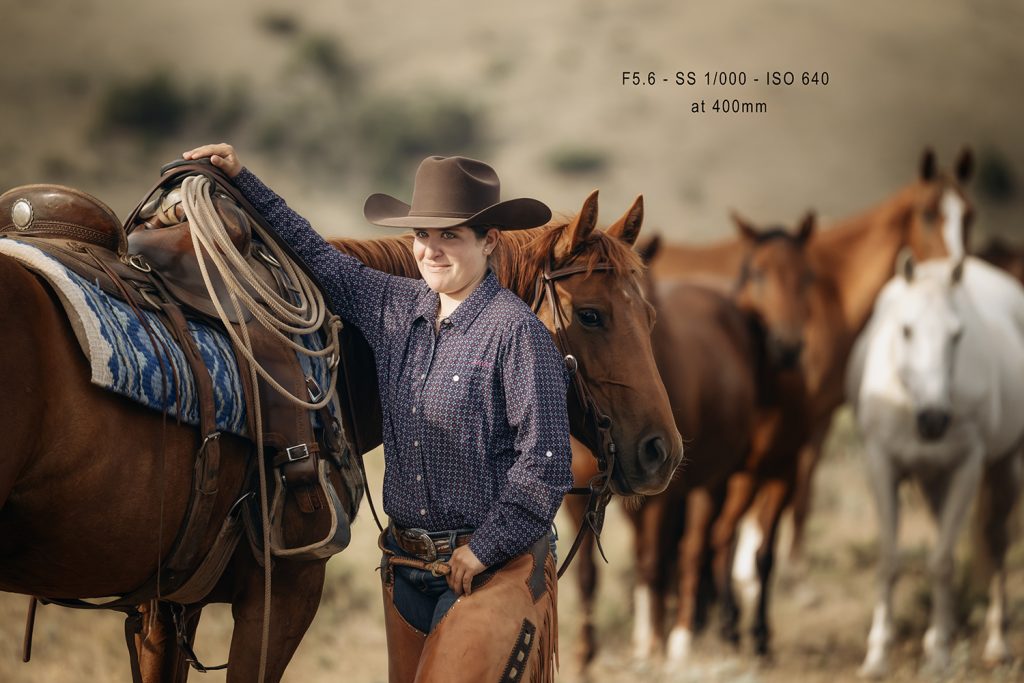
Telephoto lenses are particularly useful for portrait work because they allow us to isolate our subjects and compress the background, creating that beautiful, intimate look we often associate with equine and Western photography.
Subject-to-Background Distance – Want more background blur? Create more distance between your subject and the background.
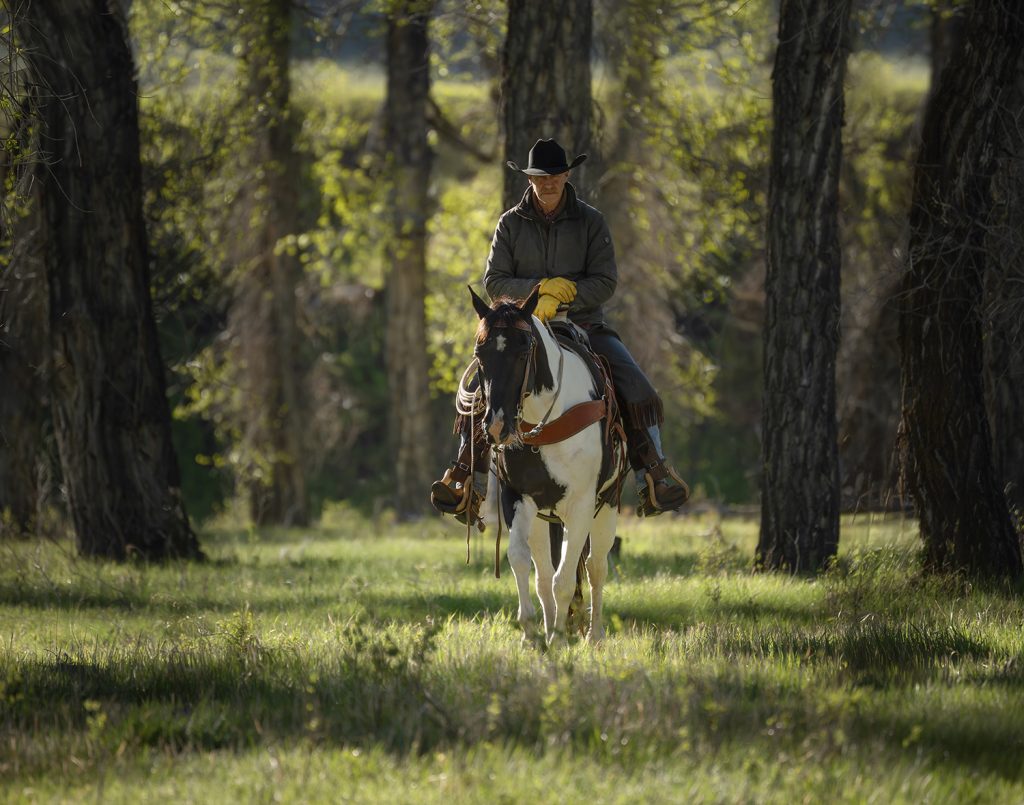
F5.6 – SS 1/1250 – ISO 500 at 400mm
If your horse is standing directly in front of a fence, the fence may remain fairly recognizable even when you’re shooting at a wide aperture. Move the horse farther away from that fence, and suddenly the background can become much softer and less distracting.
This is an incredibly useful tool when you’re working in a less-than-perfect environment.
Camera-to-Subject Distance – Where you are standing matters, too.
Moving closer to your subject or farther away changes the relationship between your camera, your subject, and the background, and therefore changes the appearance of your depth of field.
This is why I encourage you not to think of aperture as an isolated setting. Your aperture works with your distance, focal length, and composition to create the final image.
Camera-to-subject distance strongly affects depth of field, and it’s often overlooked.
The closer you are, the shallower the depth of field
When you move closer to your subject, your depth of field becomes shallower. This is why a close-up portrait of a horse can have the eye tack-sharp while the ears or nose begin to fall out of focus.
The farther away you are, the deeper the depth of field
The farther you move from your subject, the more of the scene appears in focus. This can be especially useful when photographing multiple horses, riders, or a larger ranch scene where you want more of the story sharp.
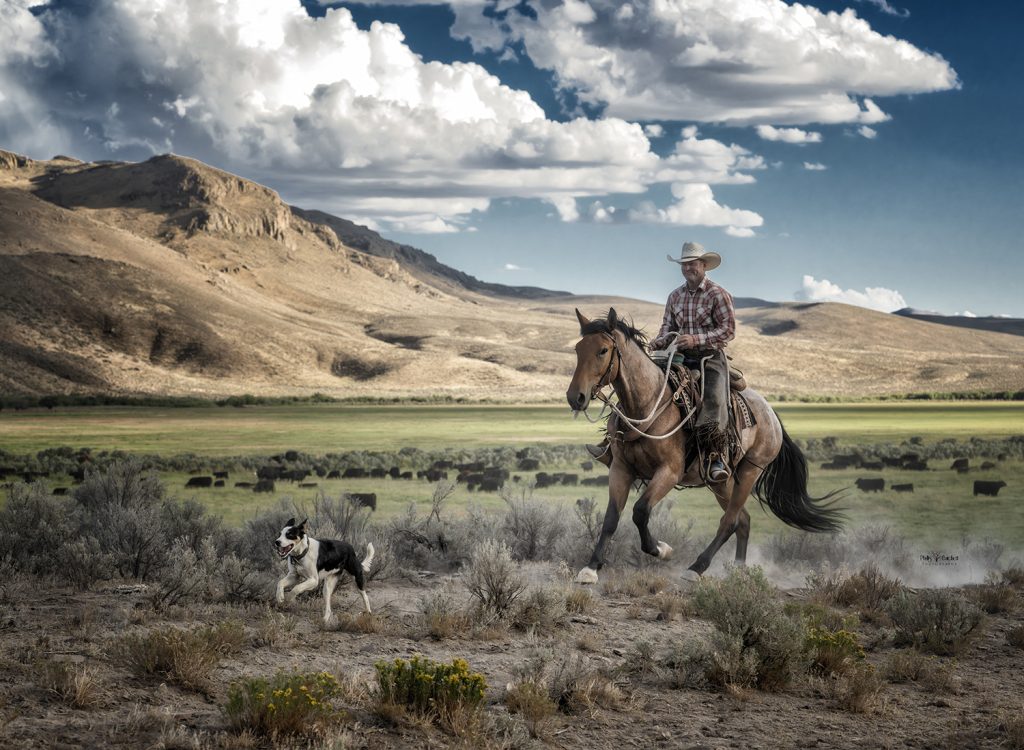
F6.3 – SS 1/1250 – ISO 800 at 81mm
The important part:
Depth of field is influenced by several factors working together:
-
Aperture: Wider aperture (f/2.8) = shallower DOF; smaller aperture (f/11) = greater DOF.
-
Focal length: The longer the lens, the more the background appears out of focus.
-
Camera-to-subject distance: Closer = shallower; farther away = deeper.
-
Sensor/camera format: The size of your camera’s sensor can affect your depth of field.
If you want to change your depth of field, don’t think only about changing your aperture. Where you physically stand matters, too.
Lens Choice – Different lenses can produce very different looks.
Fast lenses with wide maximum apertures, such as f/1.4, f/1.8, or f/2.8, give you more creative control when you want shallow depth of field and beautiful bokeh, the aesthetic quality of an image’s out-of-focus areas. But don’t assume that shooting at the widest possible aperture automatically creates a better photograph.
Lighting Conditions – Light also influences the aperture you choose.
In bright conditions, you may need to stop down to a smaller aperture to maintain proper exposure. In low light, you may need to open your aperture to let in more light.
But remember you don’t have to let the light make every creative decision for you. That’s where your other settings—shutter speed and ISO—come into play.
The goal isn’t simply to find the “right” exposure. It’s to find the combination of settings that give you the exposure and the creative result you want.
Sensor Size – Sensor size can also influence the depth-of-field look you can achieve.
Larger sensors, such as full-frame sensors, can make it easier to achieve a shallow depth of field and strong subject separation at comparable framing and settings. Smaller sensors can still create beautiful background blur, but the overall look and depth-of-field characteristics will be different.
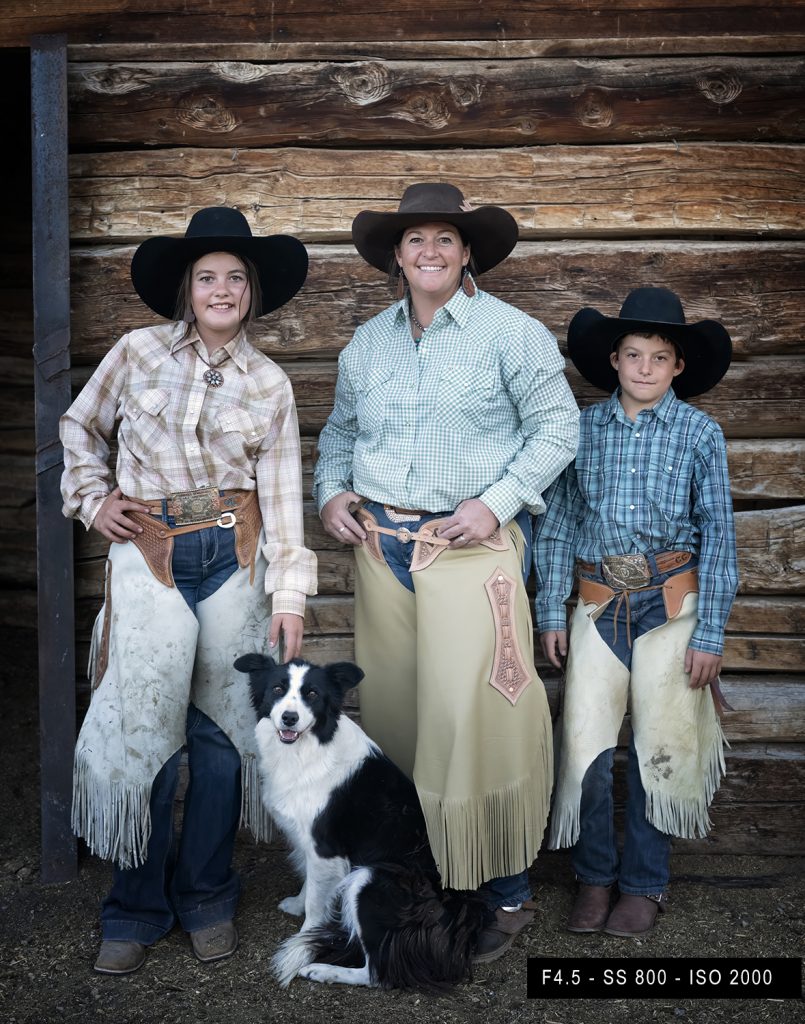
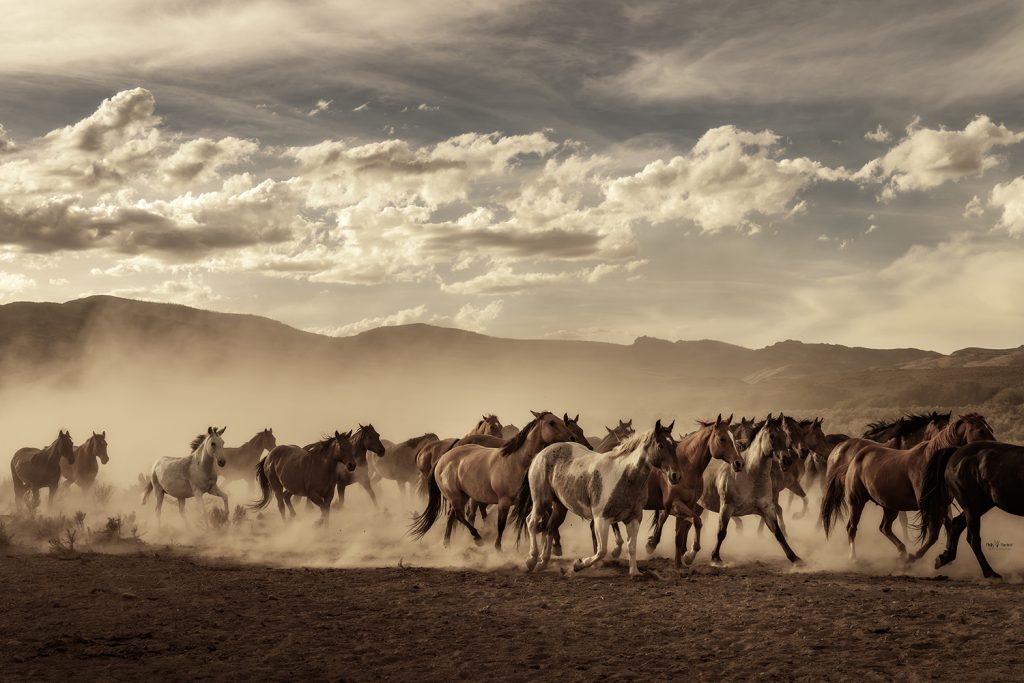
Because of the low-light conditions, I chose a wider aperture of f/4.5.
As you can see, all but one of my subjects are positioned on the same plane, which allowed me to keep them all in focus despite using a wider aperture.
The best aperture supports your vision for the image.
The more you understand how aperture, distance, focal length, light, and depth of field work together, the less you’ll find yourself asking, “What setting should I use?”
Instead, you’ll start asking a much more important question:
“What do I want this photograph to say?”
And that’s when your camera settings stop being technical obstacles and start becoming creative tools.
Stay tuned for next week’s discussion on Shutter Speed!