Hey guys so much to talk about! Just a reminder that our Fall Workshop at Southern Cross Guest Ranch in Georgia is still on as of right now. There is an added supplement shoot on Sunday afternoon at a local farm, Classic City Clydesdales. We do have a few spaces left and would love to have you join us! If you do sign up and we have to cancel, your deposit will be refundable. Sad news, unfortunately I had to cancel my 2020 Iceland Equine Tour but I do have new dates for 2021 with a couple spots open, June 13-19. Please contact me if you’re interested.
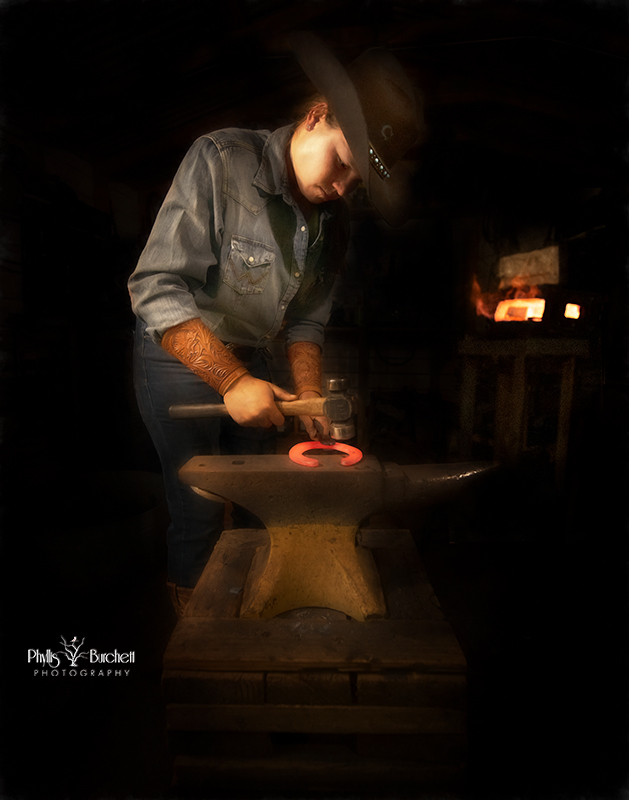
I’ve done a couple of fun things lately while practicing social distancing. I’ve always wanted to photograph a farrier using a forge and I also needed some product shots done. So last time my farrier, Whitney came to do some work for me I asked if we could get together sometime and she happily said yes. I recently posted a series of these images on my Instagram feed, tagged ShadyRays for the product and also tagged Cowgirl Magazine. Great news! The magazine picked up the images for a blog post featuring Whitney. You can read their blog and see more images here.
The takeaway here is to think about doing stories with your images, a series of photographs that tell about an event or subject. Tag magazines or pages that might be interested with the hopes that they will pick up your story and want to share it with their readers. Because of the exposure Whitney got from the blog post she has been asked to model product for a jewelry company so now I get to do those pics for her. I will also try doing more forge pics for myself, this time I’ll take strobes for a different look. Personal projects are a great way to improve your skill set, shoot on your own terms to create content or just get out of a rut.
I’ve had several ask about how to add a texture or overlay to an image. What kind of image is a good candidate for a texture you ask. Personally when I want an image to be more painterly then I might think about adding a texture.
So here’s a Quickie Tutorial on adding a texture to your images:
1. Open the background image you’d like to apply a texture to (this should be a finished image
with any needed adjustments already applied).
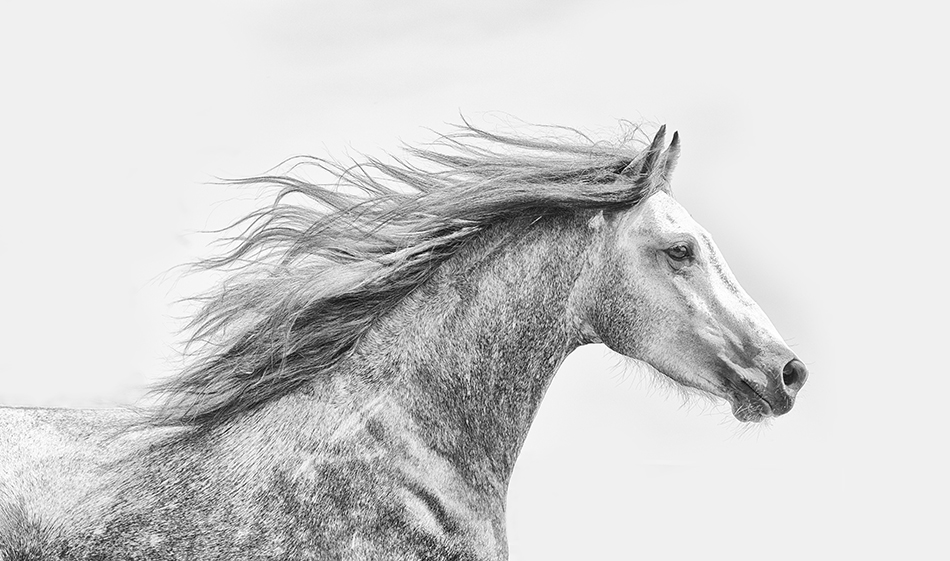
2. Open the texture you would like to use, Select All>Edit>Copy Then go back to your background image and Select Edit>Paste
(this will apply the texture image on top of your background image and if you look at the layers panel you will see the second layer added)
You can also choose File>Place Embedded – this will open up your files so you can choose the image you’d like to use as a texture and automatically add it as a layer.
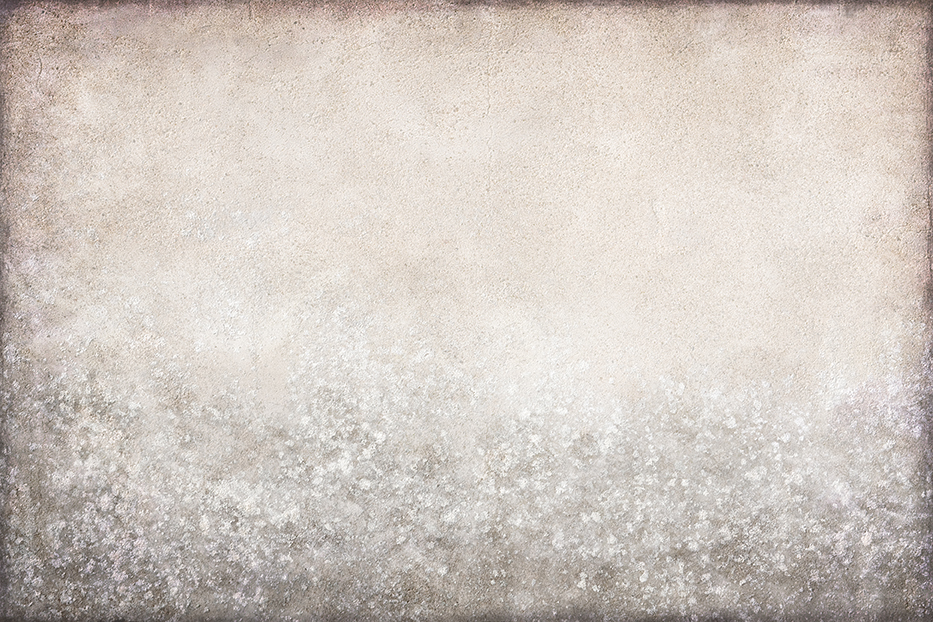
3. With the texture layer selected go to Select>All then Edit >Free Transform (Ctrl T) – and you can adjust the size of your texture layer to match the background layer by dragging the edges in or out as needed, when finished click enter. (if you chose Place Embedded the images comes in as a new layer already transformed}
4. Go to Layer Styles (box above the top layer that says “normal”)….and you can scroll through to see which style you prefer.
Here I chose Linear Burn. I also use darken, multiply, overlay and soft light quite a bit.
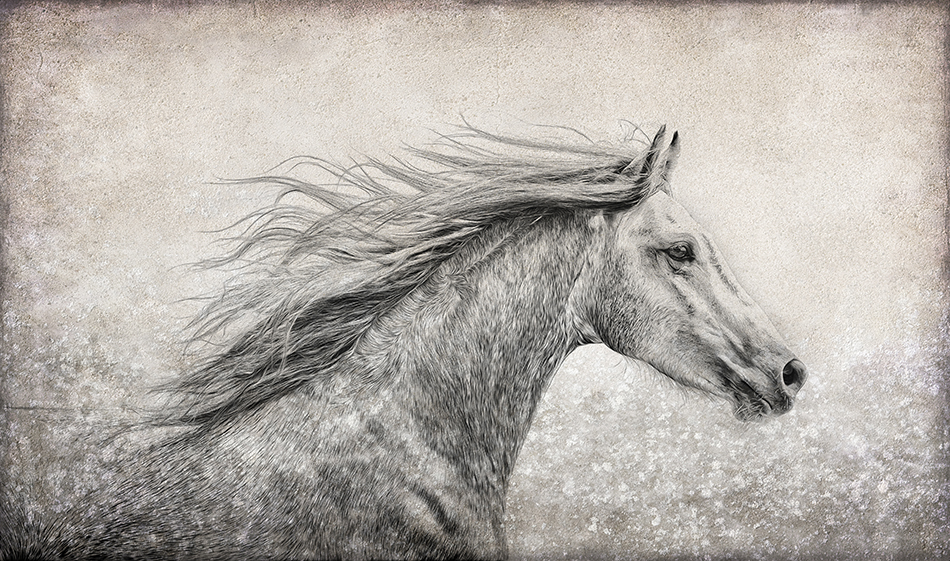
You may need to brush some of the texture effect off your subject/background image so you would add a layer mask to do this.
Choose a white brush to reveal or black brush to conceal. Flatten your layers and you are done! Be sure to choose “save as” before closing the image and choose a new file name.
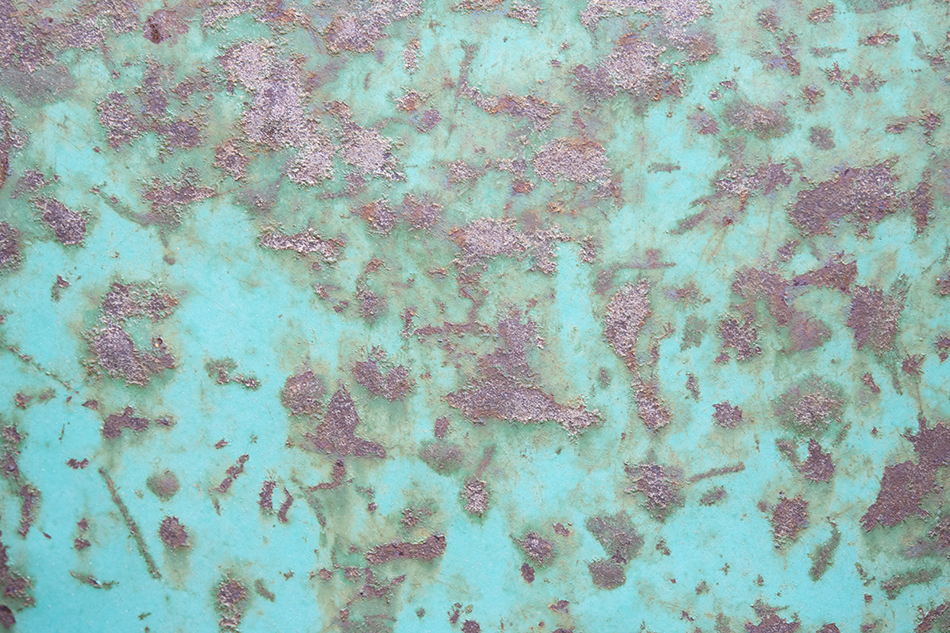
Now here is another example of adding a texture. This is a texture image I took of an old wheelbarrow in my backyard. Amazing how the colors came alive!
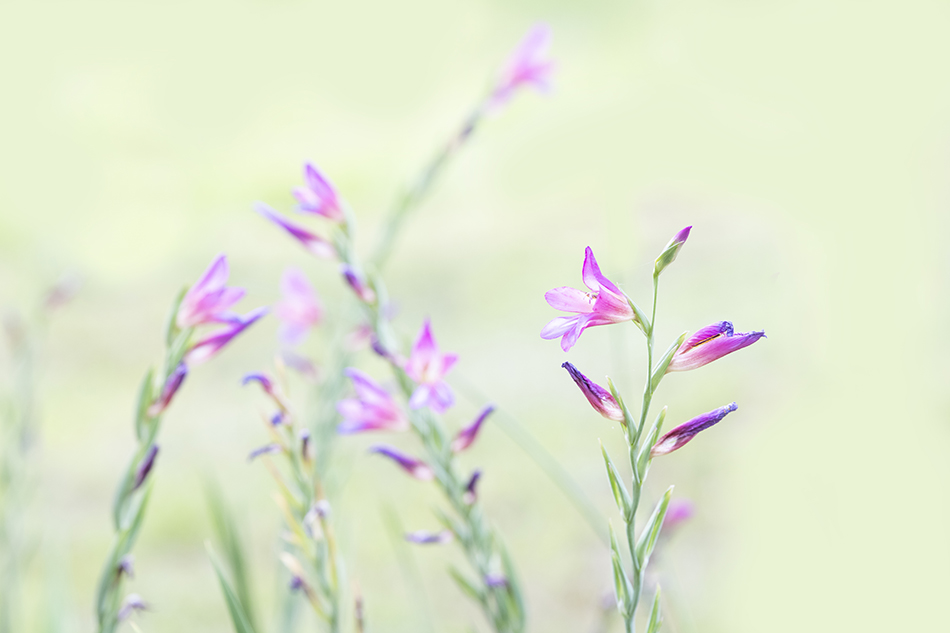
I chose an image that I thought the texture would compliment.
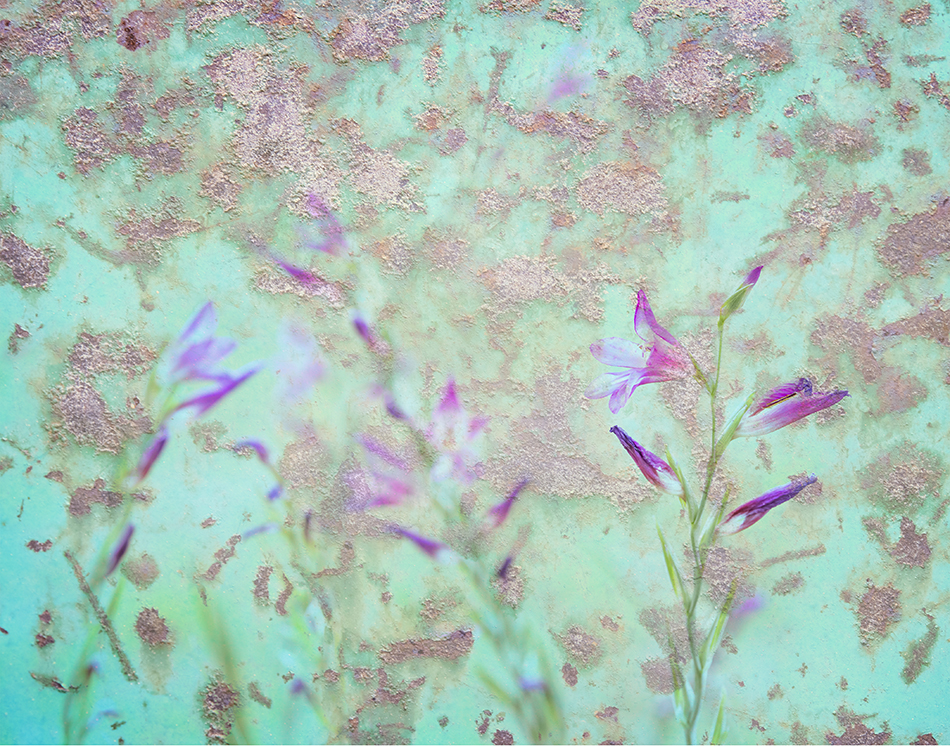
To get this final result I chose Multiply in the Layer Styles Drop down Menu and then lowered the opacity a little.
If you try this please tag me in your pic so I can see your finished product! (or just email me, either way I’d love to see what you get done)
Here are a few companies that sell textures/backgrounds or you can get on their email list for freebees. Also, you can just Google textures for Photoshop, there are 100’s or you can go out and photograph your own textures. When I’m out shooting I’m always on the lookout for cool textures!
The Daily Texture
French Kiss Textures
Kim Klassen
Fly Paper Textures or 2 Lil Owls
I think it’s always good and fun to expand my repertoire so if you’re looking for new things to do my friend Denise Ippolito had a great blog post with suggestions for things photographers can do while sheltering in place. I’ve done all these back in the days when I had more patience for macro photography. If you’re staying home looking for fun projects check it out.. Just click Denise Ippolito to learn more!
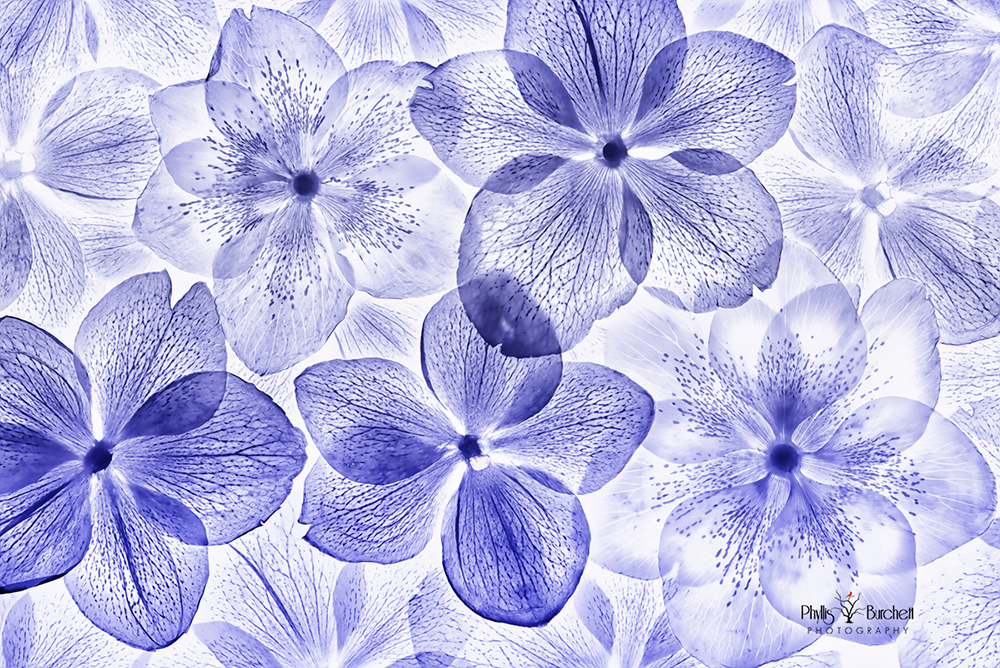
Lenten Roses with the Lightpad
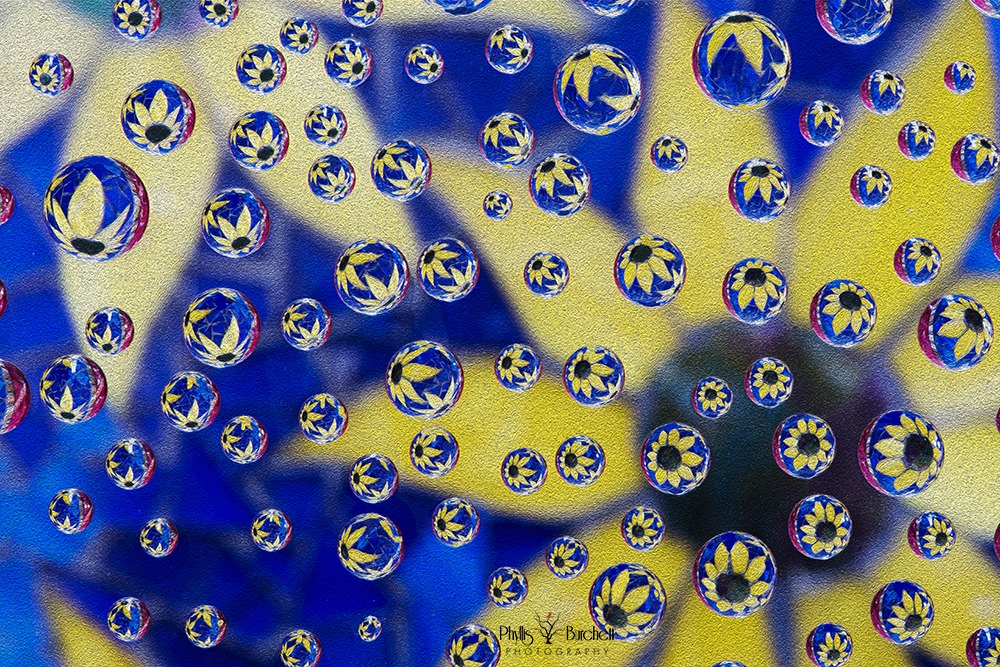
Water Drops using Rain-X
Please let me know if you have questions on how to do any of these “new” techniques or have anything you’d like to ask how to do! I’m always looking for suggestions for new blog posts. Even if you have any suggestions of new and fun things to do at home! That’s all for now, stay well my friends!

Thanks Phyllis!!!!
All good information and beautiful images.
Congratulations on selling some of your images for commercial purposes!
I would sure love to sign up for Georgia if only I didn’t have to fly…and could find somebody who wanted a ride and ride back…
This summer will and has been a tough one.
So many ups and downs. Trying times.
Thanks so much Faith, would love to have you join us in November since I won’t be seeing you in June! Will check the list to see if anyone might be coming from that way. Best wishes to you, Phyllis
You are such a talented photographer. Love these images! Hope you are doing well. Would enjoy seeing you again.
Hi Johnnie, good to hear from you and thanks for your comments! All good here, stay safe!
Thanks Carol, glad you enjoyed it!
That’s great Dene, was hoping for just this outcome!