In 2001, on a trip to the Canadian Rockies, our guide had a Nikon N65 Film Camera. I came home smitten with photography and bought one for myself….thus began my love affair with photography. I don’t come from a photography background, I never had friends that were interested in photography.I have no formal training in art. I love to create but never thought of myself as creative.
My very first Personal Project began when my Mother passed away in 2003. My Mom was an avid gardener and I was obsessed with documenting every living thing in the beautiful yard that she created and worked so hard in over the years……that is how my journey began.
Shooting personal work is a way for you to have complete creative control. It’s also a great opportunity to test out new ideas and techniques. Personal Projects can help you beef up your portfolio. They can keep you passionate about photography by stimulating your creativity. Think outside the box, the great thing about shooting personal work is there are NO RULES (unless you want them). The only person you need to make happy when shooting Personal work is yourself…..YOU are the client.
Set a goal…..improve your skills and your vision through your project. The best way to separate yourself from the sea of photographers out there is to put your personality and life experience into your work. What are you passionate about?
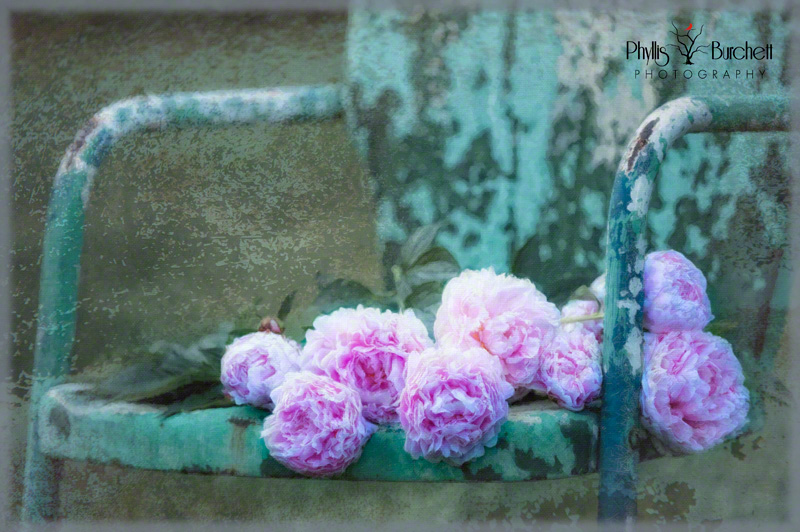
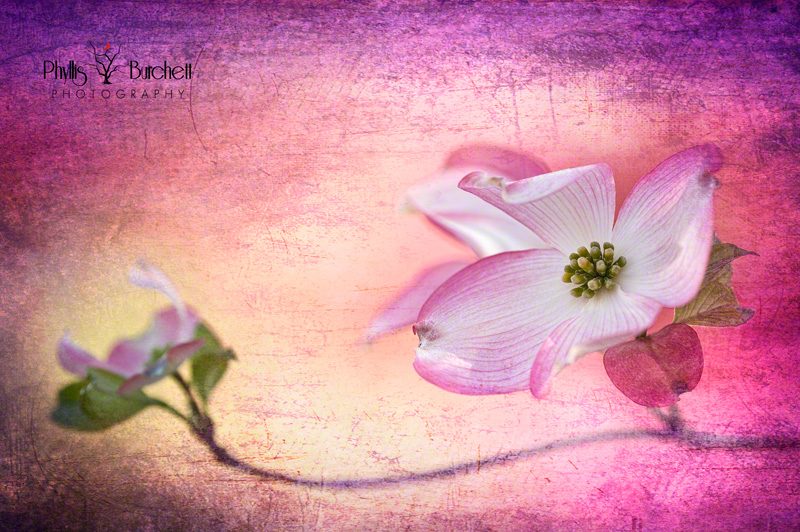
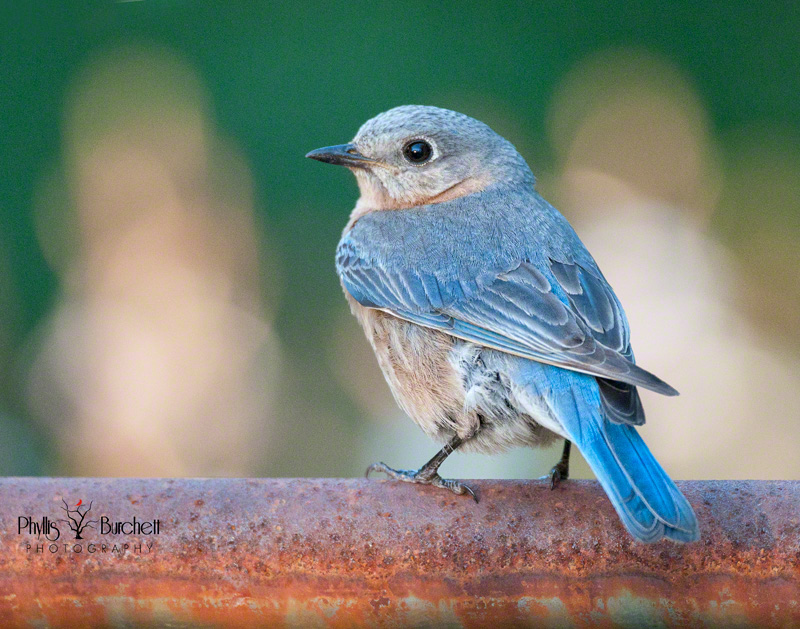
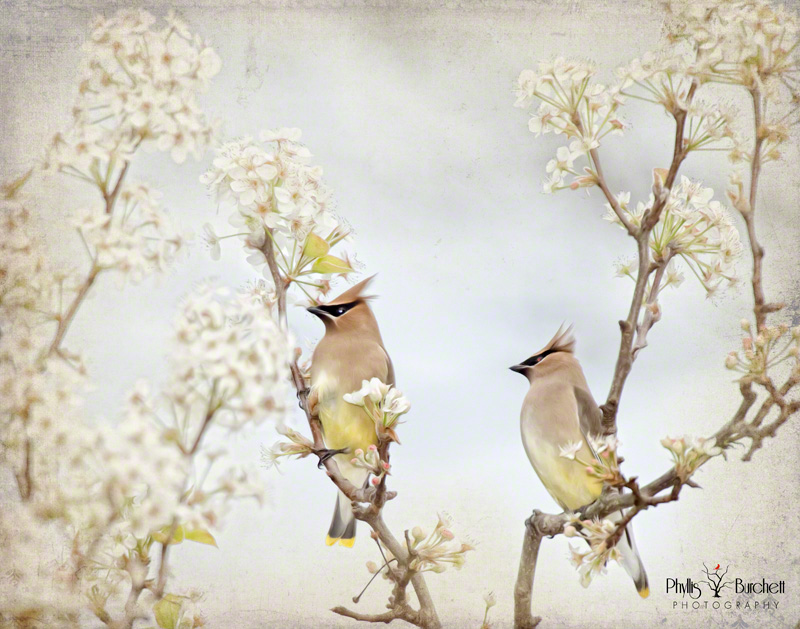
Oh, I forgot to add that all of the images above were taken in My Mother’s Garden……memories of her.
Quickie Tutorial on adding a texture to your images:
1. Open the background image you’d like to apply a texture to (this should be a finished image
with any needed adjustments already applied).
2. Open the texture you would like to use, Select All>Edit>Copy Then go back to your background image and Select Edit>Paste
(this will apply the texture image on top of your background image and if you look at the layers panel you will see the second layer added)
3. With the texture layer selected go to Select>All then Edit >Free Transform (Ctrl T)
and you can adjust the size of your texture layer to match the background layer by dragging the
edges in or out as needed, when finished click enter.
4. Go to Layer Styles (box above the top layer that says “normal”)….and you can scroll through to see which style you prefer.
Here I chose Linear Burn. I also use darken, multiply, overlay and soft light quite a bit.
You may need to brush some of the texture effect off your subject/background image so you would add a layer mask to do this.
Choose a white brush to reveal or black brush to conceal. Flatten your layers and you are done!

| Here are a few companies that sell textures/backgrounds or you can get on their email list for freebees. Also, you can just Google textures for Photoshop, there are 100’s or you can go out and photograph your own textures. http://www.joelolives.com/ http://www.graphicauthority.com/ (templates and textures) http://frenchkisstextures.com/ http://kimklassen.com/ http://flypapertextures.com/ |
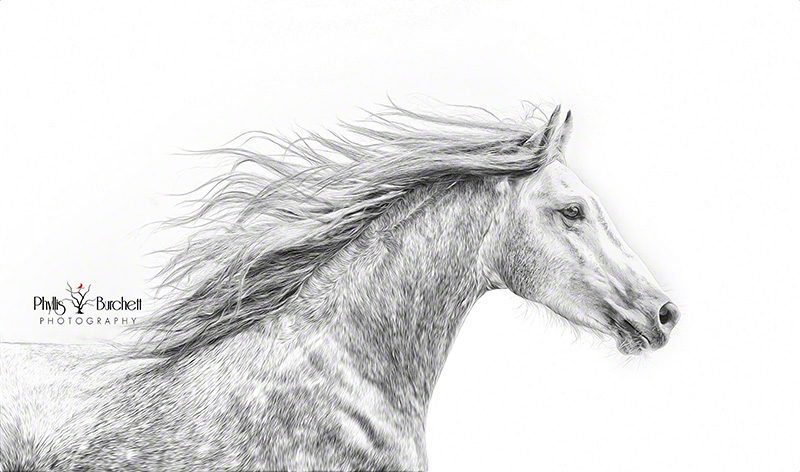
Hope you will join me May 23, 2015 at Greer Farm in Hampton, GA for my next Cowboy and Horse Workshop….it’s almost full so sign up soon to reserve your spot!
https://phyllisburchettphoto.net/workshops/
We just completed the WOW Workshop at LearnToTakePhotos,
thanks to everyone who signed up for class!!!