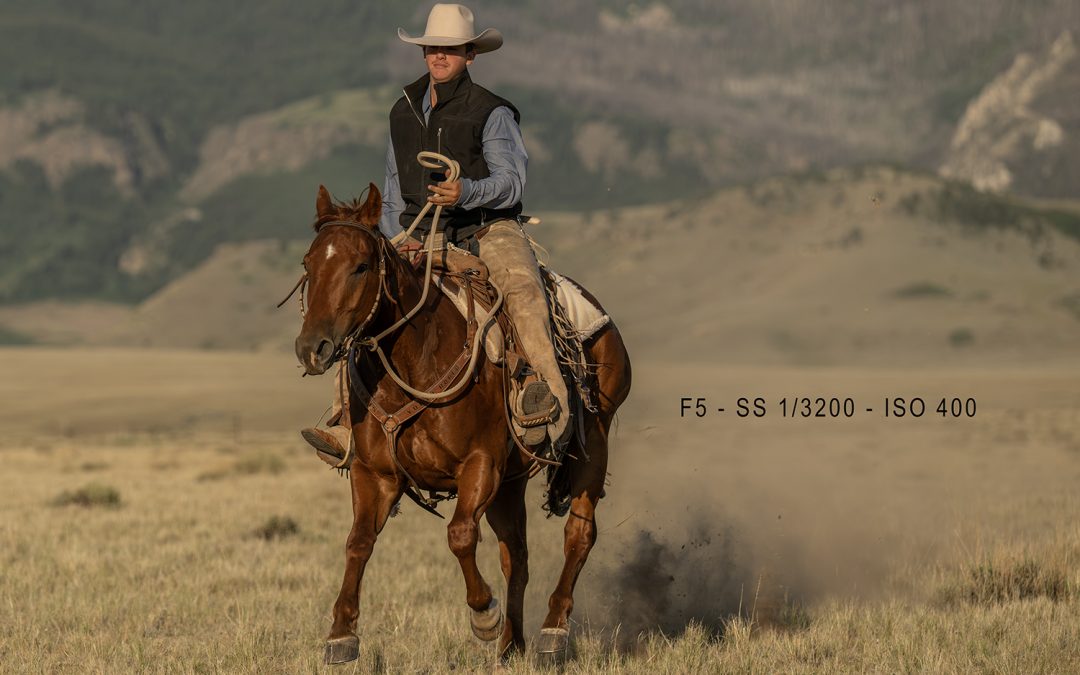
Shutter Speed: Choosing the Right Setting for Every Shot in Equine Photography
Part 2: Shutter Speed — Freeze It, Blur It, Tell the Story
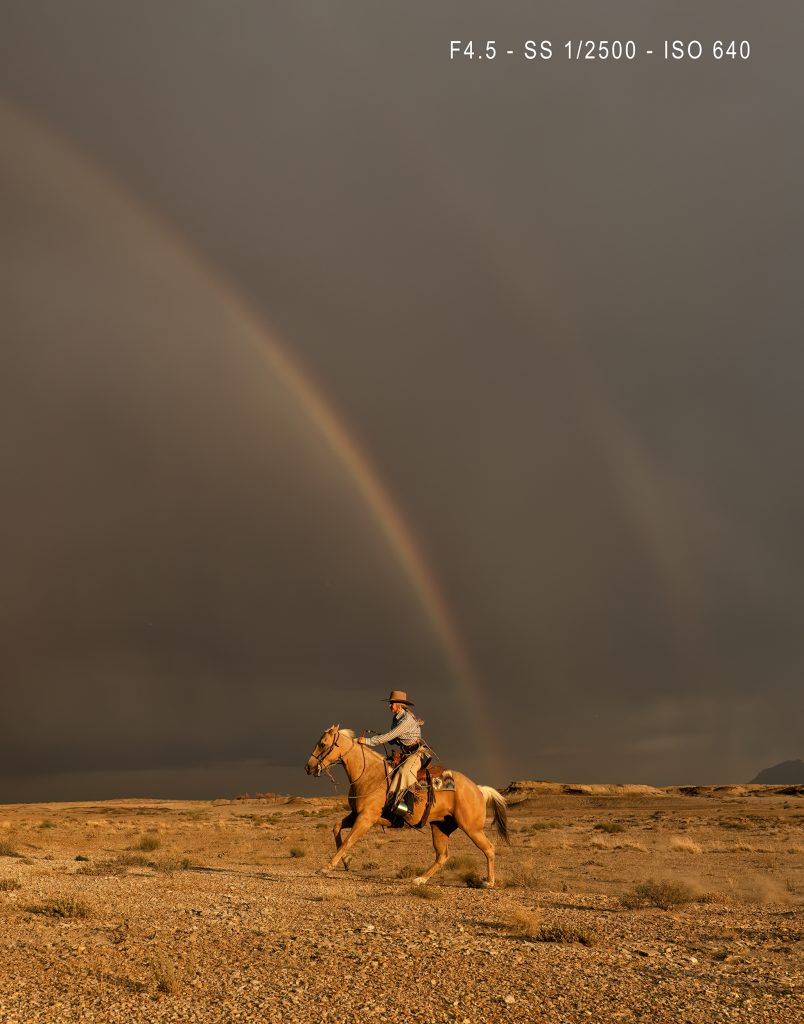
My goal is to help you choose the right settings for every shot in your equine photography by making intentional decisions that support the story you want to tell in each scene.
Last time, we talked about aperture and how it can help us control both exposure and the image’s mood. Now let’s move to the second side of the exposure triangle and probably the question I hear almost as often during workshops: “What shutter speed should I use?”
The short answer? It depends. Shutter speed isn’t just a technical setting for getting exposure right. For me, it’s a creative decision. It determines how motion is recorded and when you’re photographing horses or anything else that moves, that decision can completely change the story you’re telling.
So, what exactly is shutter speed? Shutter speed is simply how long your camera’s shutter stays open, letting light reach the sensor. It’s measured in seconds or fractions of a second:
1/1000 • 1/500 • 1/250 • 1/125 • 1/60 • 1/30
The faster the shutter speed, the less time your sensor has to collect light. A slower shutter speed lets in more light. But here’s where things get interesting: Shutter speed also controls motion.
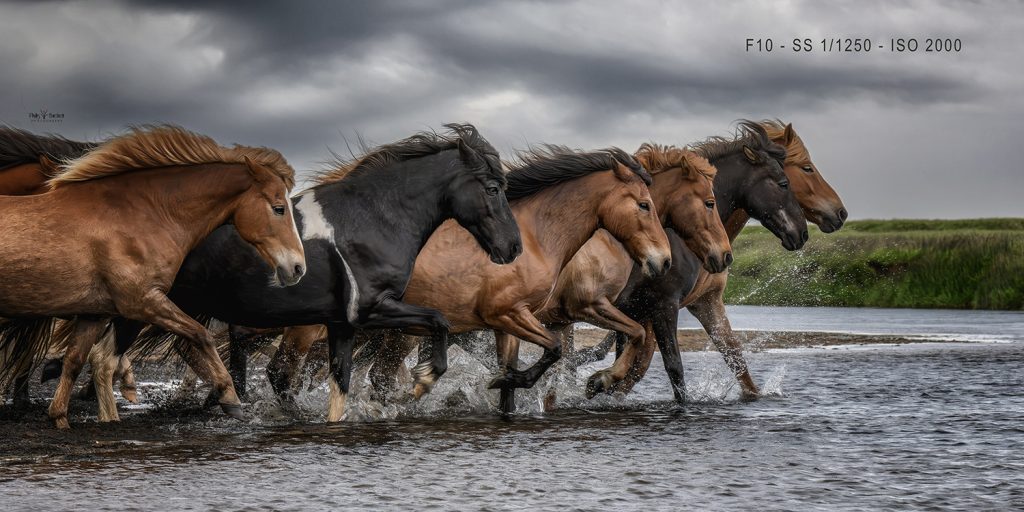
Fast shutter speed = freeze the moment
When I’m photographing a horse running, a cowboy working cattle, or a bird in flight, I need a fast shutter speed to freeze the action. Something moving quickly will require at least 1/1000s, or faster, and sometimes even that isn’t enough.
Look at the subject you’re photographing, not just the number on your camera. A horse standing still and a horse galloping at full speed obviously don’t require the same shutter speed.
Even within the same subject, different movements can require different settings.
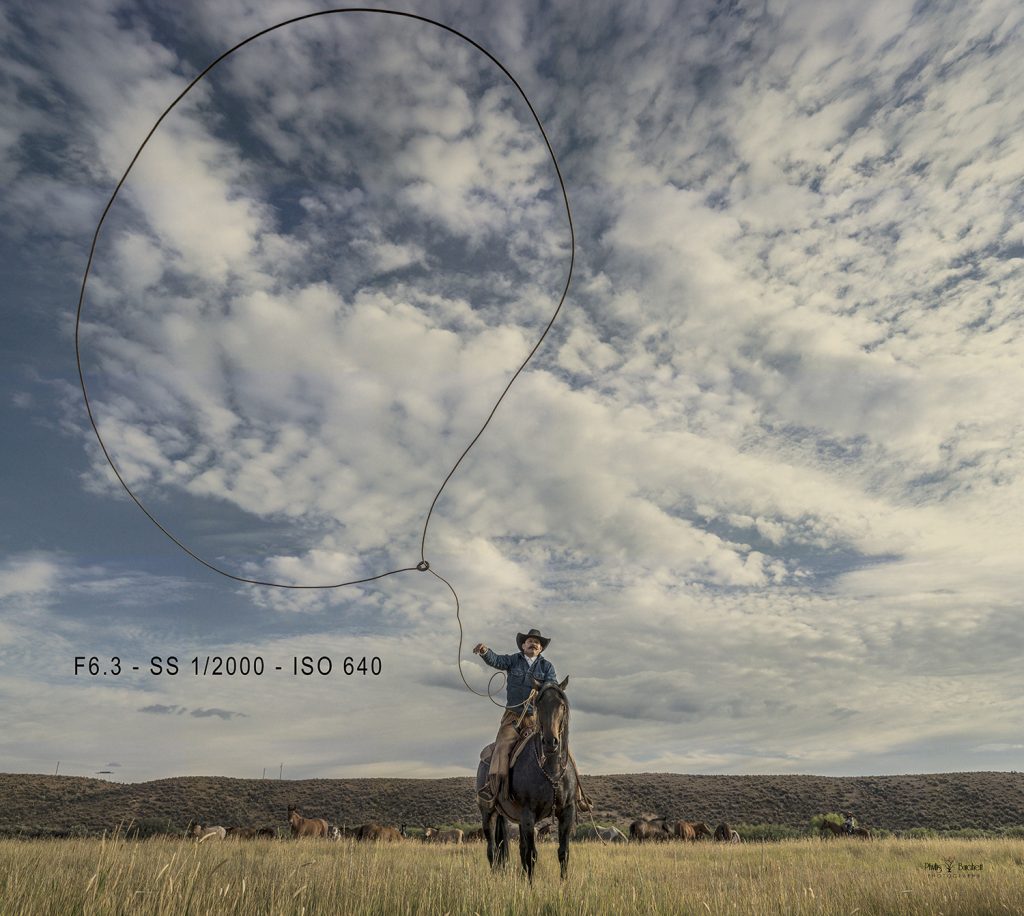
The faster the movement, the faster your shutter speed generally needs to be.
Sometimes, sharp isn’t always the goal. Motion blur isn’t necessarily a mistake; sometimes blur is exactly what makes the photograph work.
Slowing your shutter speed allows movement to become part of the image. A spinning horse, a flowing mane, or even dust kicked up by a herd can create a completely different feeling when you allow some motion blur.
Instead of simply documenting movement, you’re showing the movement.
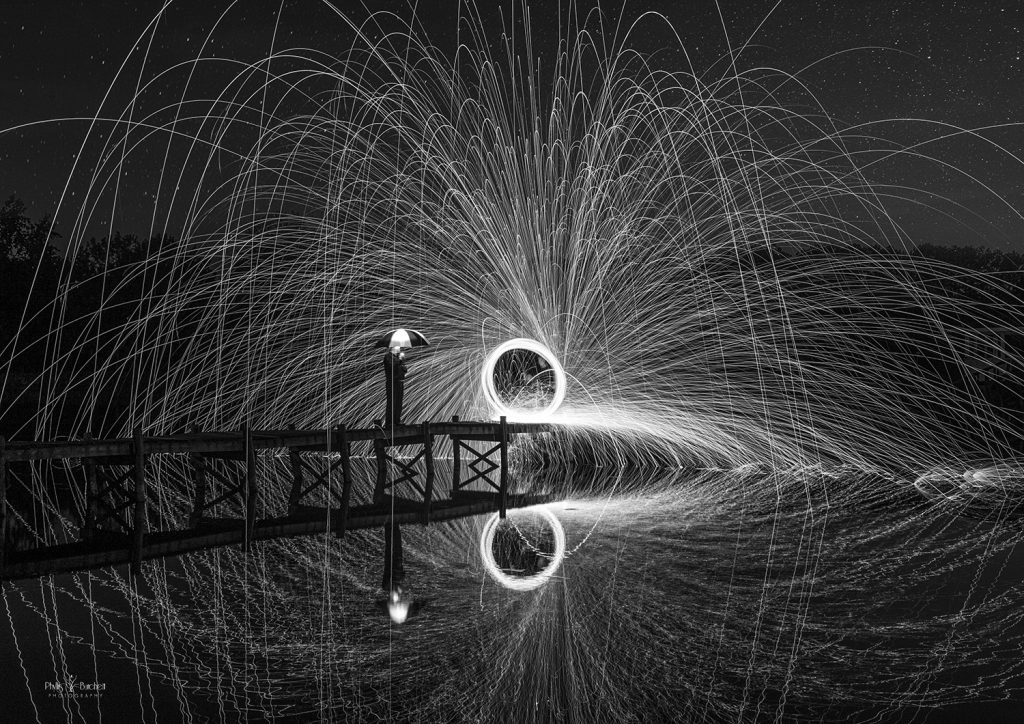
Check out the image below F11 – SS 30 Seconds – ISO 250 where I had the pleasure to do some steel wool photography.
Here, I used a long shutter speed (typically 20 to 30 seconds) on a tripod to record the glowing paths of the flying embers.
One of my favorite ways in equine photography is to intentionally incorporate motion blur is panning.
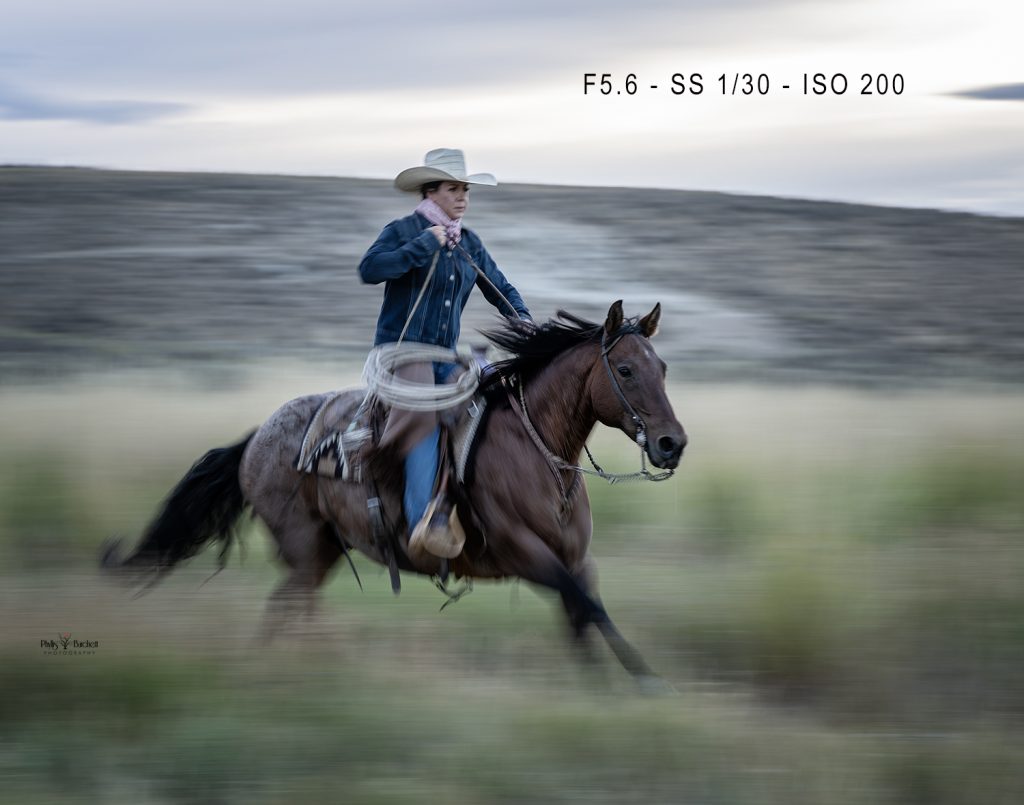
The idea is simple: use a slower shutter speed and move your camera along with your moving subject as you make the exposure.
When you do it well, your subject can remain relatively sharp while the background stretches into beautiful motion blur. It takes practice and plenty of missed shots! But those misses are part of learning. Experiment with different shutter speeds and see how the look changes.
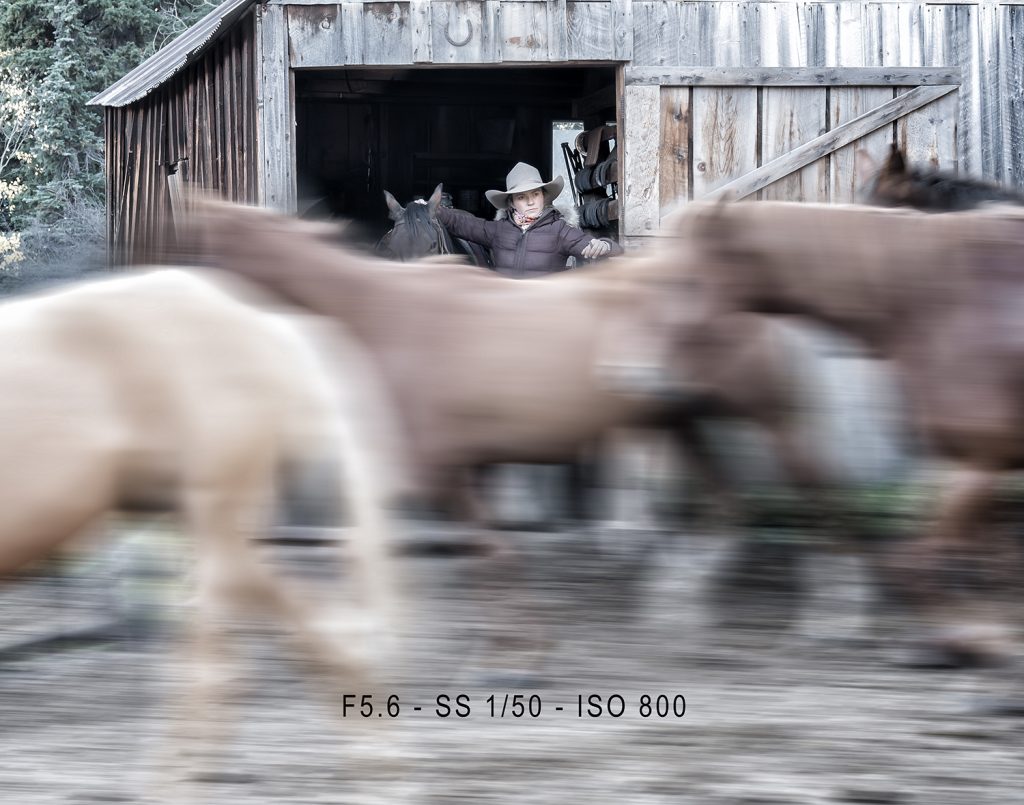
In the image below I focus on my subject who is not moving to keep them tack sharp while using a slow shutter speed to show the movement of the horses around her.
There isn’t one “right” shutter speed. For the image below, I needed a long enough shutter speed to allow for the combined effect of
zooming and physically rotating the camera to create the zoom/twirl effect below, :
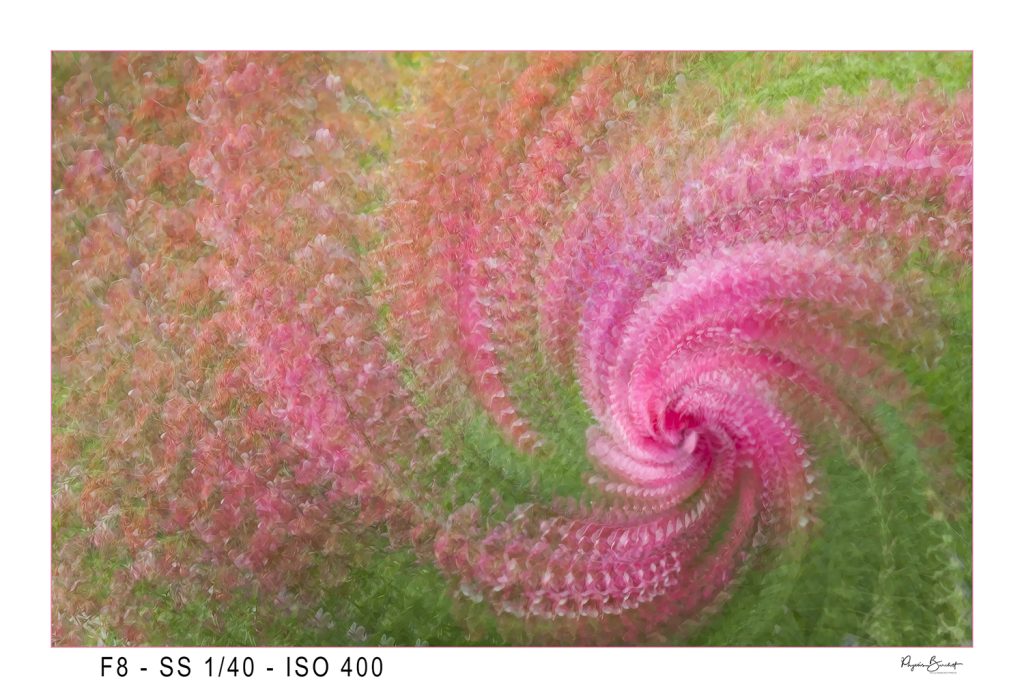
This is a great example of ICM, which stands for Intentional Camera Movement. It’s a creative photography technique where you deliberately move your camera during the exposure to create motion, blur, and an artistic, painterly look. Instead of trying to eliminate camera movement, you use it as part of the image.
-
Use a slower shutter speed, often around 1/4 second to 2 seconds
-
Move the camera intentionally while the shutter is open
-
Adjust the direction and speed of your movement to influence the look
For example:
-
Vertical movement → beautiful streaks in trees, grass, or horses
-
Horizontal movement → sweeping, painterly landscapes
-
Diagonal movement → adds energy and movement
-
Small twists or rotations → creates a more abstract, swirling effect
ICM can be especially interesting with equine photography because you’re no longer trying to create a technically perfect, tack-sharp image. You’re creating an impression of the horse and the moment. A horse running through a field might become a combination of blurred mane, flowing movement, color, and light—almost like a painting rather than a literal representation of the scene.
The key is that the movement is intentional. You’re not just taking a blurry photo; you’re using shutter speed and camera movement to create the feeling you want the image to convey. And honestly, ICM is a great reminder that not every photograph has to be sharp to be successful. Sometimes the emotion and movement are more important than the details.
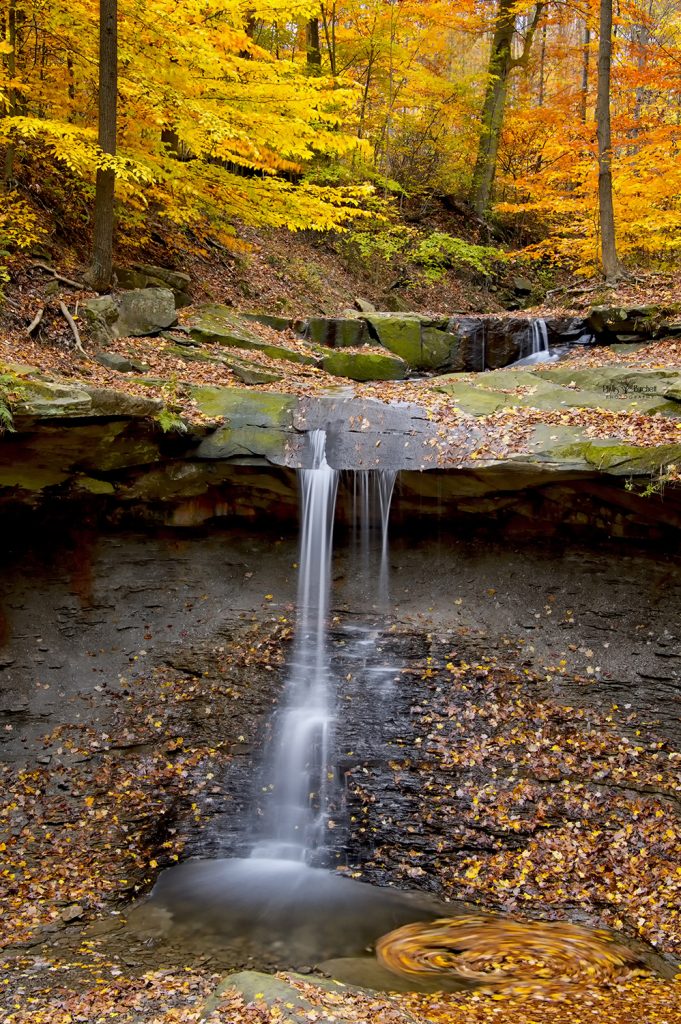
Here I wanted that beautiful, silky water and the swirling leaves to show so I chose F11 – SS 10 seconds – ISO 100 to achieve those results.
So, ask yourself: do I want to freeze every detail, or do I want just a little motion? Maybe I want the movement to become part of the story? Then choose your shutter speed accordingly.
And remember, shutter speed doesn’t work in isolation. Changing it changes your exposure, which means you’ll need to consider your aperture and ISO as well. That’s the beauty and sometimes the frustration of the exposure triangle. Every setting affects the others.
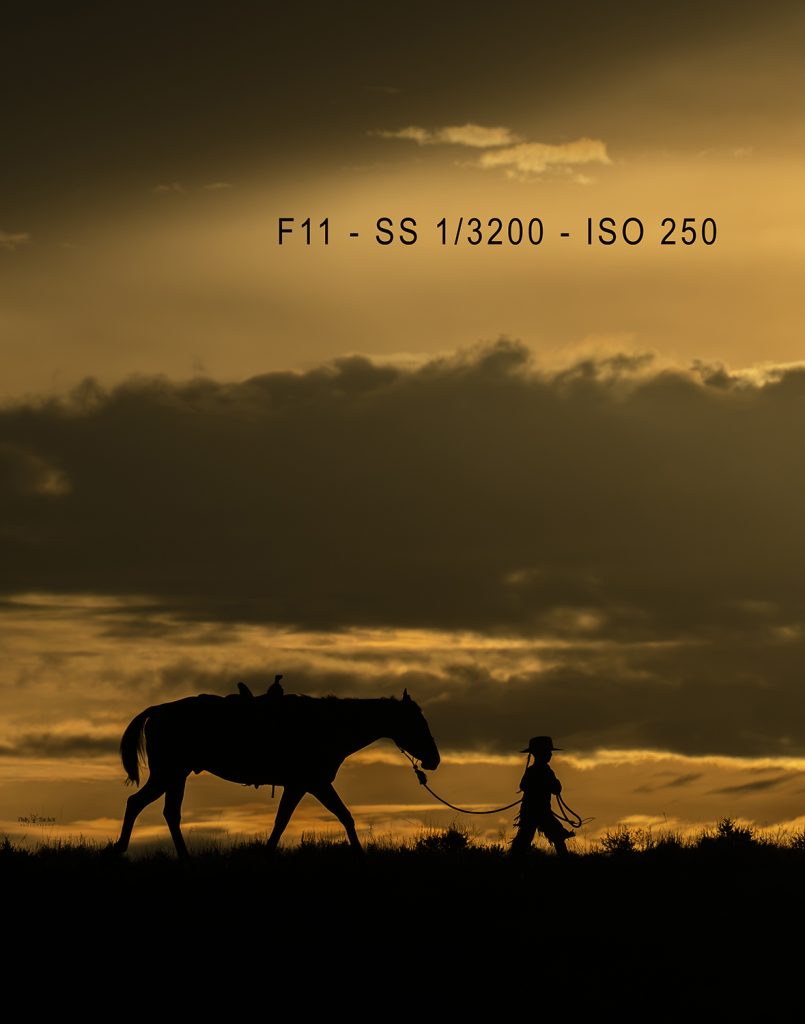
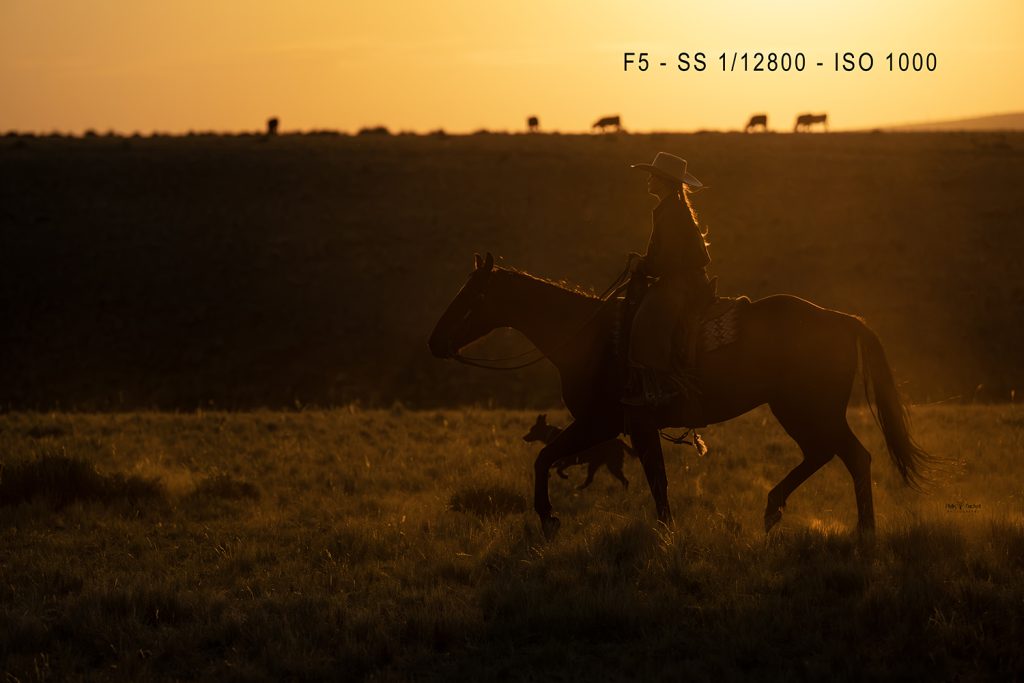
I may choose a higher shutter speed to help reduce the amount of light in the image.
A little homework for you: the next time you’re photographing something moving, don’t automatically reach for your fastest shutter speed.
Try making a few frames at different speeds!
Look at the results. Which one tells the story you wanted to tell?
Because ultimately, photography isn’t about finding the “correct” setting. It’s about making an intentional choice.
Next up in this series, we’ll tackle ISO.
The third side of the exposure triangle and the setting that can make all the difference when the light starts to disappear.